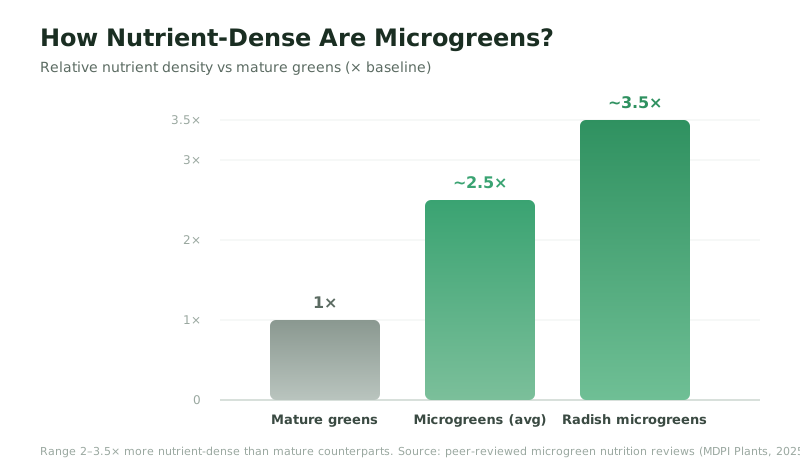
Microgreens are one of the most beginner-friendly things you can grow: no garden, no sun-soaked balcony, and only 1–2 weeks from seed to harvest. They're also worth the effort — research consistently finds microgreens far more nutrient-dense than the mature versions of the same plants.
Here's everything you need to grow your first tray — and the handful of mistakes that cause most early failures.
What you'll need
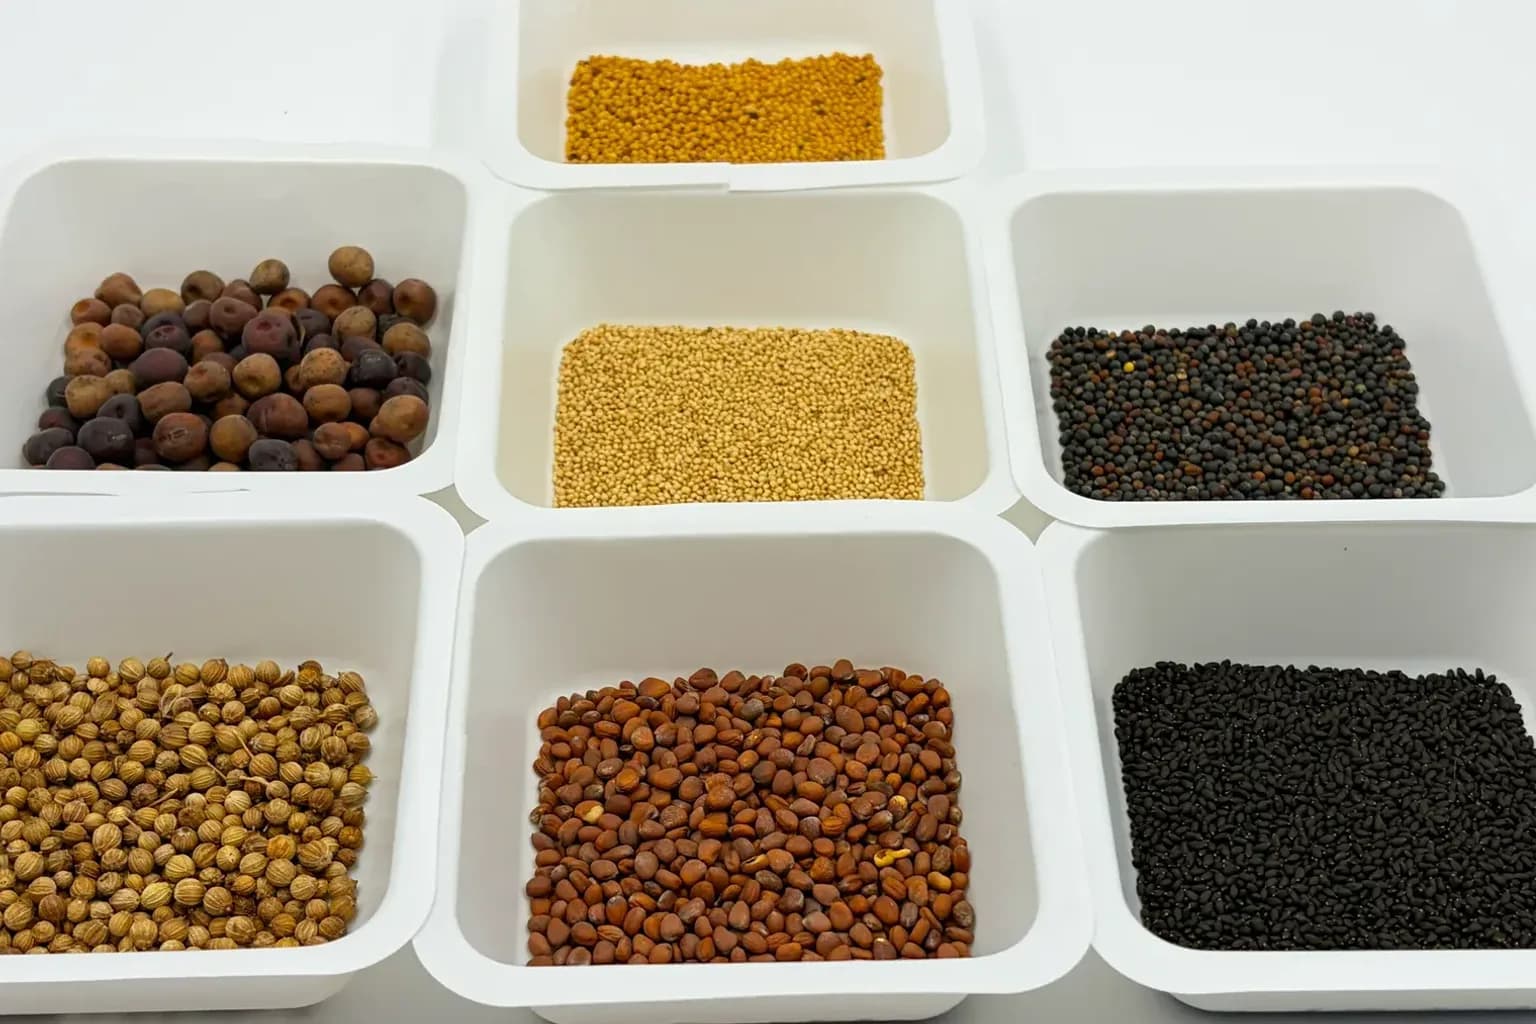
- Seeds labeled for microgreens or sprouting
- A shallow tray with drainage holes, plus a solid tray underneath to catch water
- A growing medium — coconut coir, a hemp/fiber mat, or a peat-based mix
- A spray bottle for misting
- Light — a sunny windowsill works; a small grow light works better
That's it. No special tools required to start.
Best microgreens for beginners
Start with fast, forgiving varieties before branching out:
| Microgreen | Germination | Ready to harvest | Why it's beginner-friendly |
|---|---|---|---|
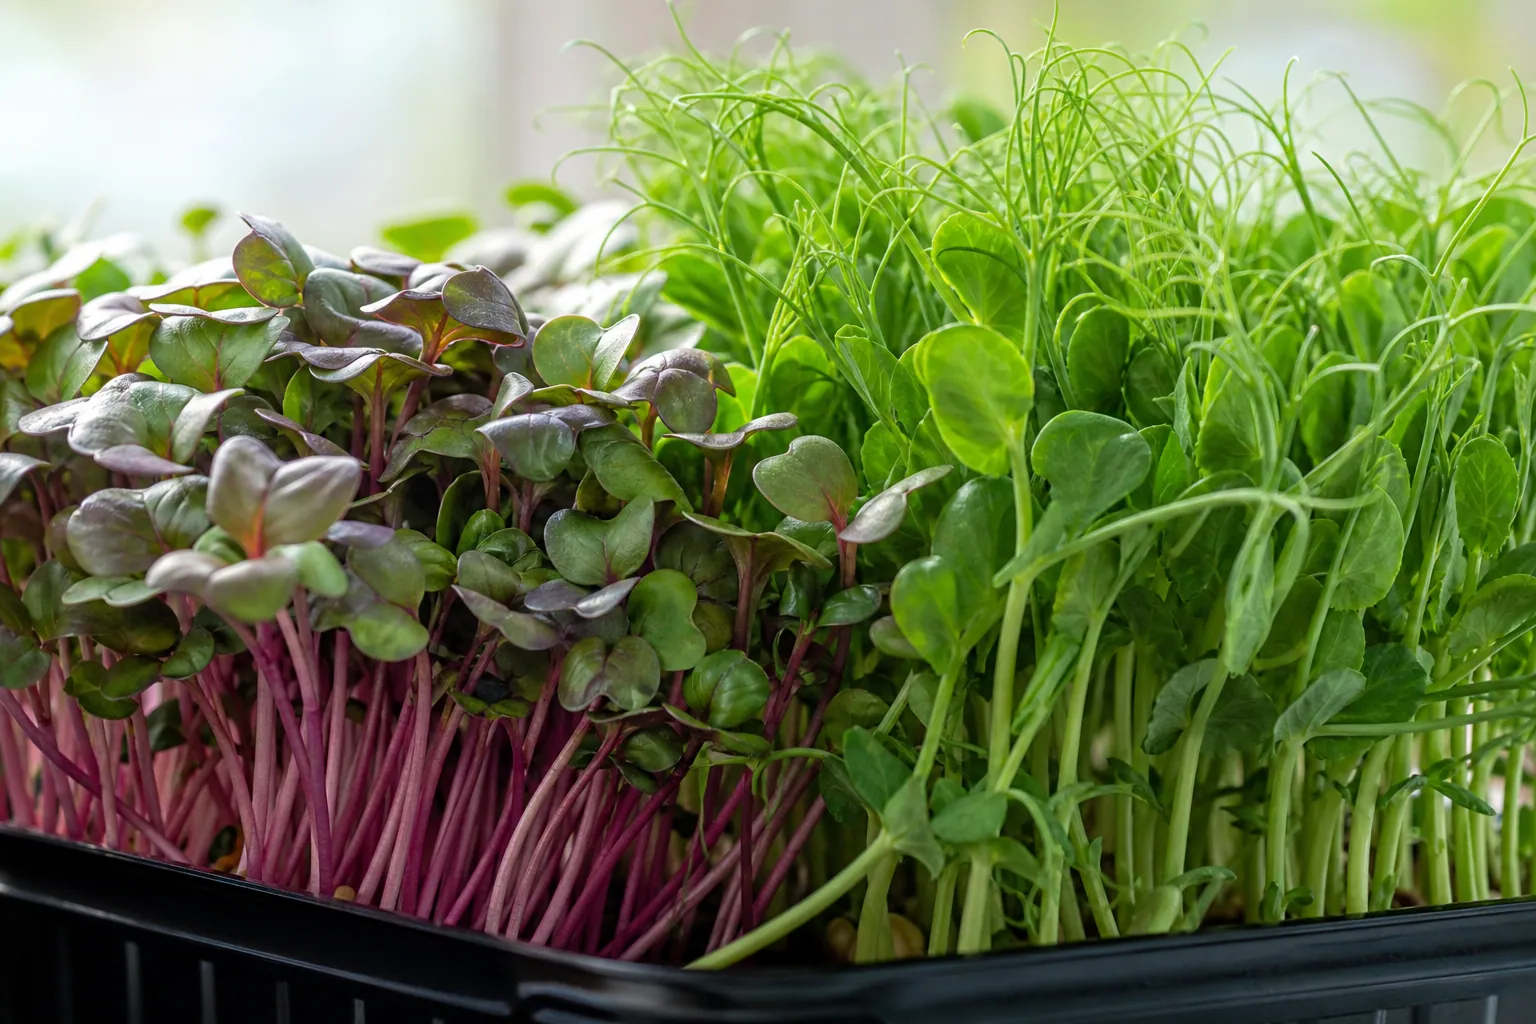
| Radish | 1–2 days | 5–7 days | Fastest, very forgiving, peppery |
| Pea shoots | 2–3 days | 8–12 days | Sweet, high in protein, hard to kill |
| Broccoli | 1–2 days | 7–10 days | Mild, nutrient-dense (sulforaphane) |
| Sunflower | 2–3 days | 8–12 days | Crunchy, satisfying, high-yield |
The 7 steps
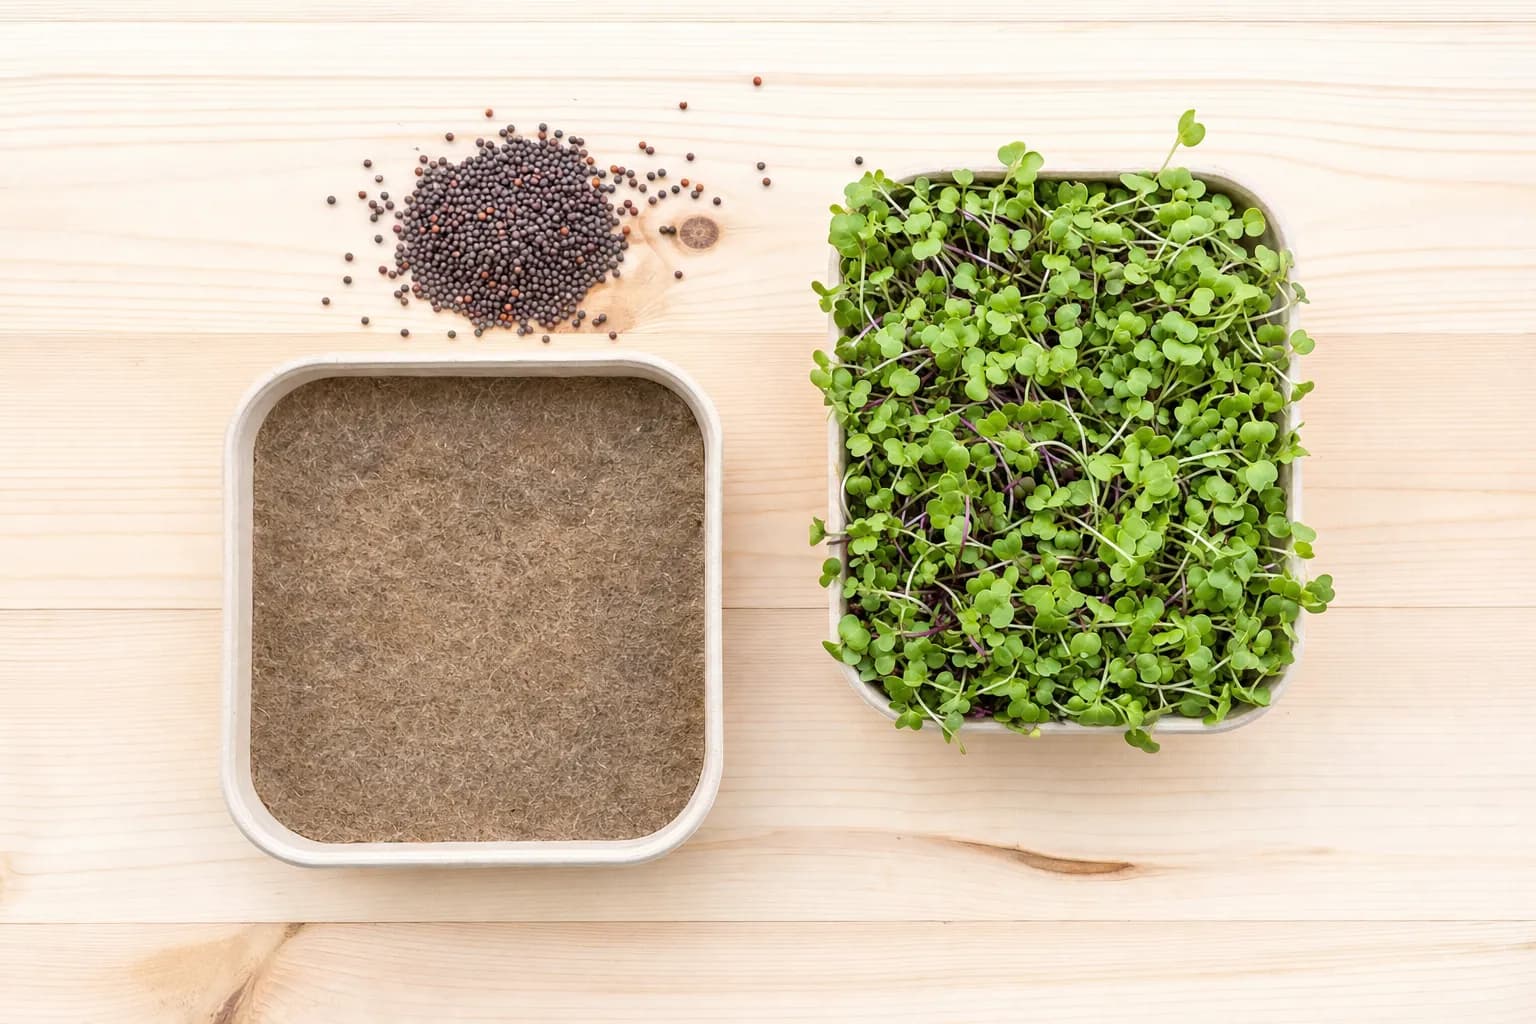
- Sow the seeds. Spread them evenly across the moist medium — enough to cover the surface, but not piled on top of each other. Overcrowding is the #1 beginner mistake (it traps moisture and invites mold).
- Press and mist. Gently press the seeds into contact with the medium and mist until evenly damp.
- Blackout phase (days 1–3). Cover the tray to keep it dark and humid for germination. Check daily and keep it lightly moist.
- Uncover and give light (around day 3–4). Once seedlings lift the cover or you see consistent sprouting, uncover and move to light. Don't leave the cover on too long — a classic mold trigger.
- Water from the bottom. Add water to the lower tray so roots drink from below and the leaves stay dry. Wet leaves invite mold.
- Give it airflow. A little air circulation (even a low fan nearby) keeps things healthy.
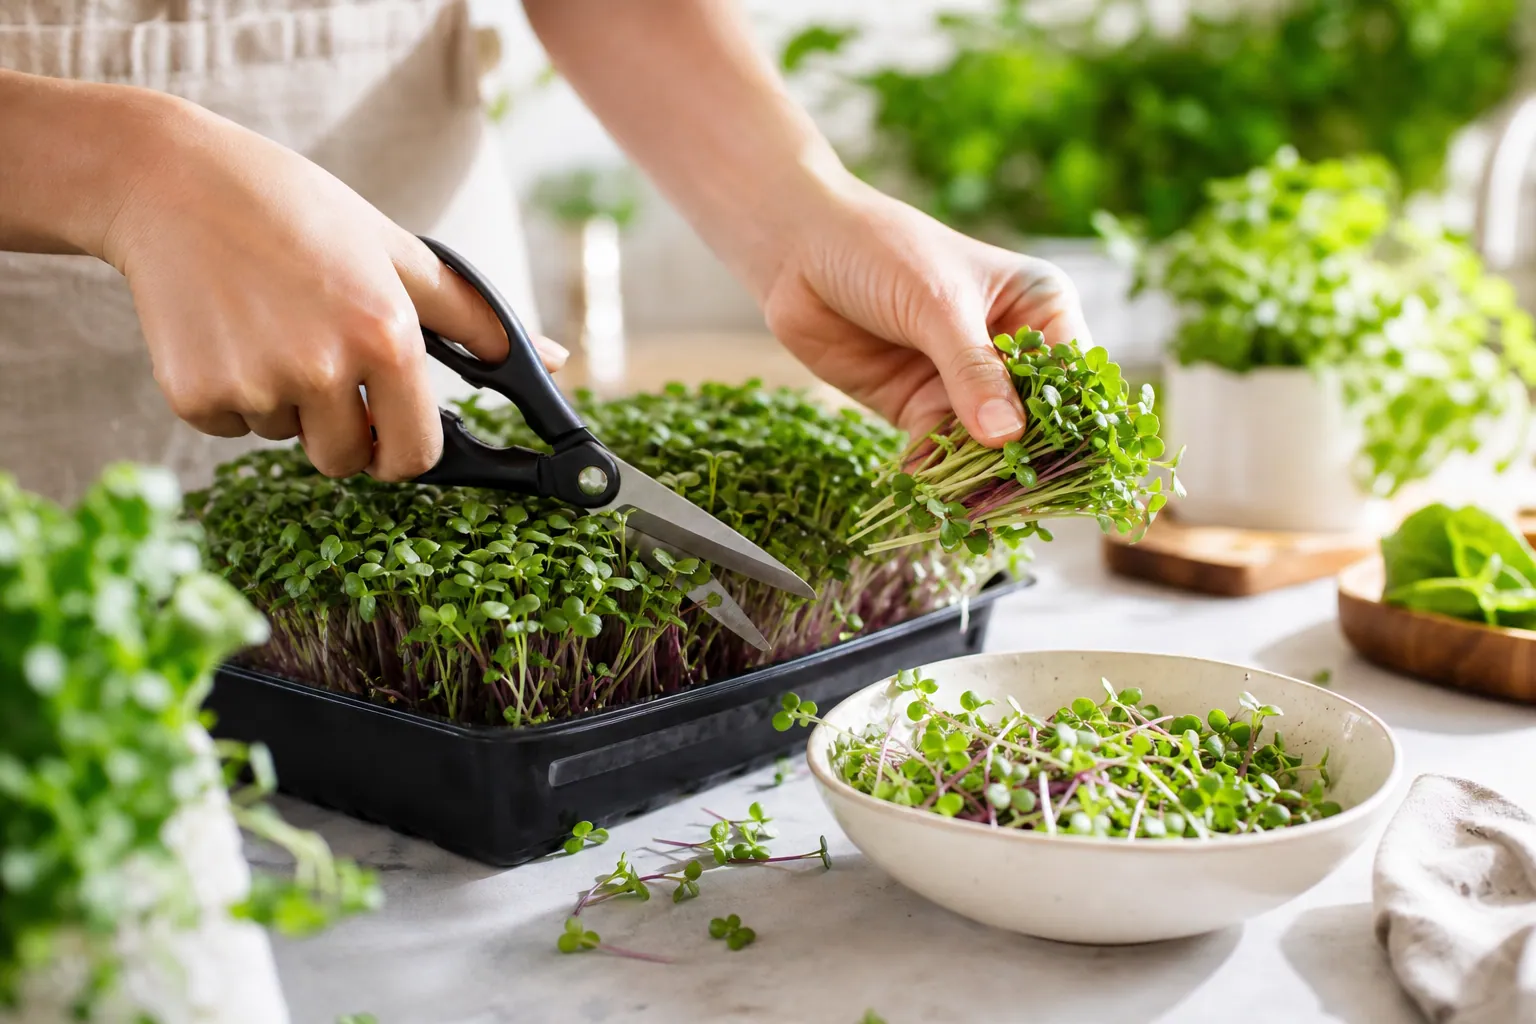
- Harvest (day 7–14). When the first true leaves appear and greens are 1.5–3 inches tall, snip just above the medium with clean scissors. Rinse gently, and eat fresh.
The mistakes that trip up beginners
- Overseeding → dense mat → trapped moisture → mold.
- Overwatering / misting the leaves → soggy canopy → mold.
- Leaving the blackout cover on too long → stretched, moldy seedlings.
- Poor airflow in a closed cabinet or stuffy corner.
- Inconsistent attention — microgreens need a daily check-in, and missing a few days (travel, a busy week) is where trays are lost.
Notice a theme? Most failures come down to managing moisture, airflow, light, and timing consistently — for 10+ days in a row. When it works, it's genuinely satisfying. When life gets in the way, it's where most people quietly give up.
The shortcut, if you'd rather not babysit a tray
Growing by hand is rewarding, but it is a daily chore with a real failure rate. If you want the fresh-harvested result without the variables, an automated countertop grower like Luya handles the water, light, airflow, and temperature for you — starting from a pre-seeded tray at the right density, in a sealed chamber that keeps mold out. You get the day-14 payoff without the day-by-day management.
Either way you grow them, the reward is the same: a fresh, nutrient-dense harvest a few steps from your kitchen.
New to microgreens? Start with What Are Microgreens? — or see the hands-off way to grow them →.