If you want fresh greens on your counter but dread the dirt, here is the good news: you can grow microgreens without soil and still pull the same dense, flavorful harvest you would get from potting mix. Soil-free growing swaps the mix for a clean fiber mat or pad, which means no heavy bags to lug home, no muddy sink, and a fraction of the cleanup. It is one of the gentlest ways for a true beginner to start, and it pairs perfectly with the fastest crops like radish, broccoli, and pea shoots.
This guide walks you through exactly how soil-free growing works, the short list of gear you need, which crops are most forgiving, and how to sidestep the single problem that sinks most first-time trays. By the end you should be able to set up a tray today and be snipping greens inside a week.
Why Grow Microgreens Without Soil
Soil is the traditional choice for a reason: it buffers moisture and gives roots something to anchor into. But microgreens are harvested at just 7 to 10 days old, long before a plant ever needs soil's slow-release minerals. Almost all the energy a seedling uses to reach the microgreen stage is already packed inside the seed itself. That biological head start is exactly why soil is optional here, even though it is essential for a mature plant.
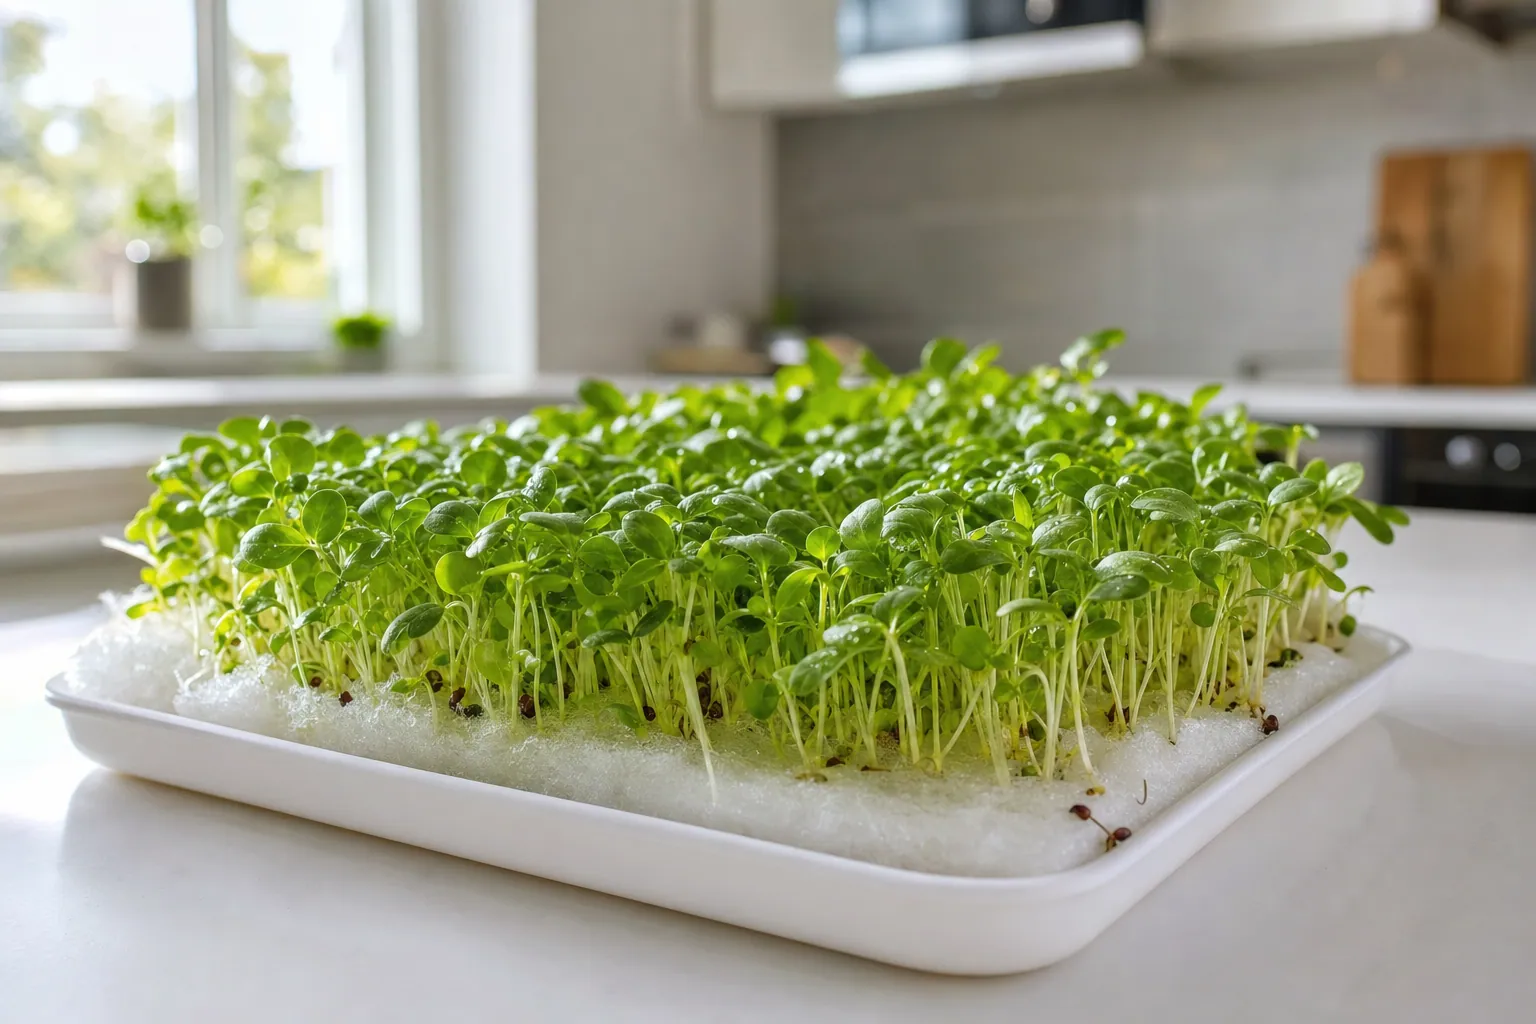
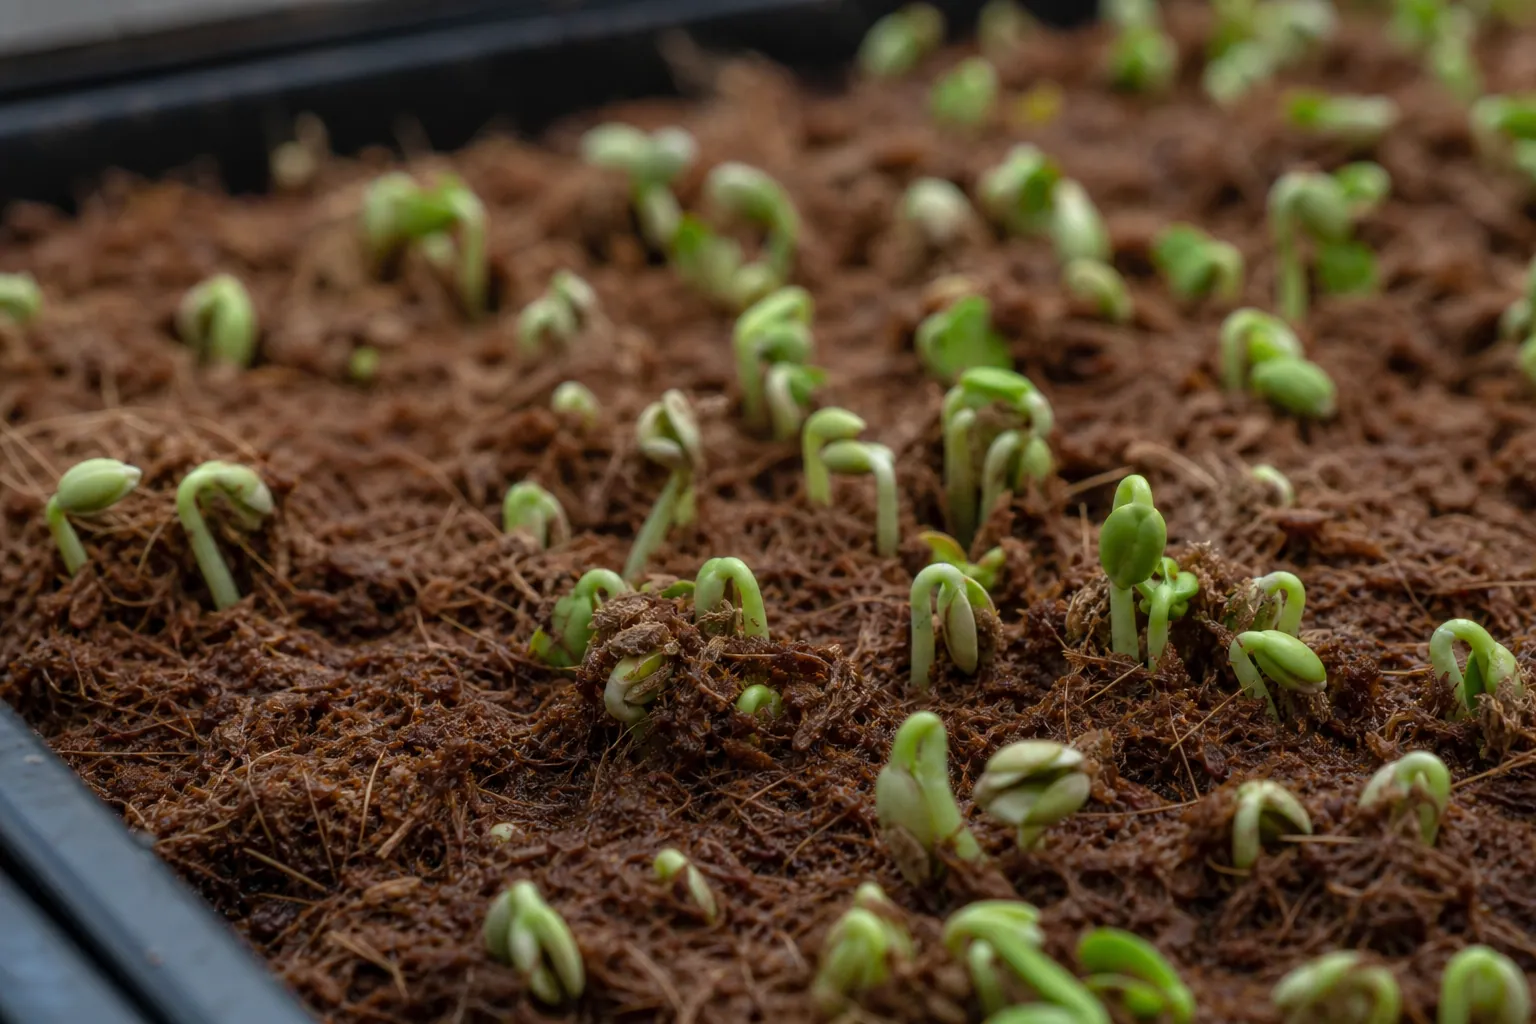
When you grow microgreens without soil, you replace potting mix with a thin growing mat made of coconut coir, hemp, or another biodegradable fiber. The seeds rest on top, the mat stays evenly damp, and the roots knit themselves into the fibers within a day or two, holding the whole tray together like a living carpet.
The benefits are practical:
- No mess. No spilled soil on counters, no clogged drains, no grit in your salad.
- Cleaner harvest. You snip greens above a tidy mat instead of rinsing soil off tiny leaves.
- Easier to see problems. On a pale mat, you can spot uneven germination or early mold fast.
- Lighter and simpler. Mats store flat and weigh almost nothing.
The trade-off is that you have to stay on top of watering, because mats dry out faster than soil. We will cover that below.
What You Need to Grow Microgreens Without Soil
The setup is refreshingly short. Here is a starter checklist with what each item does and a realistic cost range.
| Item | What it does | Typical cost |
|---|---|---|
| Shallow tray (with and without drainage holes) | Holds the mat; the solid tray catches water for bottom-watering | $5-15 |
| Growing mat or pad (coir, hemp, or fiber) | Replaces soil; holds moisture for roots | $0.50-1 per mat |
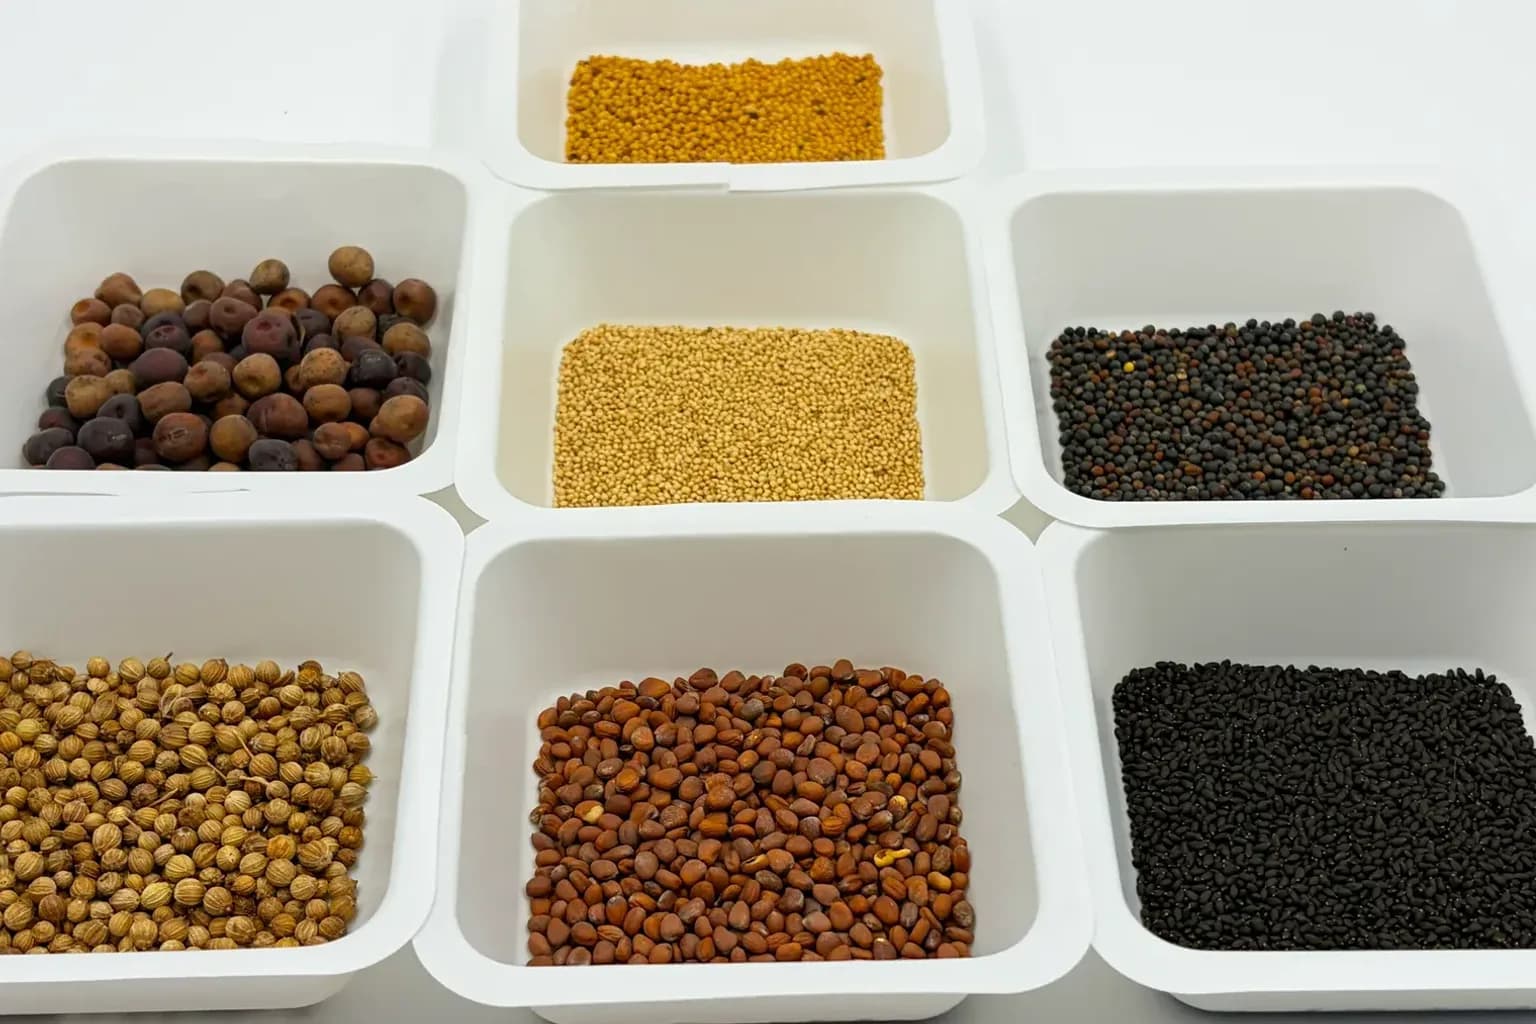
| Microgreen seeds | The crop; buy seeds sold for microgreens or sprouting | $5-15 per bag |
| Spray bottle | Gentle top-watering during germination | $3-8 |
| A second tray or lid | Creates darkness and pressure for even sprouting | $0 (reuse a tray) |
| A bright windowsill or small grow light | Powers green growth after sprouting | $0-30 |
That is genuinely all it takes to begin. If you already cook at home, you may have most of it.
Step by Step: Soil-Free Microgreens
Follow these steps and you will have greens in roughly a week to ten days.
1. Soak the mat. Lay the growing mat in your tray and moisten it until damp, not flooded. It should feel like a wrung-out sponge.
2. Sow the seeds. Scatter seeds evenly across the surface so they are close but not piled on top of each other. Crowding is a leading cause of mold, so resist the urge to over-seed.
3. Cover for darkness. Place a second tray or lid on top. The dark, slightly weighted "blackout" stage encourages strong, uniform germination. Many beginner seeds, like radish, sprout in just 1 to 2 days.
4. Mist daily. Check the mat once or twice a day and mist so it never dries out. This is the step that makes or breaks a soil-free grow.
5. Bring on the light. Once shoots lift the cover, usually after a few days, move the tray to a bright window or under a grow light. They will turn green within hours.
6. Switch to bottom-watering. Pour a little water into the base tray and let the mat wick it up. This keeps leaves dry, which discourages mold.
7. Harvest. When the first true leaves appear, snip just above the mat with clean scissors. Most beginner crops are ready in 5 to 10 days.
For a fuller walkthrough that also covers soil-based methods, see our guide on how to grow microgreens at home.
Best Beginner Crops for Soil-Free Growing
Some seeds are far more forgiving than others. These four are the classic starting lineup, and they all do well on a mat.
| Crop | Germination | Harvest | Why it is beginner-friendly |
|---|---|---|---|
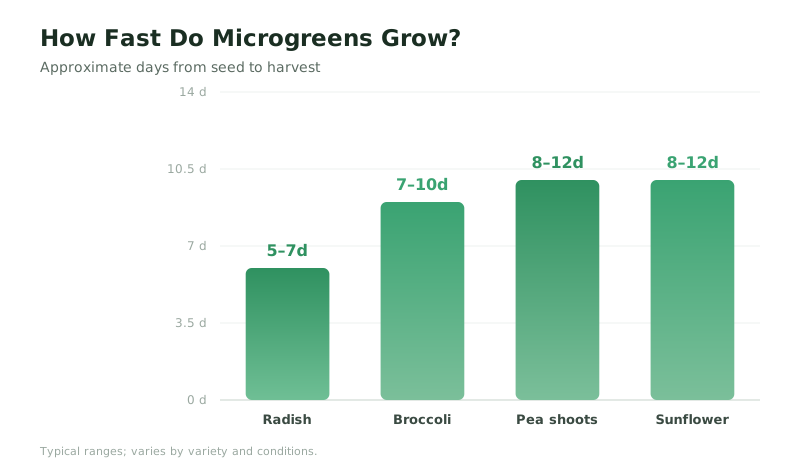
| Radish | 1-2 days | 5-7 days | Fast, vigorous, hard to fail |
| Pea shoots | 2-3 days | 8-10 days | Big seeds, sweet flavor, high protein |
| Broccoli | 1-2 days | 7-10 days | Reliable; rich in sulforaphane precursor |
| Sunflower | 2-3 days | 8-10 days | Crunchy, satisfying, filling |
There is a real nutrition payoff, too, and it is well documented. Peer-reviewed reviews (published in journals such as MDPI's Plants) and USDA data consistently find microgreens are roughly 2 to 3.5 times more nutrient-dense than the same plants harvested mature, with radish microgreens often topping the list. They are particularly rich in vitamins C, K, and E along with antioxidant polyphenols.
Broccoli microgreens are the standout. Johns Hopkins research found that young broccoli can carry roughly 10 to 100 times more of the sulforaphane precursor (glucoraphanin) than the mature head, though the finished sulforaphane you actually get varies widely by variety, growing conditions, and harvest timing. Sulforaphane is an isothiocyanate that forms when you chew or chop the leaves, and it is studied for activating the body's Nrf2 defense pathway. Pea shoots, meanwhile, are one of the more protein-dense microgreens, making them a genuinely strong plant-based protein source.
If you want to go deeper on the science, our overview of microgreens nutrition breaks down the vitamins and compounds worth knowing, and what is sulforaphane explains the broccoli story in full.
The One Problem to Watch: Mold
Mold is the most common reason a tray fails, and it does not care whether you used soil or a mat. It thrives on the same four conditions: too much moisture, poor airflow, overcrowded seeds, and warmth.
A few habits prevent almost all of it:
- Sow seeds with a little breathing room.
- Mist enough to stay damp, never soggy.
- Give the tray some air circulation once it is uncovered.
- Switch to bottom-watering so leaves stay dry.
One thing worth knowing: fuzzy white mold is different from the fine, fuzzy root hairs that radish and broccoli naturally grow near the base. Root hairs disappear when misted; mold does not. If you keep losing trays, our deep dive on why microgreens keep molding covers how to tell the difference and fix the root cause.
The honest truth about manual growing, soil or soil-free, is that it is a consistency problem more than a skill problem. The plants are easy. The daily attention over a roughly 10-day cycle is the hard part, and mats are even less forgiving than soil because they dry out faster. Miss a couple of waterings during a busy week, a work trip, or a weekend away, and a tray can either dry to a crisp or tip into mold before you are back. Most people who quit growing do not quit because they failed at the technique; they quit because life got in the way of the schedule.
When You Want Fresh Greens Without the Chores
Growing on a mat removes the mess, but it does not remove the maintenance. If you love the ritual, that is part of the fun. If you mostly just want a steady supply of fresh greens without babysitting trays, that is exactly the gap the Luya countertop food computer was built to close.
Luya uses pre-seeded trays you simply drop into a sealed, climate-controlled chamber. It manages temperature, watering, and airflow automatically, keeps mold out, and lets you harvest only what you need while the rest keeps growing alive. Think of it like a Nespresso, but for greens, fresh seconds before they hit your plate, with none of the daily upkeep.
Curious how the automated approach compares to a DIY mat setup? See how it works, then read our take on grow vs. buy microgreens to decide which path fits your kitchen and your week.
References
- Fahey JW, Zhang Y, Talalay P. Broccoli sprouts: an exceptionally rich source of inducers of enzymes that protect against chemical carcinogens. PNAS. 1997;94(19):10367–10372. https://doi.org/10.1073/pnas.94.19.10367
- Kyriacou MC, Rouphael Y, Di Gioia F, et al. Micro-scale vegetable production and the rise of microgreens. Trends Food Sci Technol. 2016;57:103–115. https://doi.org/10.1016/j.tifs.2016.09.005