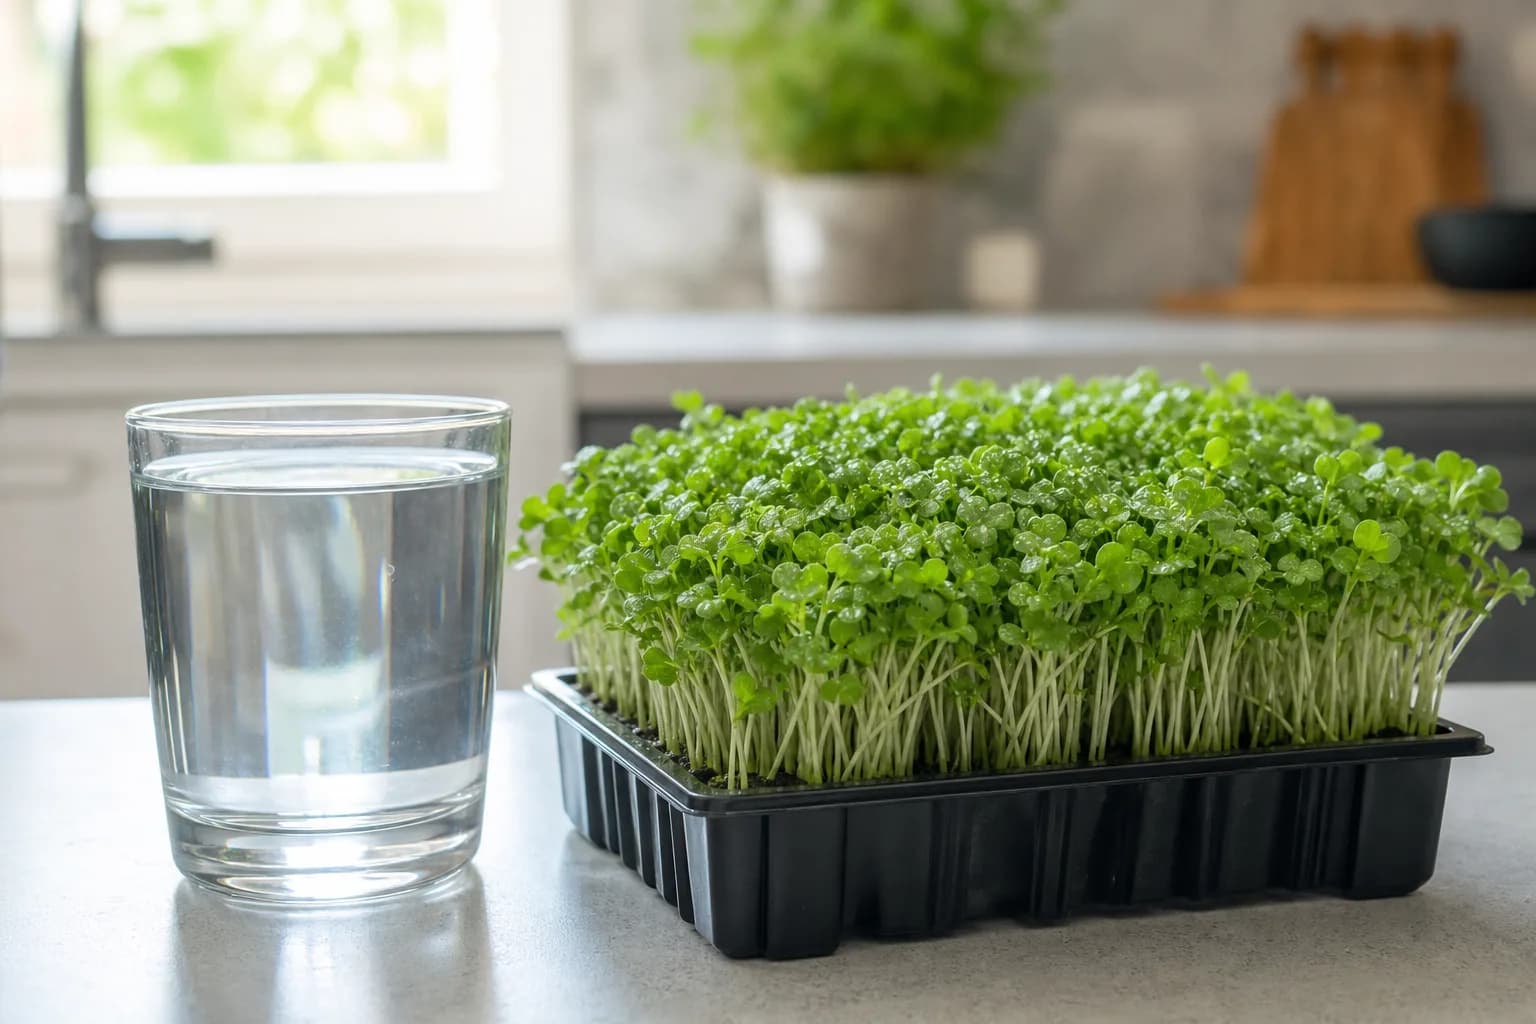
Ask ten microgreens growers what ruined their last tray, and most will blame the seed, the light, or bad luck. Water rarely makes the list. Yet water is the one input your seedlings touch from the first soak to the final rinse. It carries oxygen to the roots, dissolves whatever nutrients you offer, and sets the stage for either a clean, crisp harvest or a slimy, moldy mess.
The good news: water for microgreens is far less fussy than the hydroponics forums make it sound. You don't need a lab, and you almost never need to chase a perfect number. But understanding three things — pH, EC, and basic water quality — helps you fix problems faster and waste fewer trays. Let's keep it plain.
Why water quality matters more than you'd think
Microgreens are harvested young, usually within 7 to 14 days. That short life cycle is a blessing: there's no time for the slow nutrient deficiencies that plague tomato or lettuce growers. A microgreen leans heavily on the food packed inside its seed, so the water mostly needs to do two jobs well: stay clean and stay oxygenated.
Where water bites you is on the contamination side. Warm, still, nutrient-rich water is a paradise for bacteria, fungi, and the fuzzy mold that turns a promising tray into compost. If you've ever battled white fuzz on your roots, water management was probably part of the story. (We dig into that whole problem in why microgreens keep molding.)
There's also a quieter reason to care: you eat these greens raw, often within minutes of cutting them. Plants filter out many contaminants well, but not perfectly. The same water that grows your food becomes part of your food. So the first question isn't "what's the ideal pH?" — it's "would I drink this water?"
Tap, filtered, or distilled: what to pour on your trays
For most home growers, ordinary tap water grows excellent microgreens. It's convenient, cheap, and usually contains trace minerals that seedlings can use. The exceptions are worth knowing.
| Water source | Best for | Watch out for |
|---|---|---|
| Tap (municipal) | Everyday growing, most crops | Chlorine/chloramine, hard-water minerals |
| Filtered (carbon) | Removing chlorine and odd tastes | Doesn't soften hard water |
| Distilled / RO | Sensitive setups, very hard supplies | Zero minerals; "empty" water |
| Well water | Free, mineral-rich | Untested heavy metals, high hardness |
If your tap water smells strongly of chlorine, or you're on untested well water, those are the cases where a simple change pays off. A carbon filter handles chlorine; a test kit handles peace of mind about heavy metals. Distilled and reverse-osmosis (RO) water are the cleanest, but so stripped of minerals that you'll want to add a light nutrient solution if you use them often.
Understanding pH (and why microgreens forgive it)
pH measures how acidic or alkaline your water is, on a scale from 0 to 14, where 7 is neutral. For full-grown hydroponic plants, pH is a big deal: get it wrong and roots can't absorb certain nutrients no matter how much you feed them. The sweet spot most growers target is mildly acidic, around 5.5 to 6.5.
Here's the part that surprises people: with microgreens, pH matters far less. Young seedlings living off seed reserves for a week or two aren't as sensitive to pH swings as a mature plant pulling nutrients for months. Most tap water lands between 6.5 and 8, and microgreens grow happily across that whole band.
| Use case | Target pH | How picky? |
|---|---|---|
| Microgreens (water only) | 6.0 - 7.5 | Very forgiving |
| Microgreens (with nutrients) | 5.8 - 6.5 | Slightly fussier |
| Mature hydroponic plants | 5.5 - 6.5 | Strict |
| Seed soaking / priming | 6.0 - 7.5 | Barely matters |
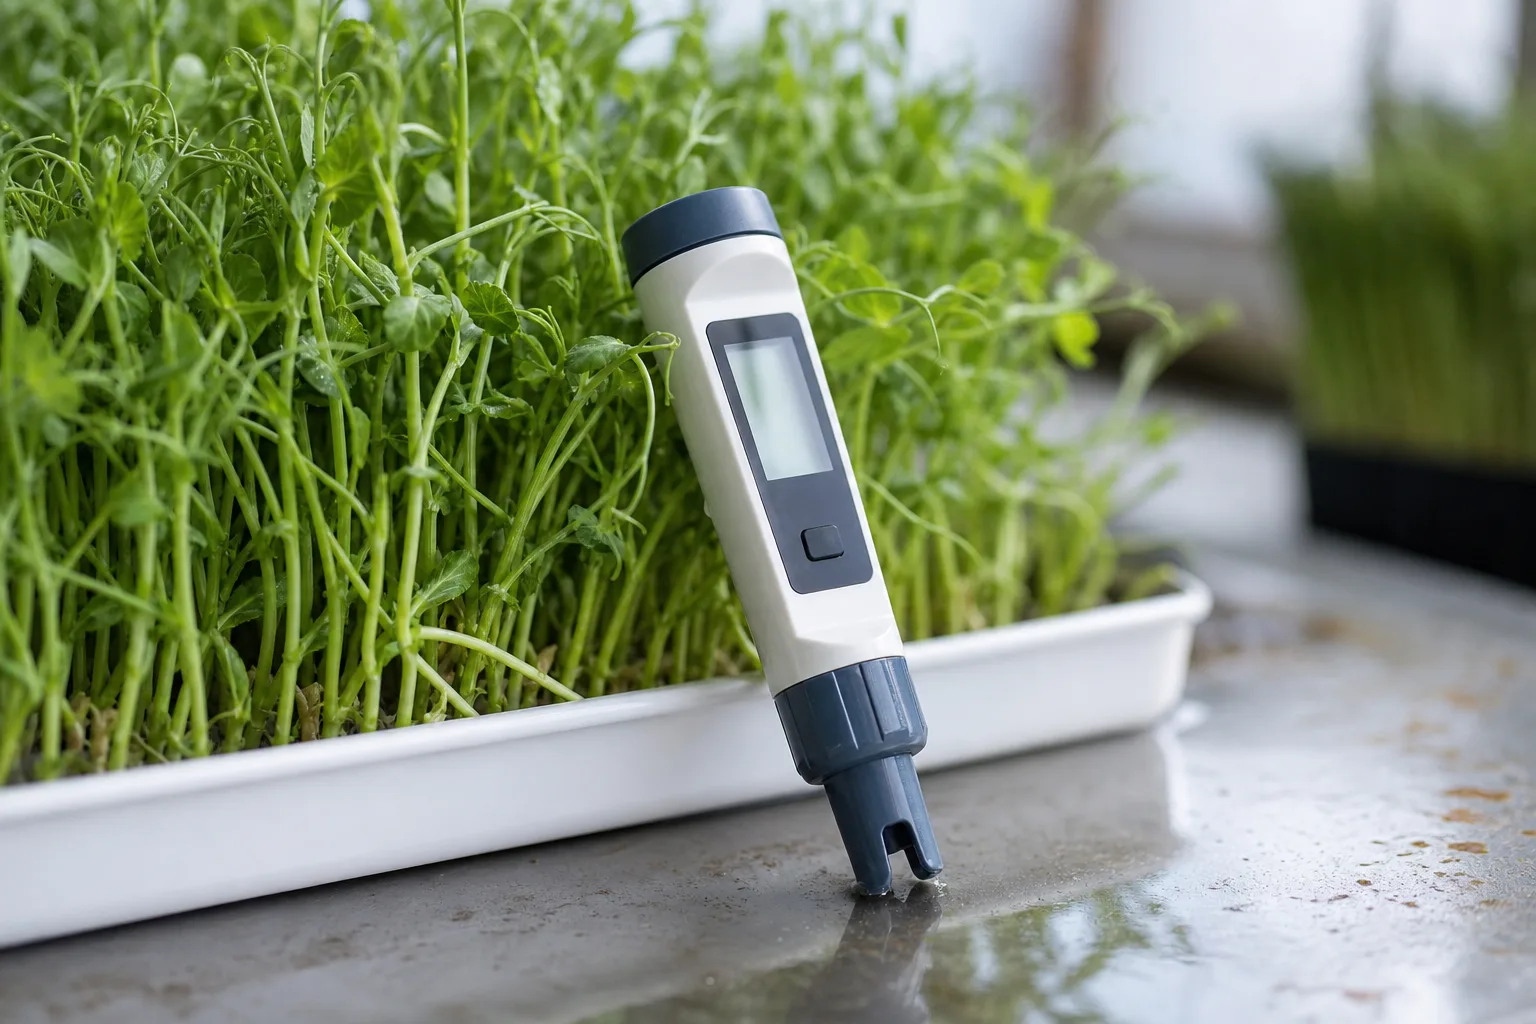
So unless you're feeding a nutrient solution or your water is unusually alkaline (above 8), you can skip pH adjustment entirely. A $10 pH meter is nice for the curious, but not a requirement for clean, vigorous trays. If you do feed nutrients, that's when nudging pH toward the low-6 range starts to earn its keep.
EC: the number that tells you how "strong" your water is
EC stands for electrical conductivity, and it's a clever shortcut. Pure water barely conducts electricity; dissolve minerals and fertilizer salts into it, and conductivity rises. So EC measures how much dissolved food is in your water — the higher the EC, the "stronger" the solution. (You'll sometimes see the same idea expressed as ppm, or parts per million.)
For plain water growing, you can ignore EC. The interesting case is when you add nutrients. In side-by-side trials, microgreens fed a light nutrient solution often look more robust and reach harvest a touch faster than water-only trays. The seed gives you a baseline; a modest dose of dissolved nutrients adds a little extra.
The key word is modest. Microgreens don't need the rich diet a fruiting plant does, and overfeeding does more harm than good — excess salts stress seedlings and feed the wrong microbes.
| Growing approach | Target EC (mS/cm) | Rough ppm | Notes |
|---|---|---|---|
| Water only | 0.0 - 0.5 | 0 - 250 | Perfectly viable for most crops |
| Light nutrient feed | 0.8 - 1.2 | 400 - 600 | A sensible starting strength |
| Standard microgreen feed | 1.2 - 1.6 | 600 - 800 | Upper end for hungry crops |
| Too strong (avoid) | 2.0+ | 1000+ | Risk of salt stress, slow growth |
A cheap combo pen meter reads both pH and EC and costs about as much as two bags of seed. If you decide nutrients are worth the effort, that little tool turns guesswork into a repeatable recipe. For more on whether to feed at all, see do microgreens need nutrients.
The chlorine question
Chlorine has a bad reputation, but the picture is more balanced than the word suggests. Municipal water is chlorinated precisely because chlorine is a cheap, effective disinfectant — it's the same chemistry that keeps drinking water safe worldwide. After it does its job, chlorine breaks down into little more than salt and water.
For your trays, that disinfecting quality cuts both ways. A small amount of chlorine can actually help suppress the bacteria and fungi that cause damping-off and mold. But heavily chlorinated water, or chloramine (a more stable cousin many cities now use), can be harsh on delicate seedlings.
If your water tastes or smells strongly of chlorine, two easy fixes work:
- Let it sit. Leave tap water in an open container overnight and free chlorine gasses off on its own. (This doesn't remove chloramine.)
- Filter it. A basic carbon filter removes both chlorine and chloramine reliably.
For seed sanitizing — a separate step from watering — a properly diluted chlorine bleach soak is a legitimate, well-documented technique to knock back surface pathogens before you sow. Used correctly and rinsed, it's a tool, not a villain. The one rule that's non-negotiable: never mix bleach with any other chemical, because the reactions can produce genuinely toxic gases.
Overwatering: the mistake hiding in plain sight
If there's a single water habit that wrecks more trays than any other, it's overwatering. Microgreen roots need oxygen as much as moisture. Drown them in a saturated, standing-water tray and they suffocate, rot, and invite anaerobic bacteria — the kind that produce that sour, swampy smell.
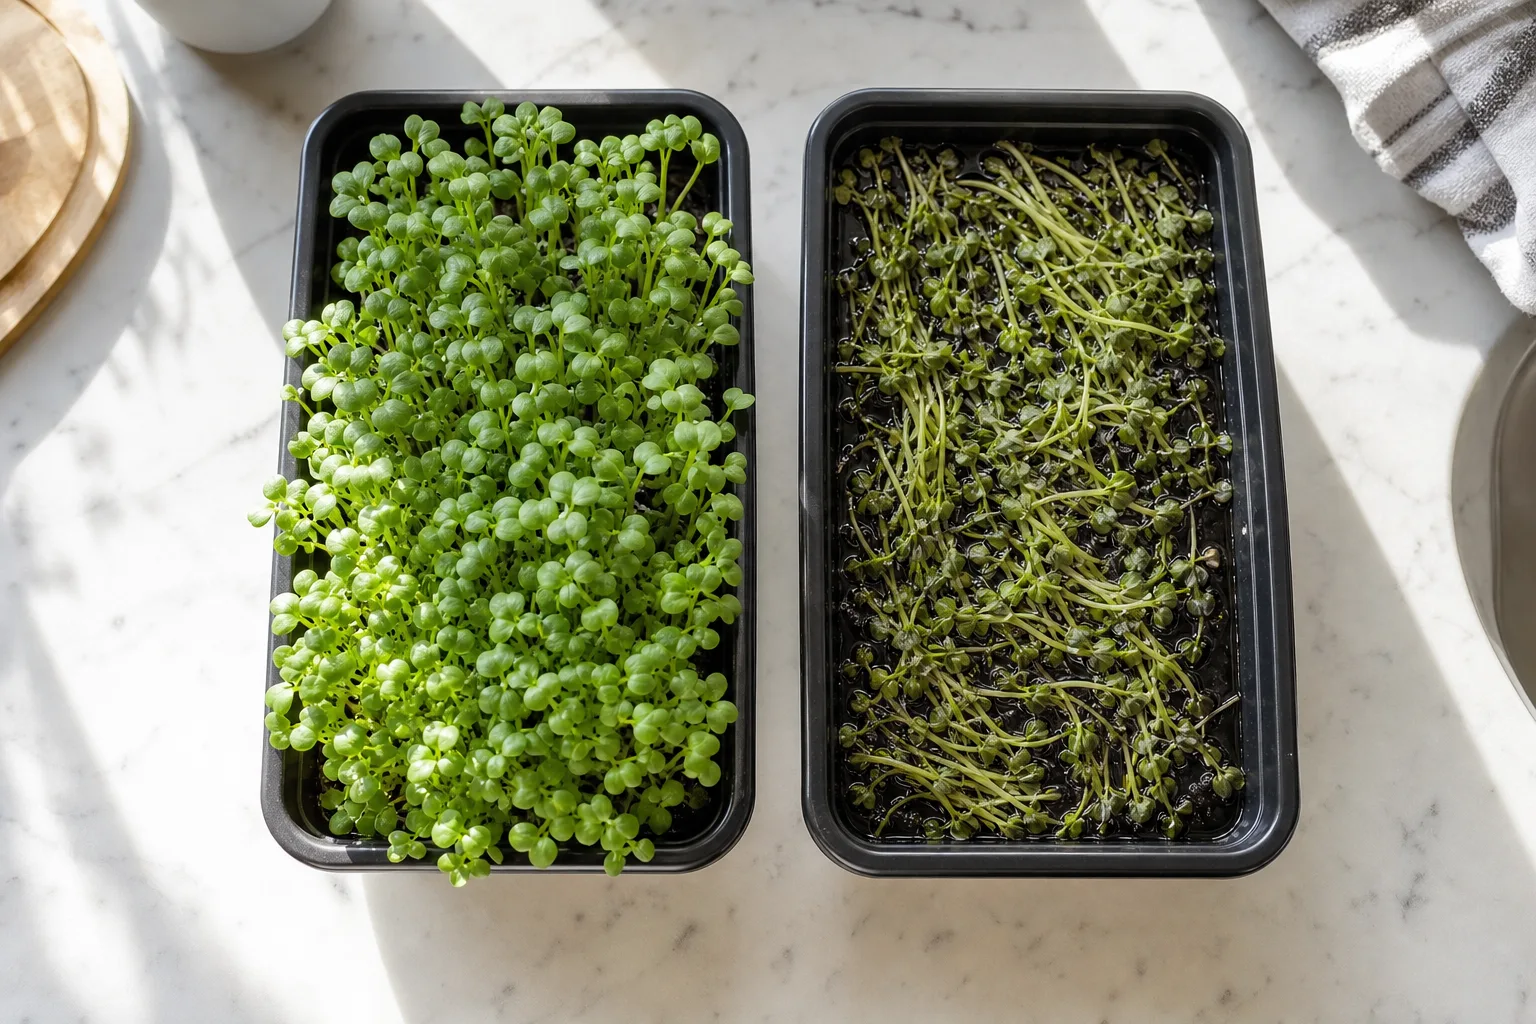
The fix is to think in terms of moist, not wet:
- During germination, keep seeds humid in the dark, but don't leave them sitting in a pool.
- After greening up, bottom-water when you can — pour water into a lower reservoir and let roots drink upward, keeping leaves and stems dry. Dry foliage resists mold far better than misted leaves.
- Empty standing water rather than letting trays marinate. Fresh, oxygenated water beats stale, still water every time.
- Mind airflow. Good air movement and watering discipline are partners; one without the other still leaves you vulnerable.
This balance — enough water, well-oxygenated, never stagnant — is tedious to manage by hand and easy to get wrong on a busy week. It's also one of the jobs a countertop grower like Luya is built to handle, metering water and airflow automatically so the seedlings get conditions you'd otherwise have to babysit. Weighing the hands-on route against an automated one? Grow vs buy microgreens lays out the trade-offs.
Putting it together
Water for microgreens rewards common sense over precision. Start with clean water you'd happily drink. Don't lose sleep over pH unless you're feeding nutrients or your supply is genuinely alkaline. Treat EC as a dial you only touch if you choose to feed, and keep that feed light. Knock down strong chlorine with a carbon filter or an overnight rest. And above all, water to keep the medium moist and the roots oxygenated — never drowned.
Get those basics right and most "mystery" failures quietly disappear. The seeds were probably fine all along; the water just needed a little respect. Once watering is dialed in, the rest of the grow gets a lot easier, and you can move on to the fun part: figuring out how to eat microgreens faster than you can grow them.