If you have ever lifted the lid on a tray of microgreens and found a patchy, uneven mess, you are not alone. Some seedlings shoot up tall while others sulk near the soil line. A few never crack their hulls at all. The fix is rarely fancier seed or stronger light. More often, it is something that happens in the first few days, in the dark, before a single green leaf appears.
Growers call it the blackout method, and it is the quiet workhorse behind nearly every clean, even tray you have ever admired. The idea is simple: keep your seeds dark, humid, and gently pressed for the first stretch of their life, then reveal them to light all at once. Done right, it gives you taller stems, tidier trays, and a noticeably heavier harvest. Here is exactly how it works and how to get it right at home.
What the blackout method actually does
When a seed germinates in nature, it pushes up through soil. That soil does two useful things at once. It blocks light, and it presses down with steady weight. The blackout method recreates both conditions on purpose, without the soil.
The darkness matters because microgreens respond to light by slowing their upward stretch and rushing to open their seed leaves, called cotyledons. Keep them dark and they do the opposite. The stems elongate, reaching for light that is not there yet, and the cotyledons stay closed and tucked. That stretch is not a flaw. It is exactly what you want at this stage, because longer stems mean more harvest weight and more length to grip when you cut.
The gentle pressure matters just as much. As a seedling pushes against resistance, the friction helps it shrug off its seed hull and drives the root downward into the moisture below. Without that resistance, one seed's upward growth can dislodge a neighbor and pop it clean out of the root zone, which is a big reason patchy trays stay patchy. If you are new to all this, our guide on what are microgreens is a good place to start before you dive into technique.
Step one: soak the seeds that need it
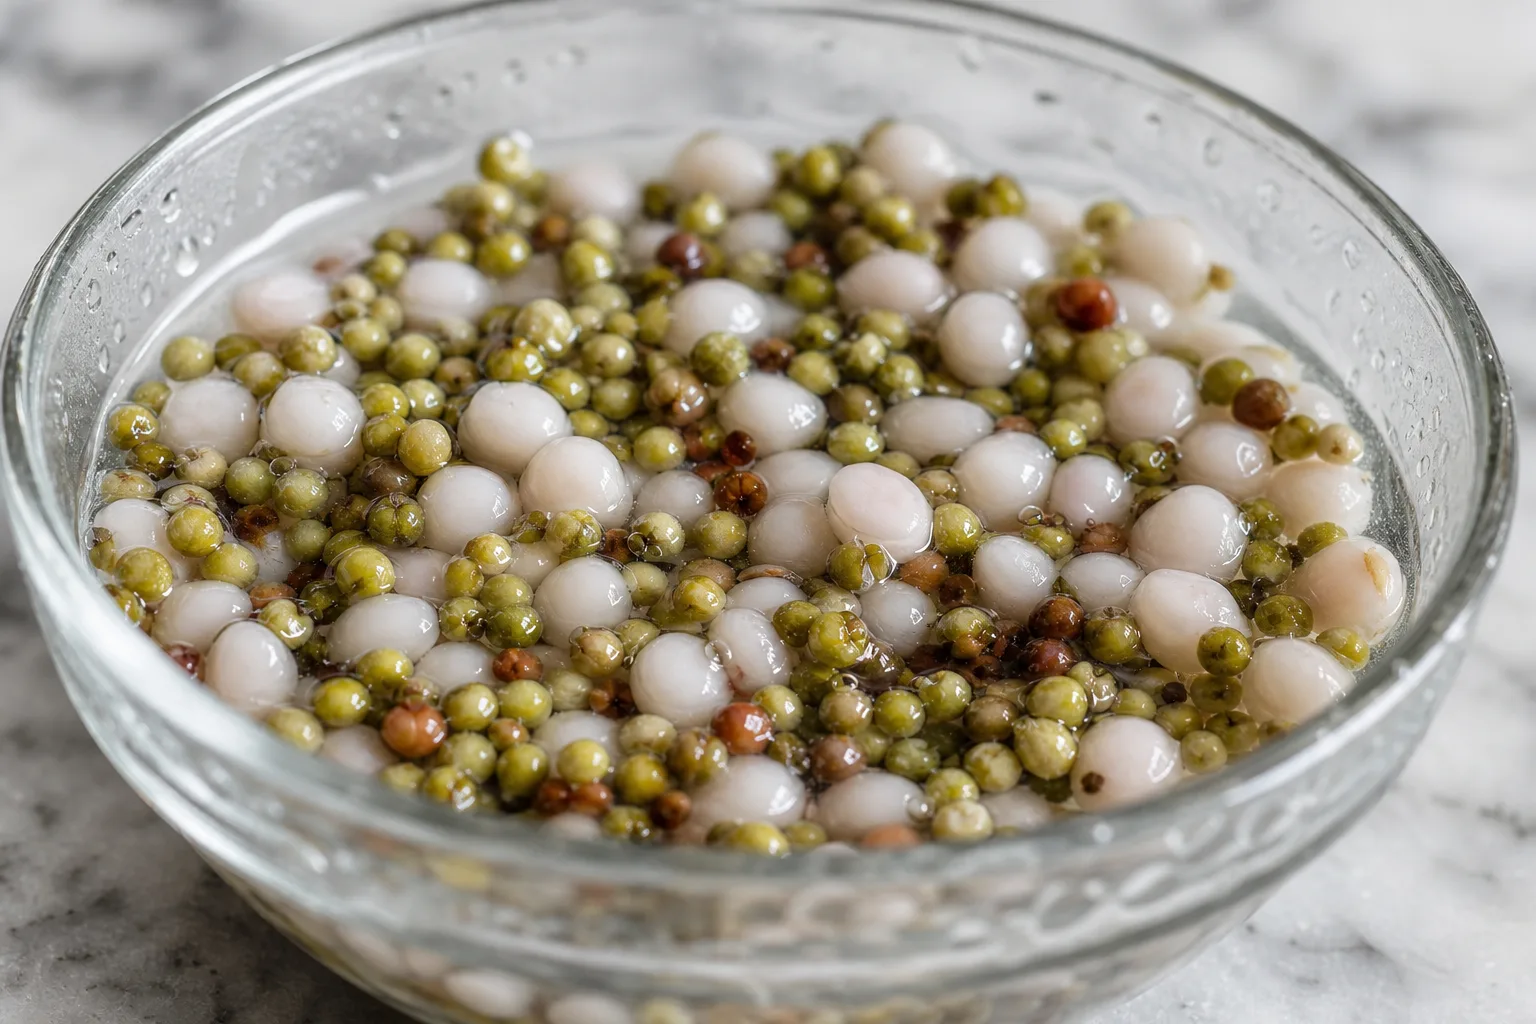
Not every seed needs a soak, but for many of them a pre-soak, sometimes called priming, gives germination a real head start. Soaking lets water seep through the seed coat and switch on the germination machinery before the seed ever hits your tray.
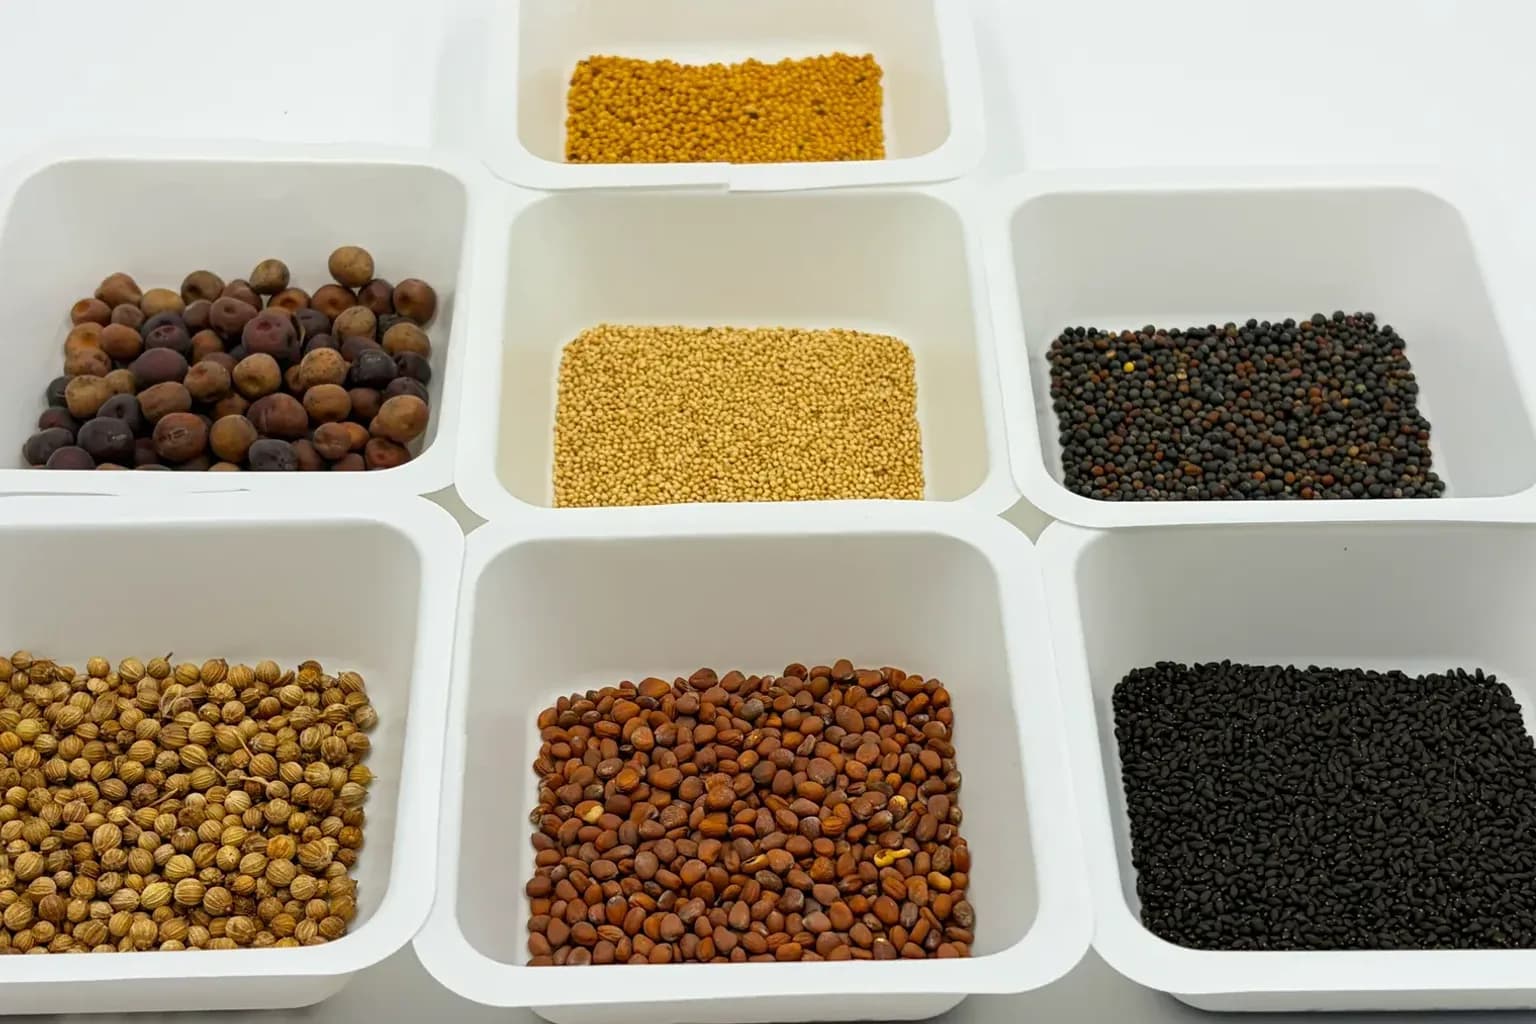
The rule I follow is straightforward: when in doubt, soak, but do not overdo it. Around 12 hours is plenty for most microgreen seed. I have watched grows underperform from soaking far too long just as often as from skipping it, so treat 12 hours as a ceiling rather than a target you must hit. Large seeds like peas, sunflower, and beans benefit most. Tiny seeds such as broccoli, radish, and arugula often do fine with just the humidity inside the tray and need no soak at all.
| Seed type | Examples | Pre-soak time | Notes |
|---|---|---|---|
| Large / hard-coated | Pea, sunflower, mung bean | 8–12 hours | Soak insurance pays off; drain well before sowing |
| Medium | Beet, cilantro, chard | 4–8 hours | A short soak speeds and evens germination |
| Small / mucilaginous | Broccoli, radish, arugula, chia | 0 hours | Skip the soak; gel-forming seeds clump if soaked |
After soaking, drain thoroughly. Sitting water is the enemy at this stage, so you want seeds damp, not flooded. Drowned seeds either rot or simply refuse to sprout.
Step two: sow, cover, and go dark
Spread your seeds evenly across the growing surface. Even sowing is the foundation of an even tray, so take your time here. Density matters too: too sparse and you waste tray space, too crowded and you invite mold. For crop-specific guidance, our how to grow microgreens at home walkthrough covers the basics.
Now seal the tray in darkness. There are two classic ways to do this, and most growers use a combination:
- A cover that rests flush on the growing surface. A solid cover, often a cut piece of food-grade plastic, both blocks light and adds the steady downward weight that mimics soil. A typical cover weighs about two pounds, which is enough resistance for most crops on its own.
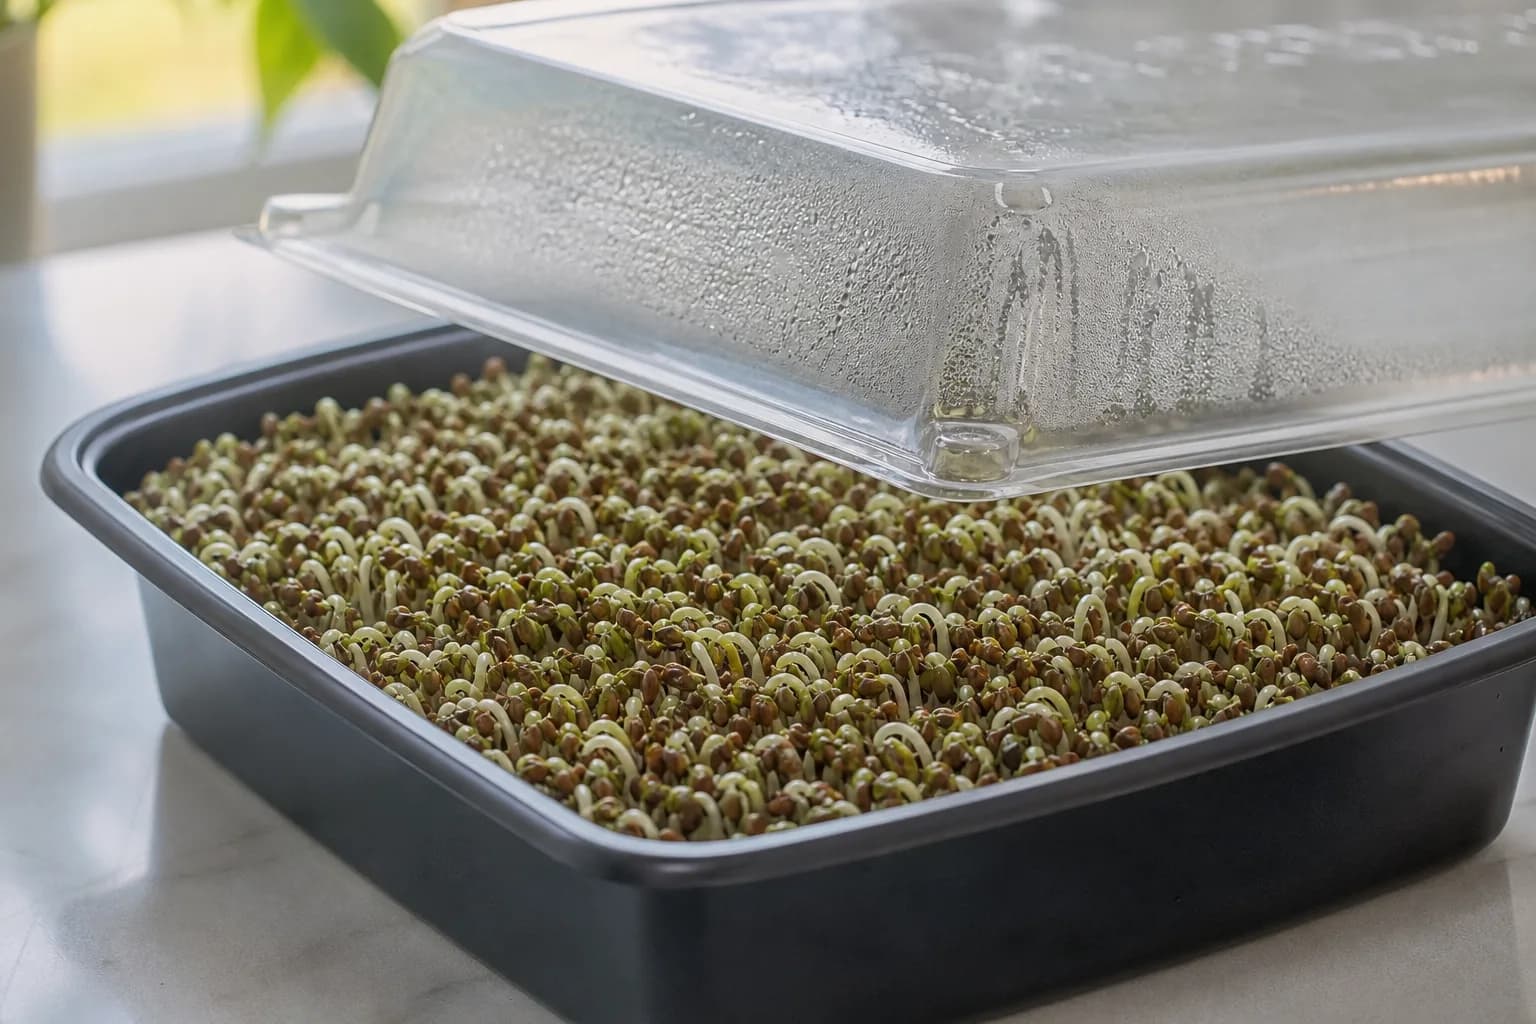
- A humidity dome placed over the tray. The dome traps moisture, keeping the seedbed warm and humid so the seeds never dry out during their most vulnerable days.
Stacking the two is the move I reach for most: cover directly on the seeds for weight and dark, dome over the top for humidity. The dome also gives elongating stems somewhere to grow as the days pass.
Step three: add weight if the crop asks for it
For many crops, the standard cover supplies all the resistance you need. But some microgreens, especially densely sown ones or seeds with stubborn hulls, do better with a little extra weight on top. The added pressure helps strip seed hulls and pushes competing roots down into the moisture instead of letting them tangle and lift each other.
You do not need anything special. Small one-pound vinyl-covered workout weights work nicely because they are compact and easy to sanitize. Anything clean and flat that fits over the cover but under the dome will do. Since the weight never touches the greens, it does not need to be food-grade, though a zip-top bag around it is easy insurance if that bothers you.
| Crop | Typical extra weight | Why |
|---|---|---|
| Broccoli, kale, cabbage | None to 1 lb | Dense sowing benefits from light pressure |
| Radish, mustard | None | Cover weight is usually enough |
| Pea, sunflower | 1–2 lbs early on | Heavy weight helps shed hulls and anchor roots |
| Basil, chia | None | Delicate; resists stem stretch even in dark |
A word of caution: keep the weight period short. Once stems are pushing up hard, leaving heavy weight on will crush them. The weight is for the first couple of days, not the whole blackout.
Step four: knowing when to uncover
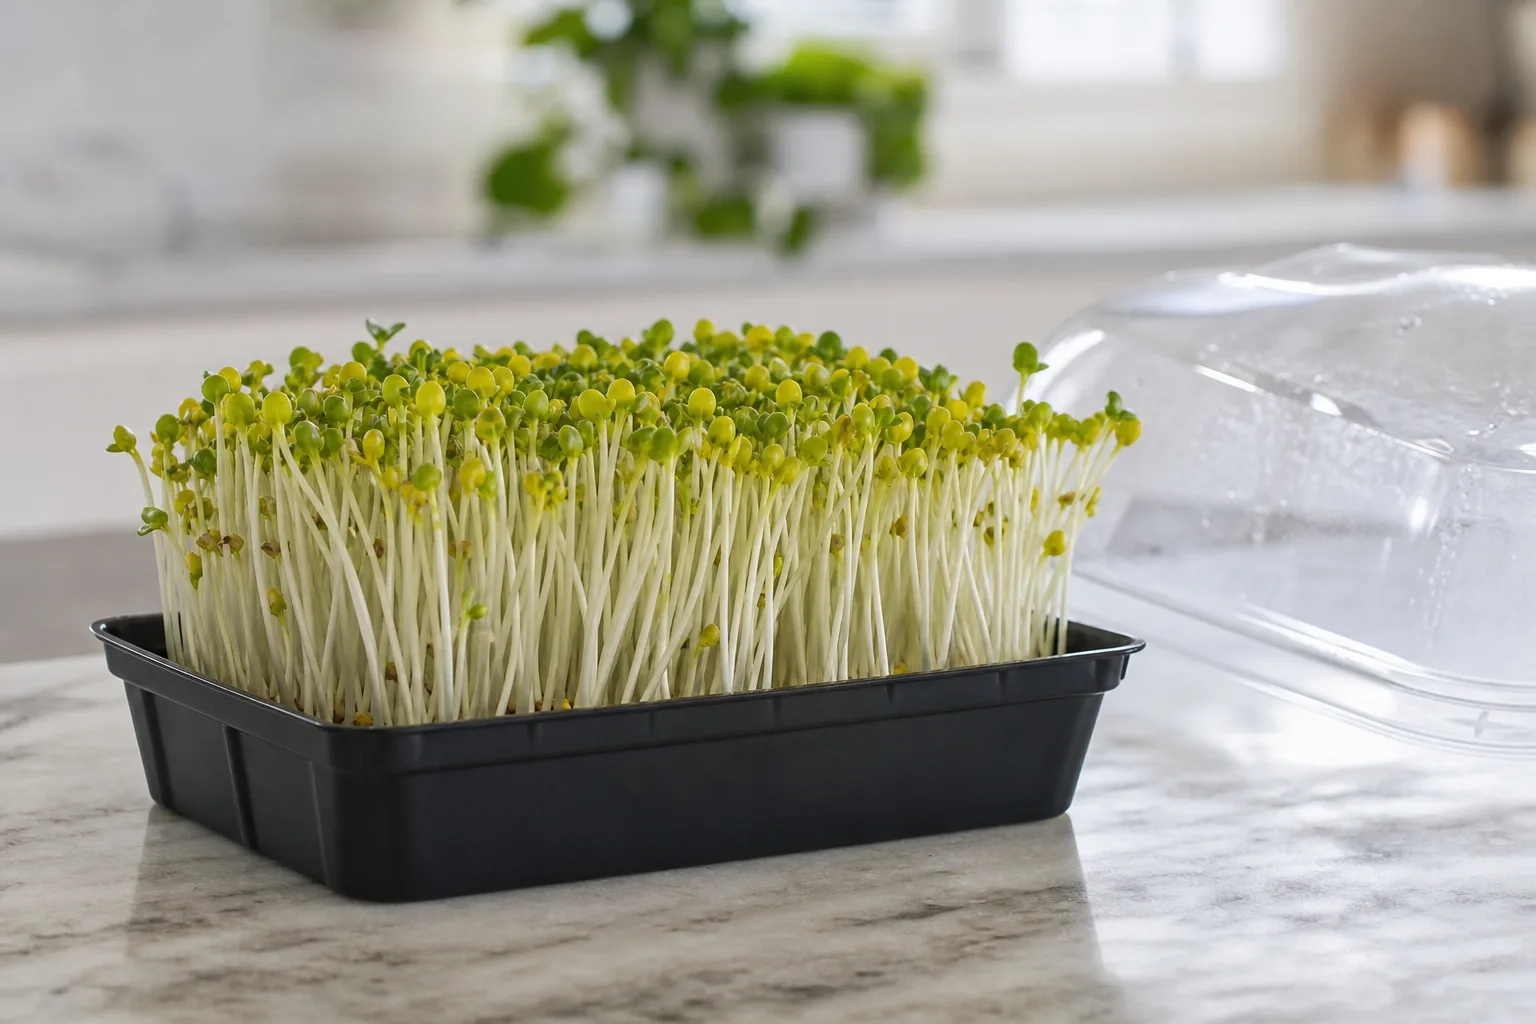
This is the question every grower asks, and the honest answer is that you uncover when the crop tells you to, not on a fixed calendar date. The clearest signal is height. Once the seedlings have grown taller than the rim of your tray and are pressing up against the cover or dome, they have done the work that darkness is meant to do. The stems are long, the tray is even, and they are now reaching hard for light.
At that point, pull the cover and dome and move the tray into the light. The seedlings will be pale, even yellow or white, which is completely normal after days in the dark. Within a day or two of light, they green up fast and the cotyledons open and fill out. Some growers, myself included, even keep certain crops dark all the way to harvest for a tender, mild, pale green I think of as a blackout blonde. Peas and mung beans are wonderful this way.
How much light afterward? Microgreens are not fussy. A daylight-white spectrum in the 5000K to 6500K range works well, and somewhere around 16 hours a day is a comfortable default, mimicking a long natural day while still giving them a nightly rest. You can learn more in our piece on light and microgreen nutrition.
Why this gives you sturdier, more uniform stems
It is worth pausing on the payoff, because the blackout method does more than just look tidy. The stretch you get in the dark adds real mass. Longer stems weigh more, and because the seedlings push against each other as they reach upward, they self-space and crowd less, which evens out the whole tray. By the time they hit the light together, they green up in unison instead of in patches.
There is also a practical, anti-mold benefit. Even germination means fewer stragglers rotting under the canopy, and a clean blackout combined with good airflow once the dome comes off goes a long way. If mold has been your nemesis, our guide on why microgreens keep molding pairs well with this method. Consistent warmth helps too; aim to keep your growing area in the 70 to 80°F range throughout.
If all of this sounds like a lot to babysit, that is exactly the gap an automated grower closes. A countertop system like Luya manages the dark germination window, humidity, and light transition for you, so the blackout method runs itself instead of living on your to-do list. For the bigger picture on hands-off growing, see how Luya works.
The short version
The blackout method is not a trick so much as a faithful copy of what soil already does: it keeps seeds dark, damp, and gently pressed while they find their feet. Soak the seeds that need it, sow evenly, cover for weight and darkness, dome for humidity, add a touch of extra weight for stubborn crops, and uncover the moment the seedlings outgrow the tray. Do that and you trade patchy, leggy chaos for tall, even, satisfyingly heavy trays. It is the least glamorous stage of growing and quietly the most important one.