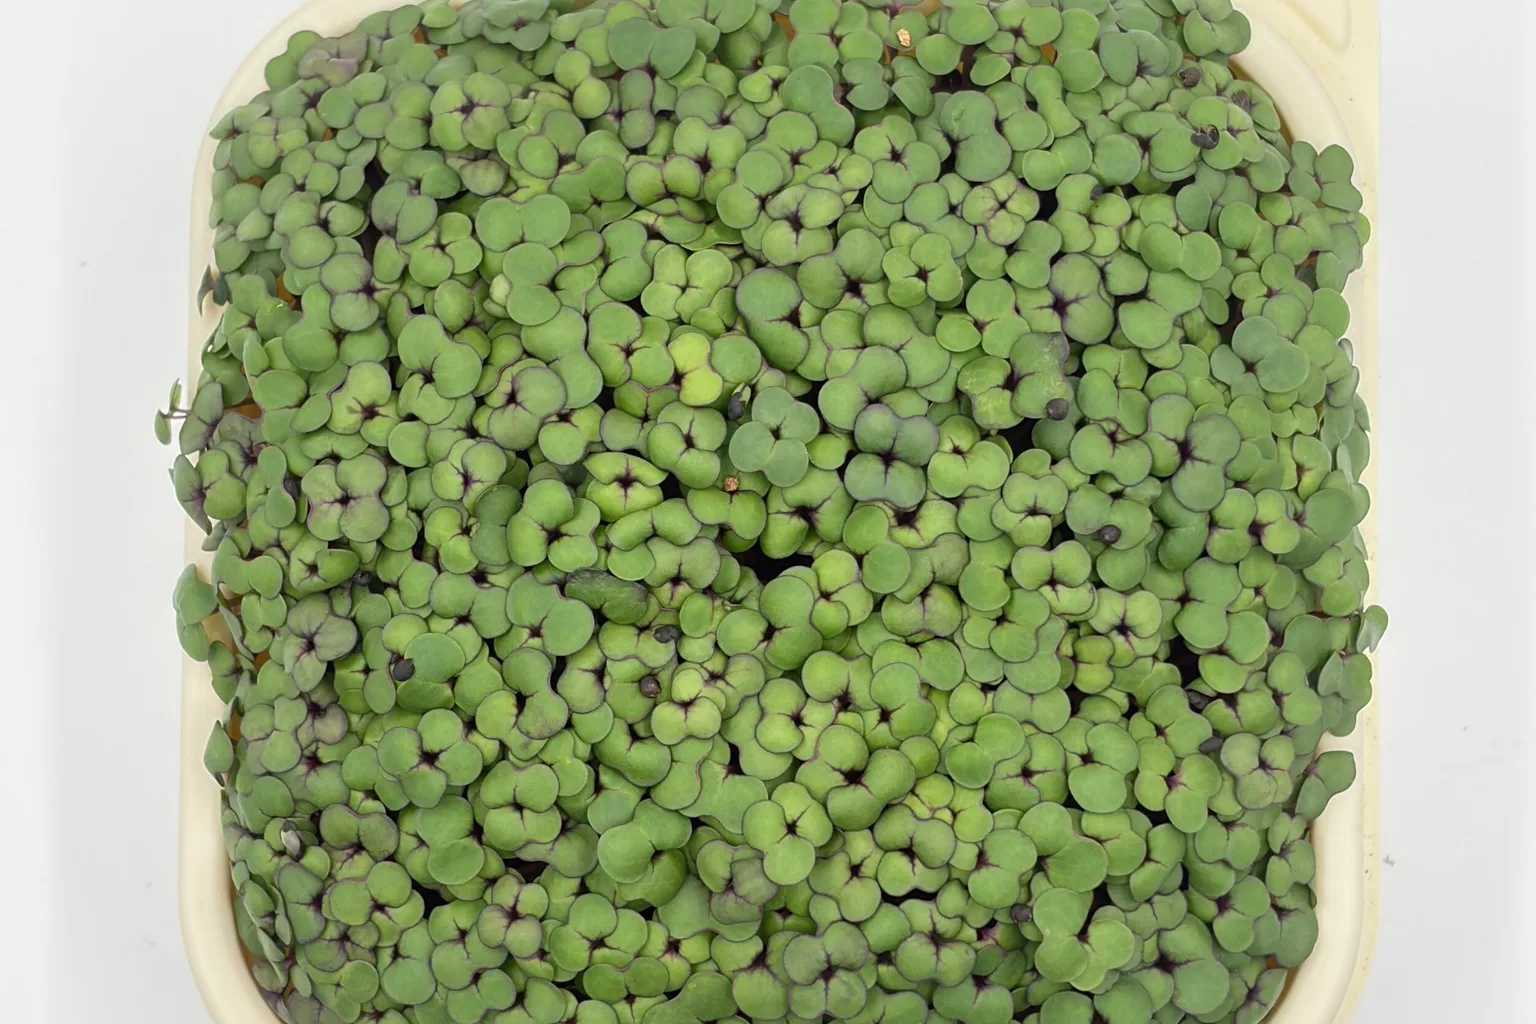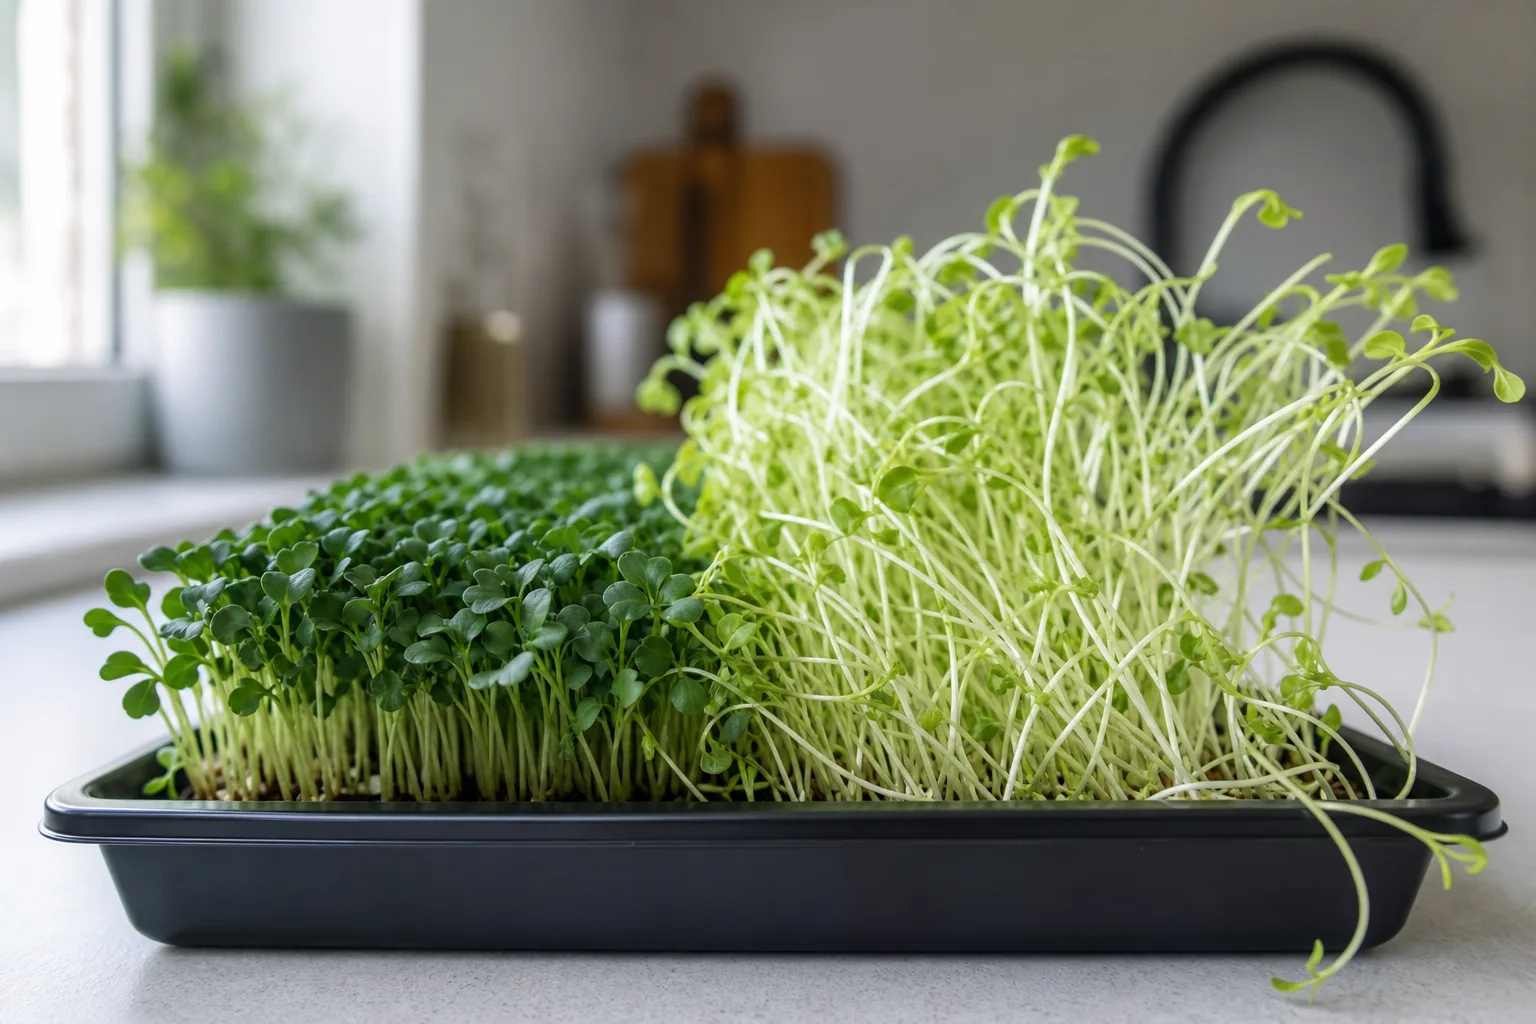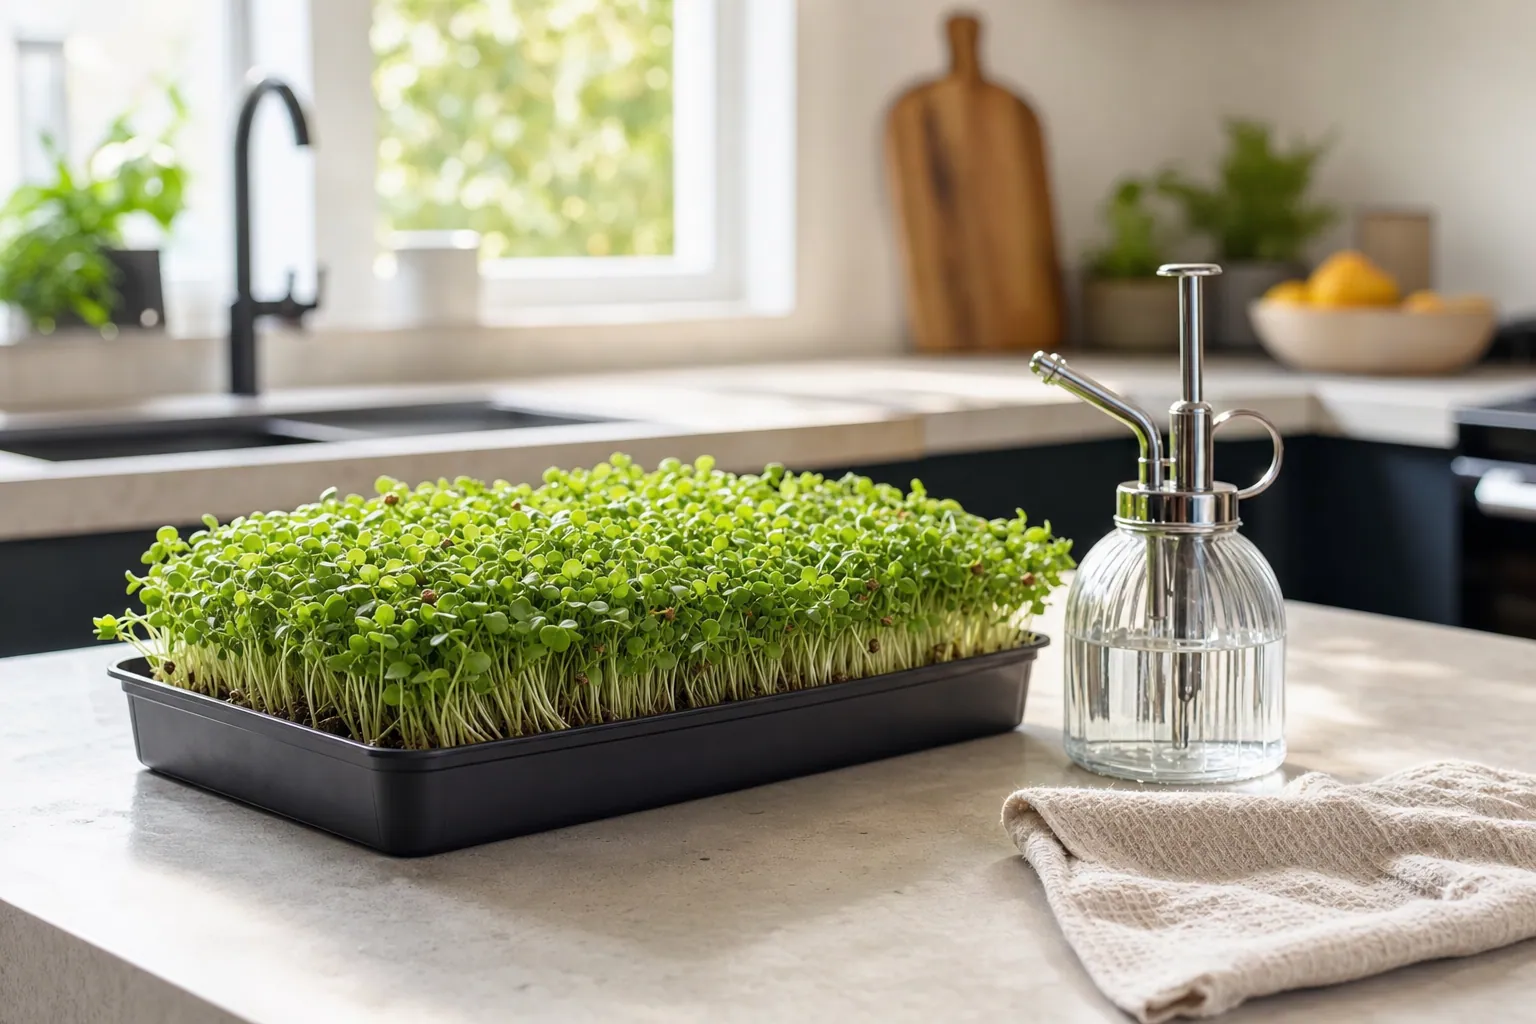
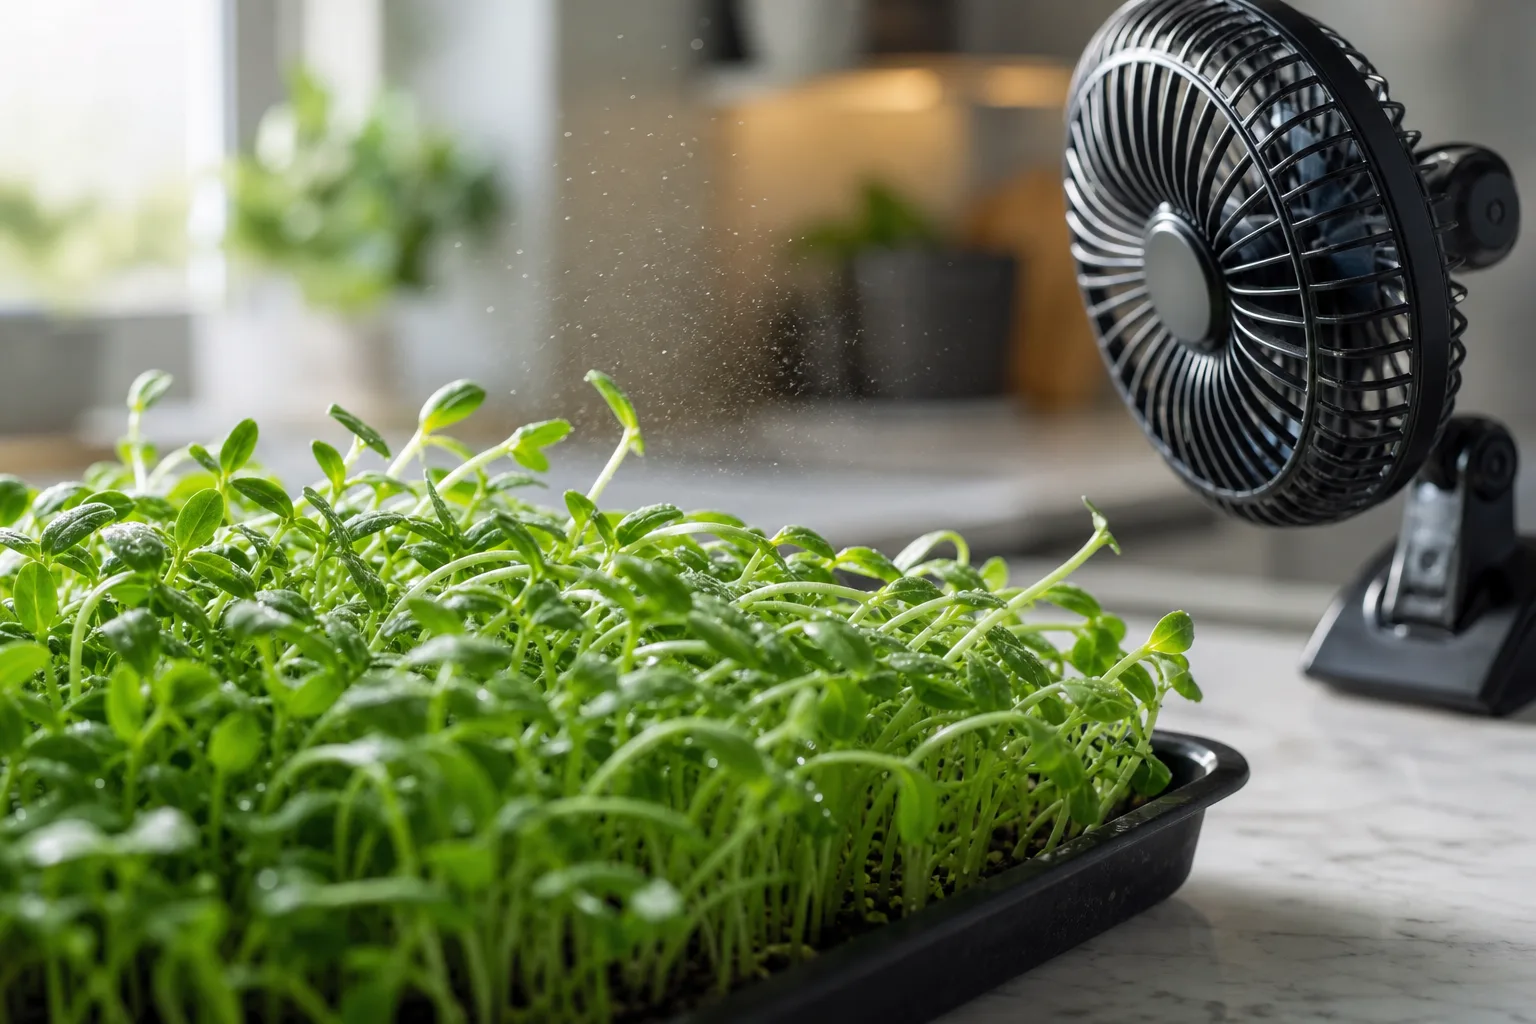
There is a heartbreaking moment that almost every microgreens grower runs into at least once. You lift the cover off a tray that looked perfect yesterday, and overnight a patch of seedlings has gone limp, the stems pinched and watery right where they meet the soil. By the time you notice, those plants are already gone. That collapse has a name: damping-off. And the two things most likely to cause it are not exotic pathogens or bad seed. They are the most ordinary parts of your setup: the air around your tray and the moisture trapped against it.
Get airflow and humidity right, and most of your mold and rot problems quietly disappear. Get them wrong, and you will spend your evenings chasing fungus you can never quite beat. Let's break down why this happens and exactly what to do about it.
What damping-off actually is
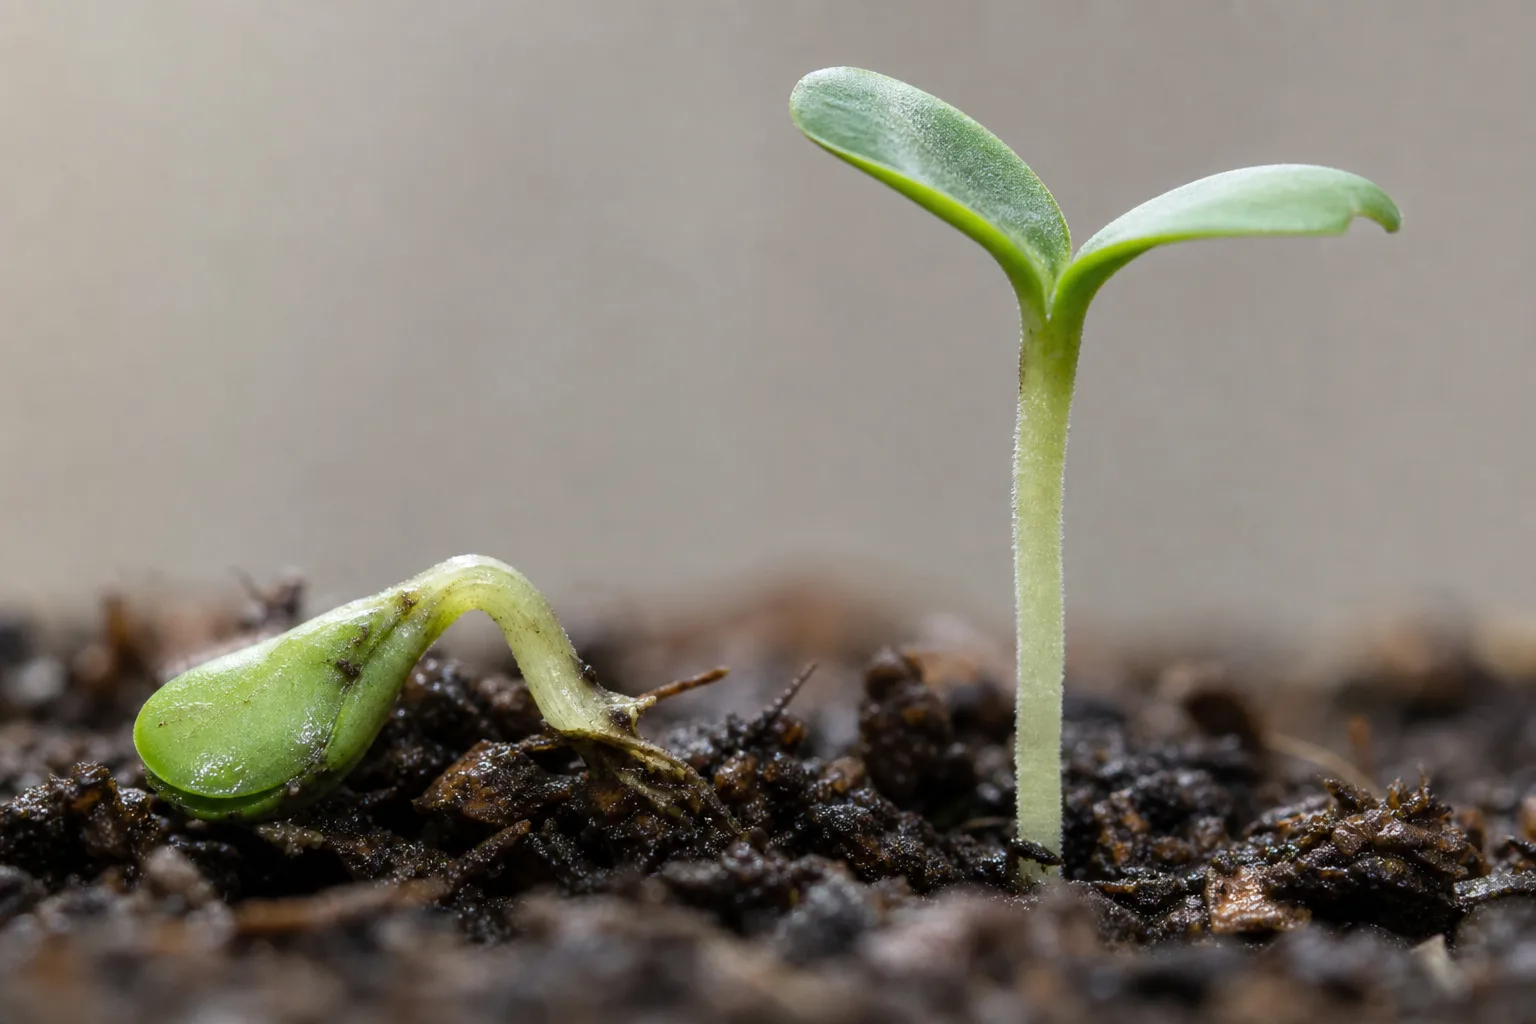
Damping-off is a catch-all term for young seedlings rotting and collapsing, usually at the stem base. The usual culprits are water molds in the Pythium family, along with a handful of other opportunistic fungi. These organisms are root parasites that thrive in stagnant, oversaturated conditions. Once they take hold, they cause browning roots, slimy patches, stunted shoots, and that telltale withering that can spread from a small spot to the whole tray in a day.
Here is the part most people miss: the spores are already everywhere. Fungal spores live in the air, on surfaces, and in your environment all the time. You are never going to sterilize them out of existence in a home kitchen. So the goal is not elimination. The goal is to make your tray an unwelcoming place for them to grow. Fungi love three things working together: warmth, standing moisture, and still air. Take away even one of those and you tilt the odds dramatically in your favor.
If you want the deeper dive on mold specifically, we cover the biology and the cleanup routines in why microgreens keep molding. This article is about the prevention side: managing the air and the water before a problem ever shows up.
The humidity trap (and why it's worth it anyway)
Most growers start their seeds under a blackout dome or lid, and for good reason. That sealed, dark, humid pocket holds moisture against the seeds and gives them the consistent conditions they need to germinate fast and evenly. A good blackout phase is one of the single most reliable things you can do for strong, uniform sprouting. We walk through it in microgreens germination and the blackout phase.
But that same humid dome is a double-edged tool. The moment germination is done and the tray is packed with tender new growth, that trapped, super-saturated air shifts from helpful to dangerous. High humidity plus warmth is, quite literally, a recipe for growing fungus. The danger window is widest while the dome is still on and the plants are just forming, because that is when conditions are most humid and the seedlings are most fragile.
So the skill is not "keep humidity high" or "keep humidity low." It is knowing when to transition. Hold the humidity while seeds germinate, then deliberately open things up and get air moving the moment you uncover the tray.
| Growth phase | Target humidity | Airflow | Why |
|---|---|---|---|
| Germination (covered) | 80–95% (sealed dome) | Minimal | Keeps seeds evenly moist to sprout fast |
| Uncovering / early light | 50–70% | Gentle, indirect | Toughens stems, dries the surface |
| Vegetative growth | 40–60% | Steady, light breeze | Discourages fungus, builds sturdy plants |
| Pre-harvest | 40–55% | Steady | Cleaner, drier shoots for storage |
These ranges are practical targets, not lab absolutes. The pattern matters more than hitting a precise number: high and still at the start, drier and moving once the leaves are out.
Why moving air changes everything
When air sits still over a tray, a humid microclimate forms right at the canopy and soil surface. The water that should be evaporating off your medium just lingers. That thin, saturated layer is exactly the habitat water molds want.
Moving air breaks that layer up. A gentle breeze does three useful things at once. It equalizes humidity so no single pocket stays soggy. It speeds evaporation from the surface so the medium is moist but never swampy. And, as a bonus, light mechanical stress from moving air actually encourages stockier, stronger stems instead of weak, leggy ones. If your shoots are stretching and flopping, airflow is part of the fix, alongside light. (More on the light side of that in how to fix leggy microgreens.)
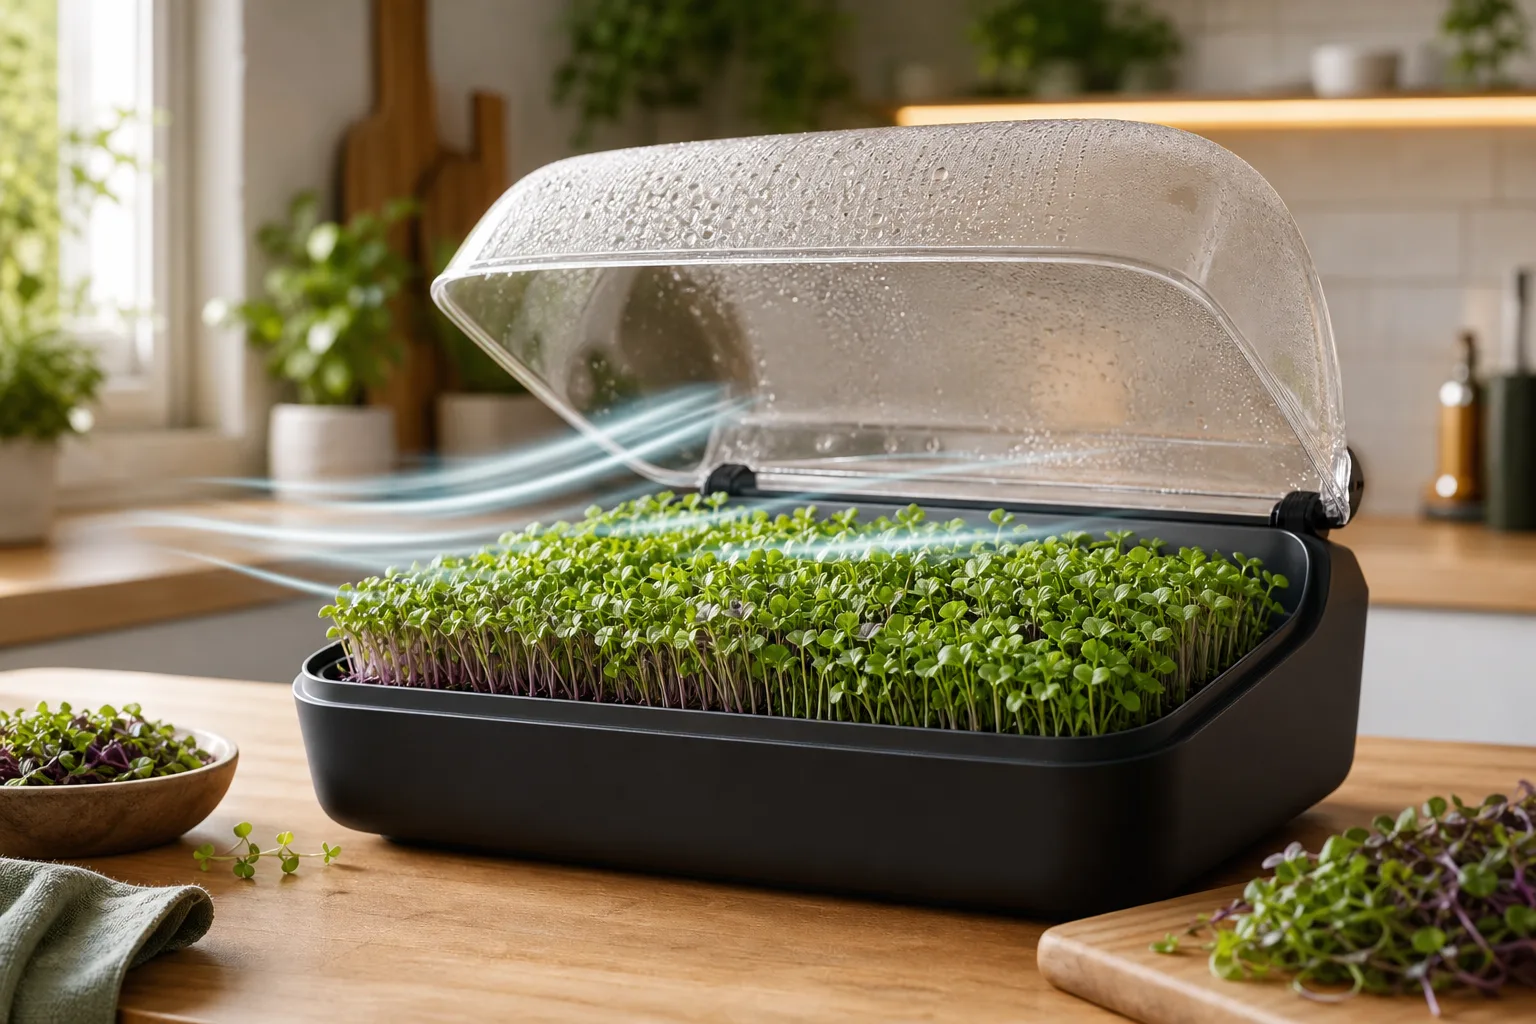
You do not need a wind tunnel. The goal is for leaves to barely flutter, not to blast them. Many growers run a slow overhead ceiling fan most of the time and add a small directed fan once the dome comes off. That combination keeps the whole room's air refreshed while giving uncovered trays a little extra movement right where they need it.
Interestingly, more airflow can also reduce damping-off in young, exposed seedlings, not just mature ones. Stagnant, oversaturated medium is far harder on tender roots than fresh, oxygen-rich conditions. Air moving across and oxygen reaching the root zone are both protective. If you grow hydroponically, that is part of why oxygenated nutrient water helps so much; we cover the water side in the hydroponic microgreens guide.
Temperature is the silent third factor
You cannot talk about humidity without talking about heat, because the two gang up on you. Warm and wet together is far worse than either one alone. Keep your growing area in a steady, comfortable range and the whole equation gets easier.
| Condition | Effect on microgreens |
|---|---|
| Below 60°F (16°C) | Slow germination and growth; longer time to harvest |
| 70–80°F (21–27°C) | Sweet spot; nearly everything grows well |
| Above 80°F (27°C) for long stretches | Rampant fungus risk, stressed and dying plants |
Most homes already sit comfortably in that 70–80°F band, which is one reason a kitchen counter is such a natural place to grow. The trouble comes from extended periods of high humidity coupled with higher temperatures. If you can keep temperatures in bounds and air moving, you often will not need a dehumidifier at all; plenty of growers buy one, use it briefly, then find that simple air circulation plus reasonable temperatures does the same job for free.
A simple anti-damping-off routine
Here is the workflow that prevents most problems before they start. None of it is complicated; it is just consistent.
- Seed clean. Use clean trays, clean water, and fresh medium. You are not sterilizing the world, just not handing fungus a head start. See how to grow microgreens at home for the full setup.
- Germinate humid, then commit to drying out. Keep the dome on for even sprouting, but do not let it overstay. Once seeds have popped and stems are reaching, uncover and switch modes.
- Get air on it immediately. The day the cover comes off is the day the fan should be running. A gentle breeze, leaves barely fluttering.
- Water from below when you can. Keeping leaves and stems drier than the roots starves surface fungus of the wet it needs. Bottom-watering also feeds the roots without soaking the canopy.
- Don't overwater. Moist, not waterlogged. Standing water in the tray is an open invitation.
- Watch the danger window. The covered, just-formed stage is your highest-risk period. Check daily.
One more thing worth knowing: not every fuzzy white thing on your roots is fungus. Root hairs are fine, feathery white growths found only on the roots, and when you mist them they lie flat and look like they vanished, only to reappear. That is completely normal and harmless. True fungus tends to look spiderwebby or like wisps of cotton candy, and it does not respect the line between root, hull, and leaf. Knowing the difference saves a lot of perfectly good trays from getting tossed out of panic.
Where smart growers (and smart machines) have an edge
All of this comes down to holding a moving target steady: humid early, drier later, air always gentle but present, temperature in a narrow band. Doing it by hand is absolutely doable, and millions of home growers manage it well. But it does take attention, especially across that fragile transition from covered to uncovered.
This is exactly the kind of balancing act that automation handles well. Luya, our countertop grower, manages airflow, the climate around the tray, and the lighting transition together so the high-risk moments are handled on a schedule instead of by memory. You still get fresh greens a few steps from the stove; you just spend less time worrying about whether you opened the dome on the right day. If you are curious how that works under the hood, see how Luya works and our broader take on controlled environment agriculture.
The bottom line
Damping-off feels like bad luck, but it is almost always a conditions problem, and conditions are something you control. Hold humidity high just long enough to germinate, then bring it down and turn on the air. Keep temperatures in the 70–80°F range. Water moist, never soggy. Let a gentle breeze keep the canopy dry and the stems strong. Do those few things consistently and the spores that are always floating around your kitchen simply never get the foothold they need. Cleaner trays, sturdier shoots, and a lot fewer heartbreaking mornings.