Most people picture microgreens growing in a tray of soil or a damp fiber mat. It works, but it also brings along everything you don't want: bags of media to buy, dirt clinging to your harvest, and a warm, wet sponge that mold loves. Growing hydroponically skips all of that. You give the seeds clean, oxygen-rich water and a thin screen to root into, and they reward you with a dense, tidy crop you can rinse and eat in minutes.
This guide walks through the whole method end to end: the medium, the water, seeding, the dark blackout phase, light, and harvest. It's beginner-friendly, and once you've run a couple of cycles it becomes almost boringly reliable. That's the point.
Why Skip the Soil?
Soil and soilless mats aren't bad, exactly. They're just an extra variable. Any organic medium can carry bacteria and fungal spores into your tray, and in a small closed space you can't recreate the living soil web that keeps a garden bed in balance. Too often you grow a side crop of mold instead.
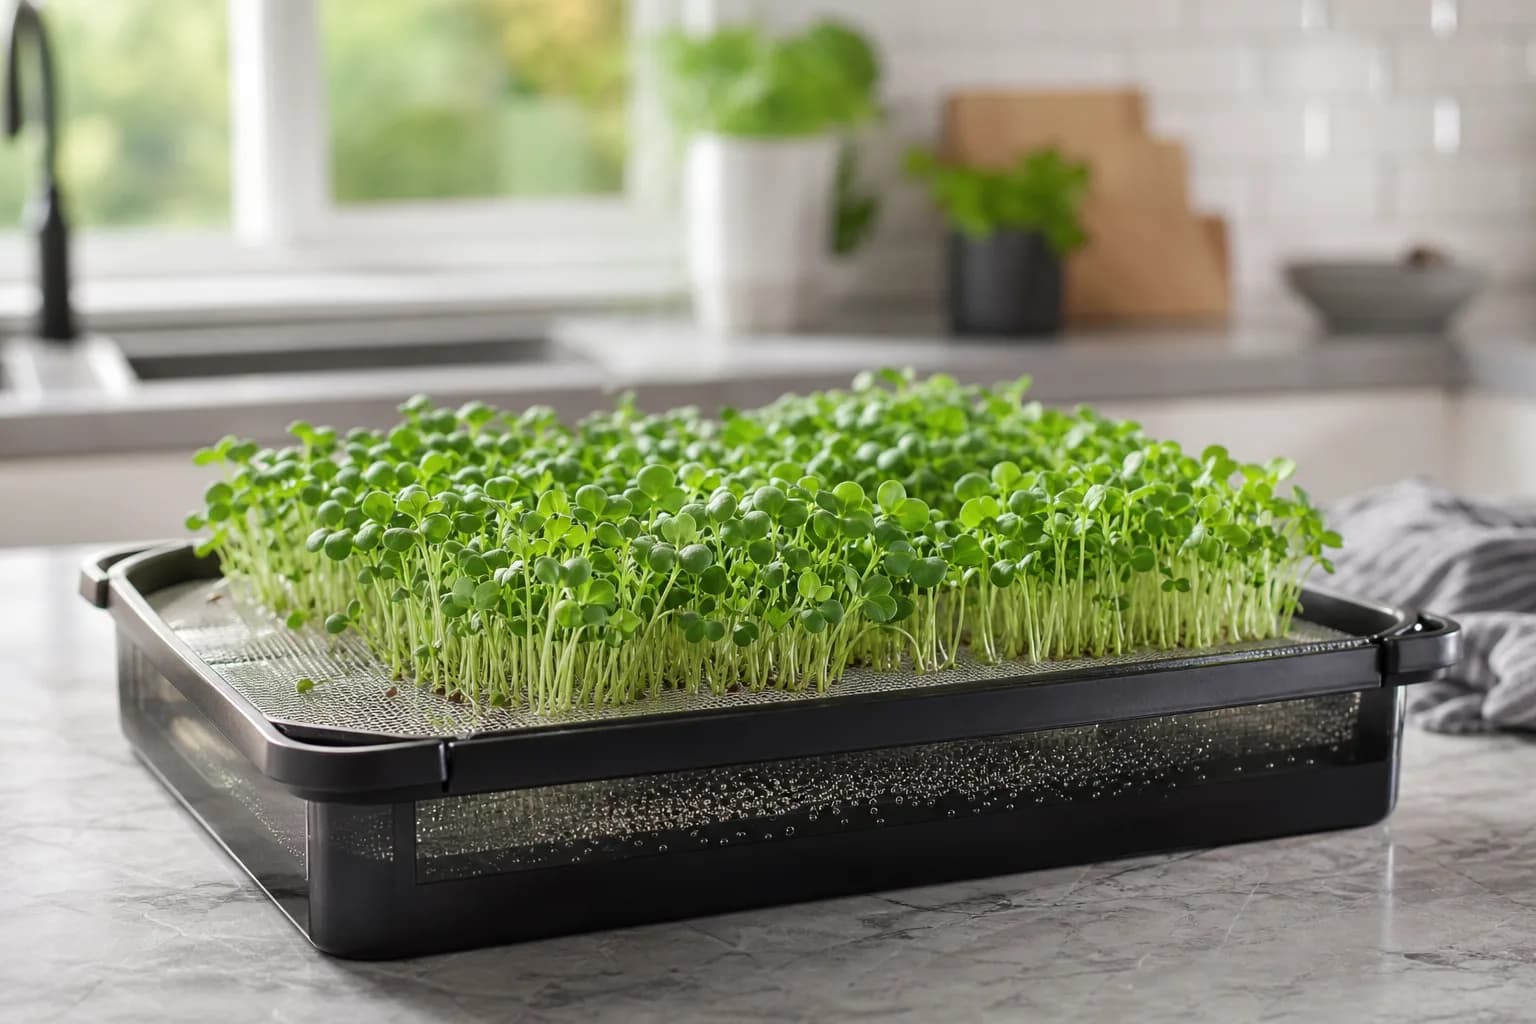
Water culture removes that problem. The seeds sit on a fine screen above a reservoir, their roots drop down into the water, and there's no decaying medium for anaerobic bacteria to colonize. The payoff is real:
- Cleaner harvest. No grit to wash out, no media stuck to stems.
- Fewer disease problems. No damp organic sponge means far less rot and damping-off.
- Cheaper over time. You stop buying media for every single tray.
- Denser yields. A well-run hydroponic tray can produce in pounds, not ounces.
If you're weighing the two approaches, we've covered the trade-offs in grow microgreens without soil and the economics in grow vs buy microgreens.
What You Need
The hardware is simple and reusable. The heart of the system is an aerated reservoir: a sturdy tray of water with an air pump bubbling oxygen through it, plus a mesh tray and screen sitting just above the water line.
| Component | Purpose | Notes |
|---|---|---|
| Reservoir tray | Holds ~1.5 gallons of nutrient water | Use a heavy-duty tray; full of water it weighs ~12 lb |
| Mesh tray + screen | Supports seeds, lets roots reach water | Two screen sizes cover almost every seed |
| Air pump | Oxygenates the water | Budget ~15 liters of air per minute, per tray |
| Humidity dome | Dark, moist germination chamber | A 2-inch dome suits most crops |
| Cover (weighted lid) | Adds resistance over the seeds | Helps shed seed hulls and drive roots down |
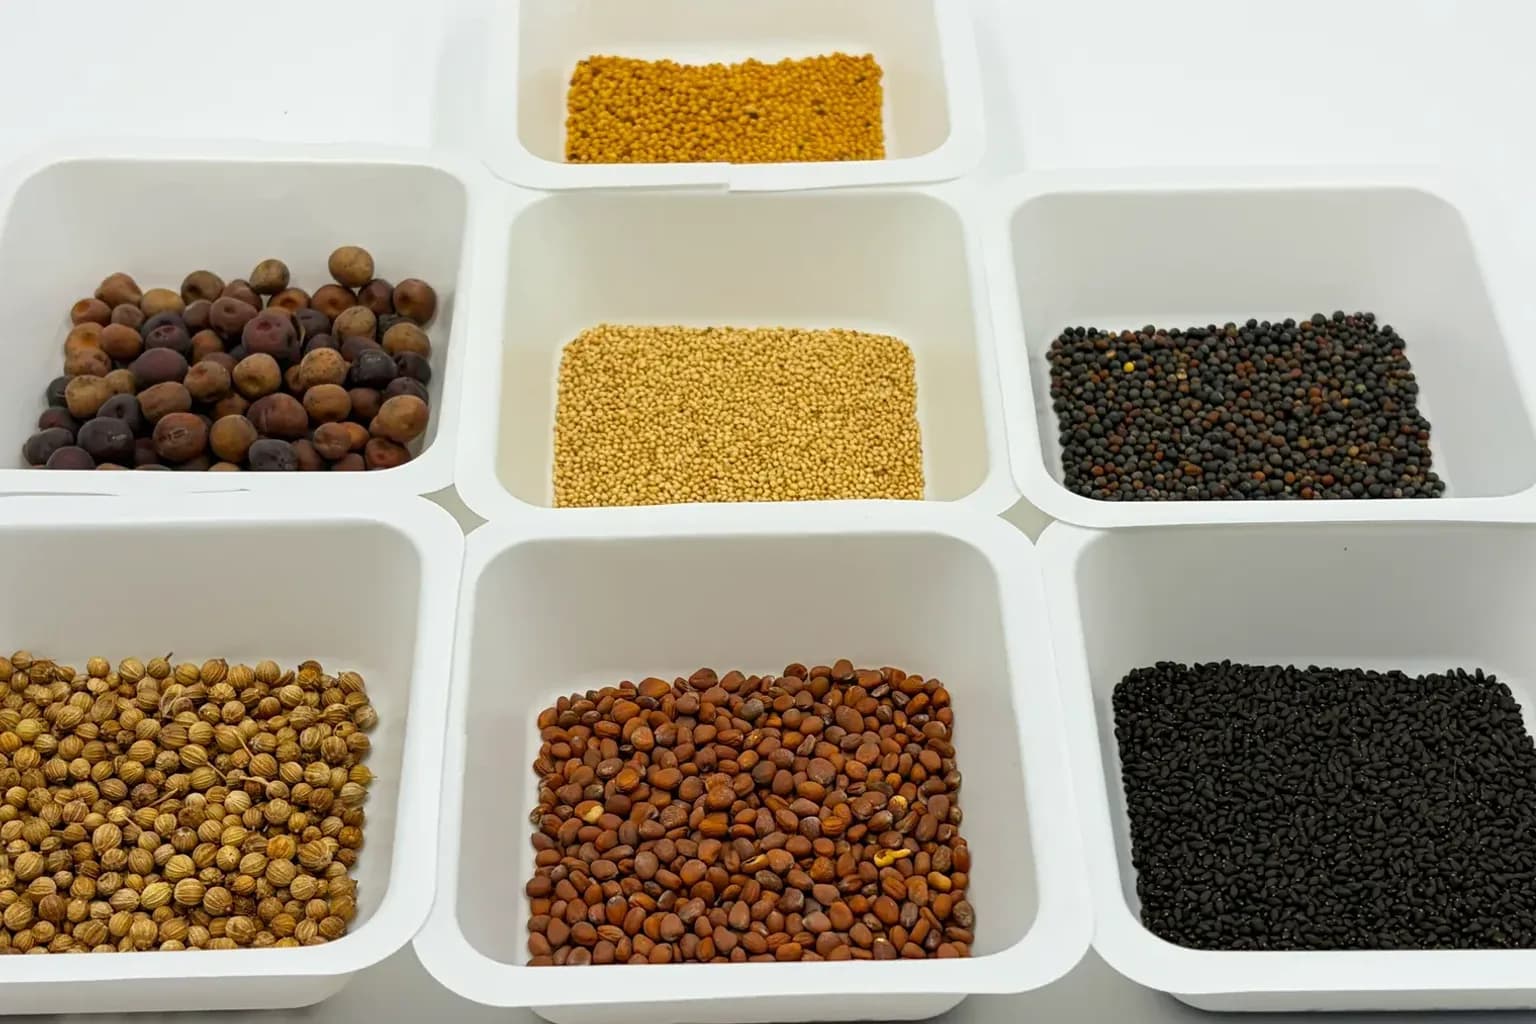
The screen choice depends on seed size. A finer screen (roughly 20+ strands per inch) holds tiny seeds like basil, amaranth, and cress; a coarser one handles broccoli, cabbage, and radish. Large seeds such as sunflower, pea, and bean don't need a screen at all and can sit directly on the mesh tray. If picking gear feels like a lot, this is exactly the work a countertop system like Luya automates away, though the principles below are identical no matter what you grow in.
The Water: Nutrients, pH, and Oxygen
You can grow many microgreens in plain water, because the seed itself carries a starter pack of stored energy. But a light dose of nutrients makes a visible difference: stronger color, faster growth, and a bit more nutrition. Side-by-side, water-only trays look thinner and take longer to finish.
A common choice is a complete hydroponic powder mixed at about half strength. At full strength a typical recipe runs around 2.4 grams of base nutrient, 2.4 grams of calcium nitrate, and 1.2 grams of Epsom salt (magnesium sulfate) per gallon. Halve those for microgreens and you're in the right range. The cost per tray is almost nothing, often just a few cents, because a single kit lasts hundreds of grows.
| Water target | Rough value | Why it matters |
|---|---|---|
| Nutrient strength | Half of standard mix | Plenty for a short crop; avoids over-feeding |
| pH | ~5.5–6.5 | Most tap water is fine; young plants are forgiving |
| Fill level | ~½ inch below the mesh tray | Keeps roots reaching, not drowning |
| Aeration | Cycle the pump on/off | Oxygen feeds roots and suppresses bad bacteria |
Two points worth underlining. First, pH matters less for microgreens than for mature plants because the crop is so short-lived; clean water free of heavy metals and high chlorine matters more for your health than nailing a perfect number. For the details, see microgreens water pH and EC and do microgreens need nutrients.
Second, oxygen is non-negotiable. Roots breathe. Aerated water keeps an aerobic bacterial community alive, which crowds out the pathogens that cause root rot. You don't have to run the pump constantly, an interval cycle (roughly 30 minutes on, 30 off) keeps the seeds humid and the water oxygenated without flooding the tray.
Seeding and the Blackout Phase
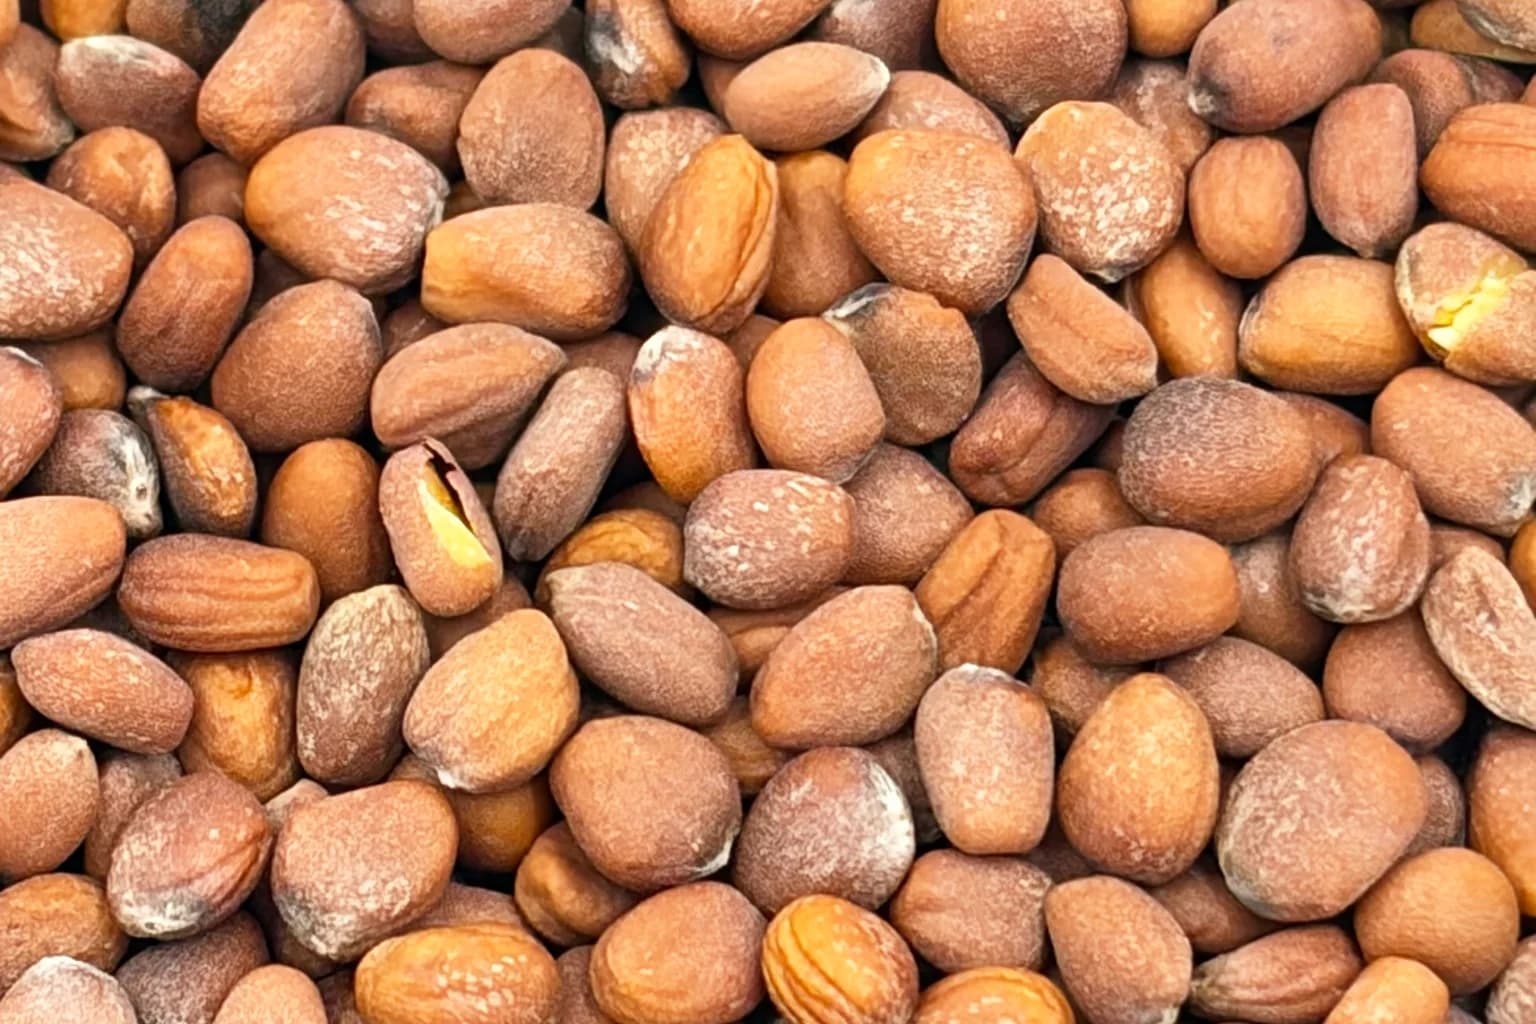
Start with fresh, reliable seed. Old or poorly stored seed is the single most common reason a grow disappoints, so buy what you'll use within a year and run a small test grow with any new batch.
Some seeds want a soak first. A 12-hour soak is the standard for many varieties, and it's good insurance for larger or harder seeds. A few categories need special handling: mucilaginous seeds (basil, chia, cress, arugula, some mustards) form a slimy gel when wet, so rinse them clean and dry them before sowing; and beet and chard are notoriously stubborn, benefiting from a longer soak-and-dry routine.
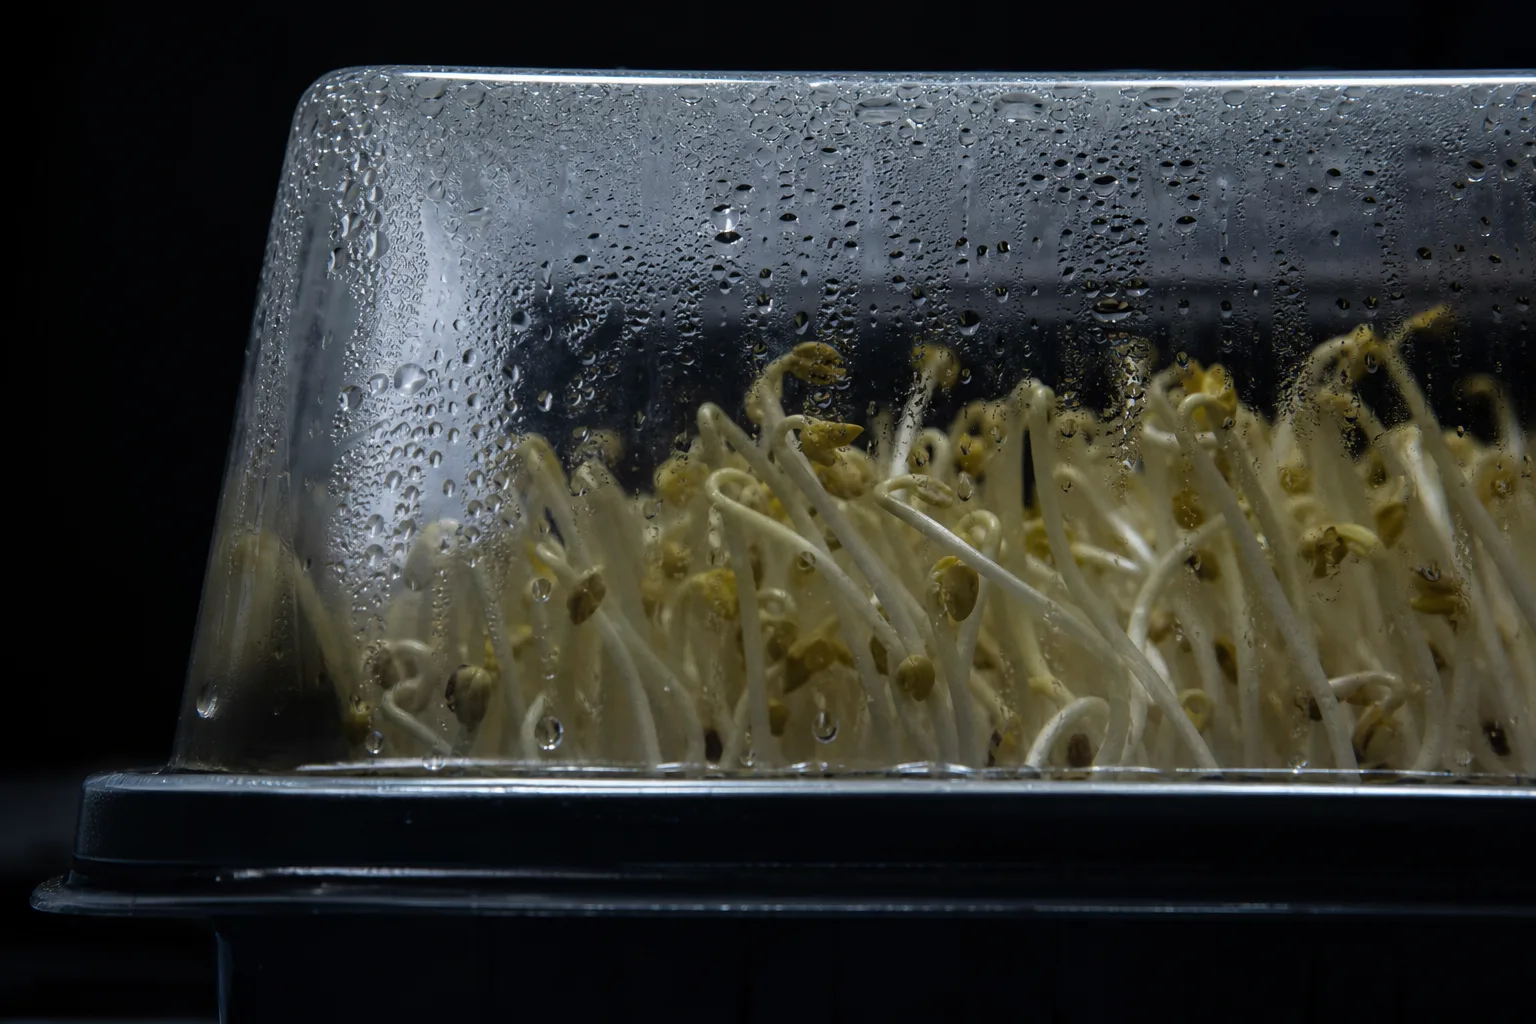
Spread the seeds evenly across the screen, not piled in clumps and not bare in patches. Spritzing the screen first helps them stick. Then put the cover and dome on and walk away into the dark.
This blackout phase is where hydroponic microgreens earn their density. In the dark, stems elongate as they reach for light that isn't there. That stretch adds harvest weight and lets the seedlings push each other apart so cotyledon leaves develop more evenly. Roughly half of a typical grow happens under the dome, and the bubbling water keeps the seeds moist the whole time, so you're not babysitting a spray bottle.
Density matters here too. Too few seeds and the sprouts flop over without mutual support; too many and the canopy seals shut, shading the plants underneath. There's a sweet spot per crop, and seed density by crop breaks it down. If your first try comes out tall and floppy, fix leggy microgreens will help you dial it in.
Bring On the Light
Once the seedlings have lifted the cover and rooted into the reservoir, the dome comes off and the lights go on. Microgreens are easy to please here because you're not pushing them to flower or fruit, you just need bright, fairly neutral light. A simple setup works well:
| Light setting | Practical target |
|---|---|
| Color temperature | ~5000K–6500K ("daylight" white) |
| Distance from canopy | ~12–14 inches for shop-type LED |
| Photoperiod | ~16 hours on, 8 off |
| Fixture type | Inexpensive white LED is plenty |
Don't overthink the spectrum. The old red-and-blue "blurple" panels aren't necessary; ordinary daylight-white LEDs do the job at a fraction of the cost and heat. A 16-hour day is a comfortable default. It's hard to give microgreens too much light, while it's easy to give them too little and end up with pale, weak plants. To go deeper, LED vs sunlight microgreens and light and microgreen nutrition are good next reads.
Airflow matters during this stage. A gentle fan keeps humidity from pooling around the now-exposed canopy, which is your best defense against fungus once the protective dome is gone. More on that balance in microgreens airflow and humidity.
Harvest and Storage
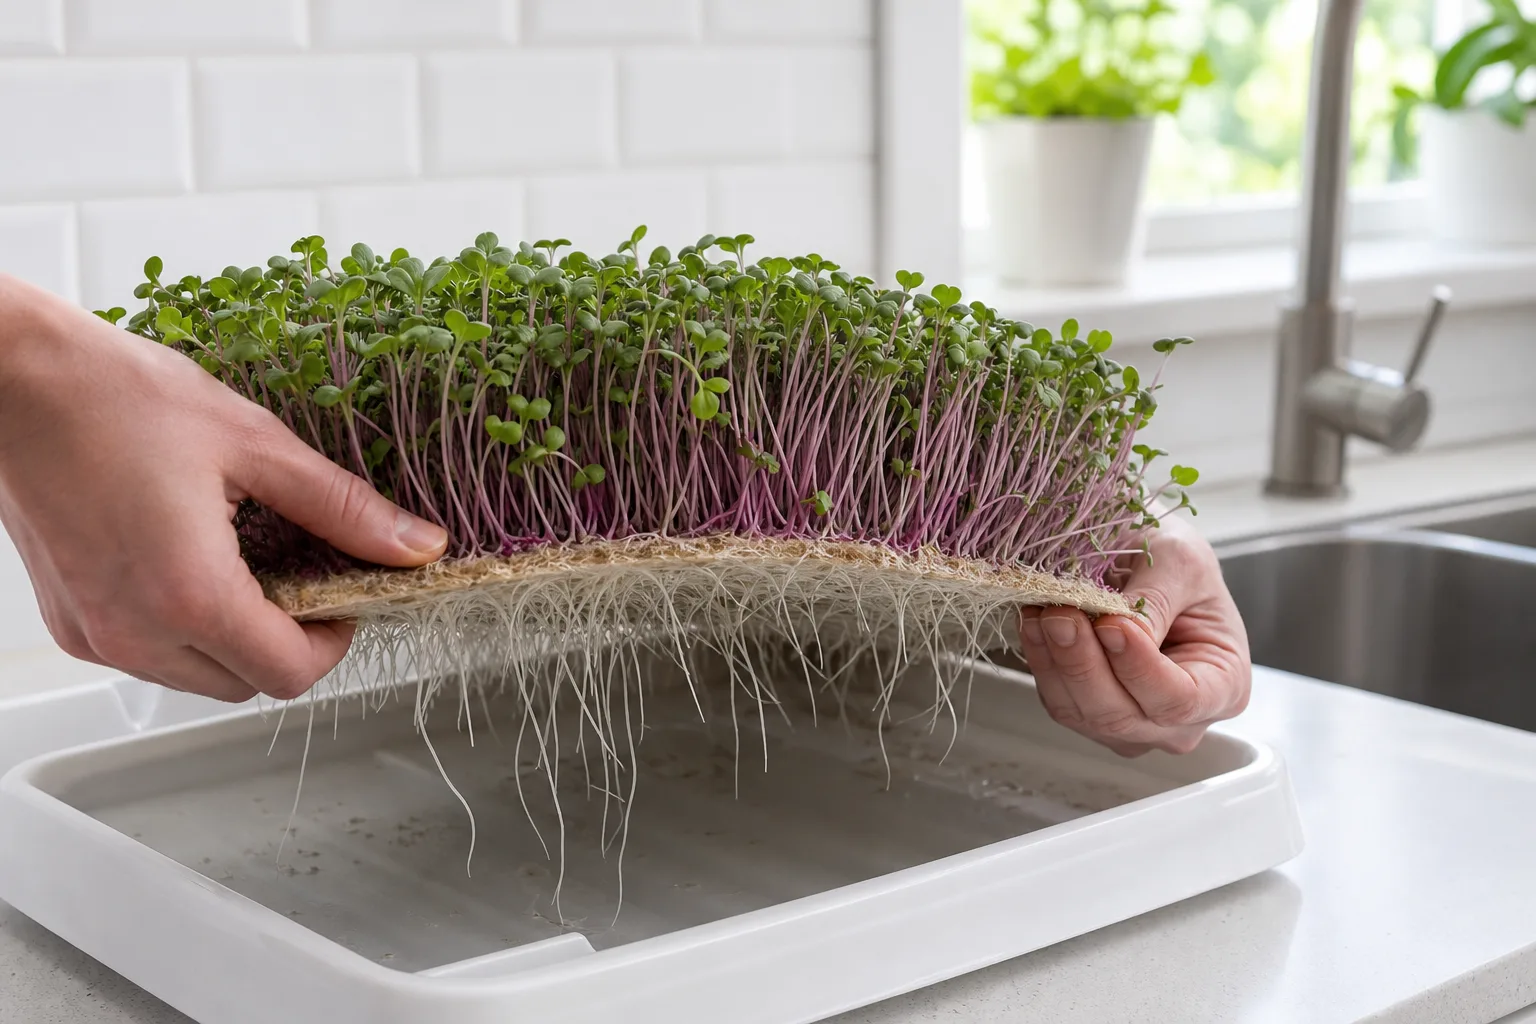
Harvest is the part that makes the screen method feel almost unfair. For small and medium seeds grown on a screen, you can lift the entire screen out of the tray, microgreens and all, like peeling up a little carpet of greens. Drape it over a rail above the sink, rinse, let it drip, and cut. No soil to dodge, no grit to chase.
For large-seeded crops grown straight on the mesh tray, sunflower, pea, bean, lift the tray, tip it on its side, and slice the root mat off the bottom first. That releases the stems so you can pull clean bunches without tearing them.
A few habits keep them crisp: harvest into a clean container and chill promptly; try a light salt-water dunk (about 1 gram of salt per liter) for two minutes, then drain without rinsing; and eat them within a few days for the best texture and nutrition.
For more on keeping a harvest fresh and the many ways to use it, see microgreens harvest and storage, and when you're ready to eat, how to eat microgreens is full of easy ideas.
A Quick Word on Mold
Fungus worries new growers most, and the hydroponic method already stacks the odds in your favor by removing the damp organic media mold thrives in. Beyond that, prevention beats cure: keep your gear clean, keep airflow moving once the dome is off, and stay inside a comfortable band of about 70–80°F (21–27°C). Many growers also use a light hydrogen-peroxide spray as preventive maintenance during the vulnerable early days.
One thing trips up beginners: root hairs are not mold. Those fine, fuzzy white threads hugging the roots are normal and harmless, and they lie flat when wet. Mold appears as a spiderweb-like film that doesn't care whether it's on a root, a hull, or a leaf. If you've panic-tossed a healthy tray, you're not alone, and why microgreens keep molding will help you tell the difference for good.
The Takeaway
Growing microgreens hydroponically comes down to a short, repeatable loop: clean aerated water, even seeding, a dark blackout stretch to build weight, bright white light to green them up, and a quick screen-lift harvest. Skip the soil and you skip most of the mess and most of the mold, while getting denser, cleaner trays in return.
Start small, one tray, one familiar crop like broccoli or radish, and run the cycle a couple of times. Once the rhythm clicks, you'll be harvesting fresh greens off your counter every week. And if you'd rather the water, light, and timing manage themselves, that's the loop Luya closes for you automatically.