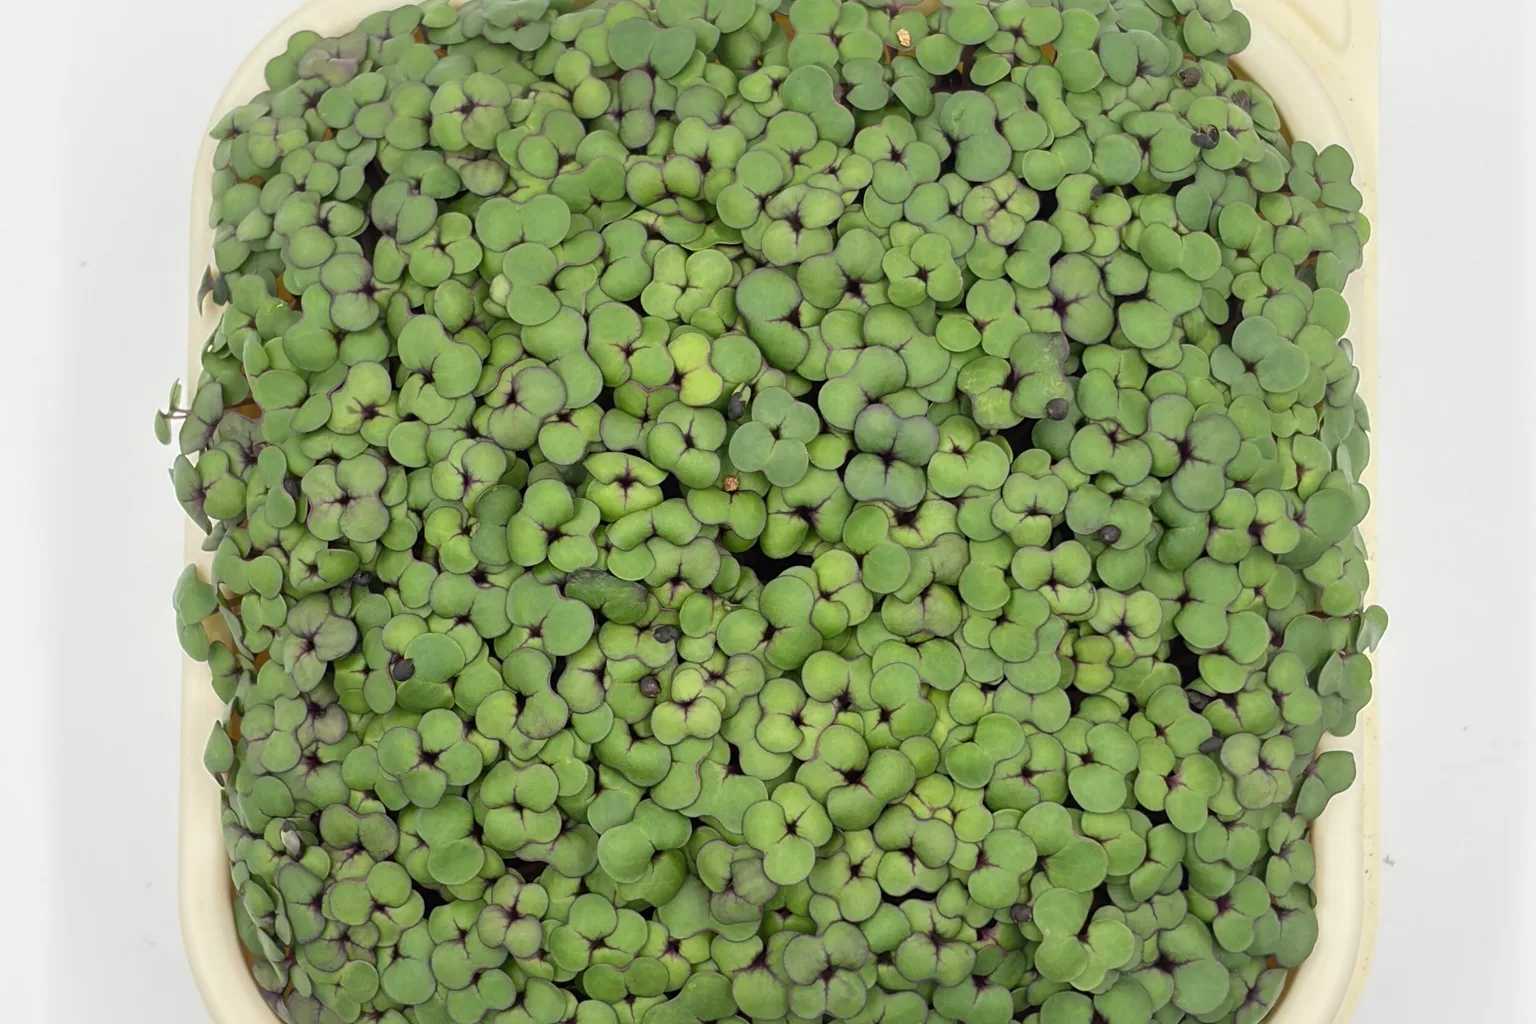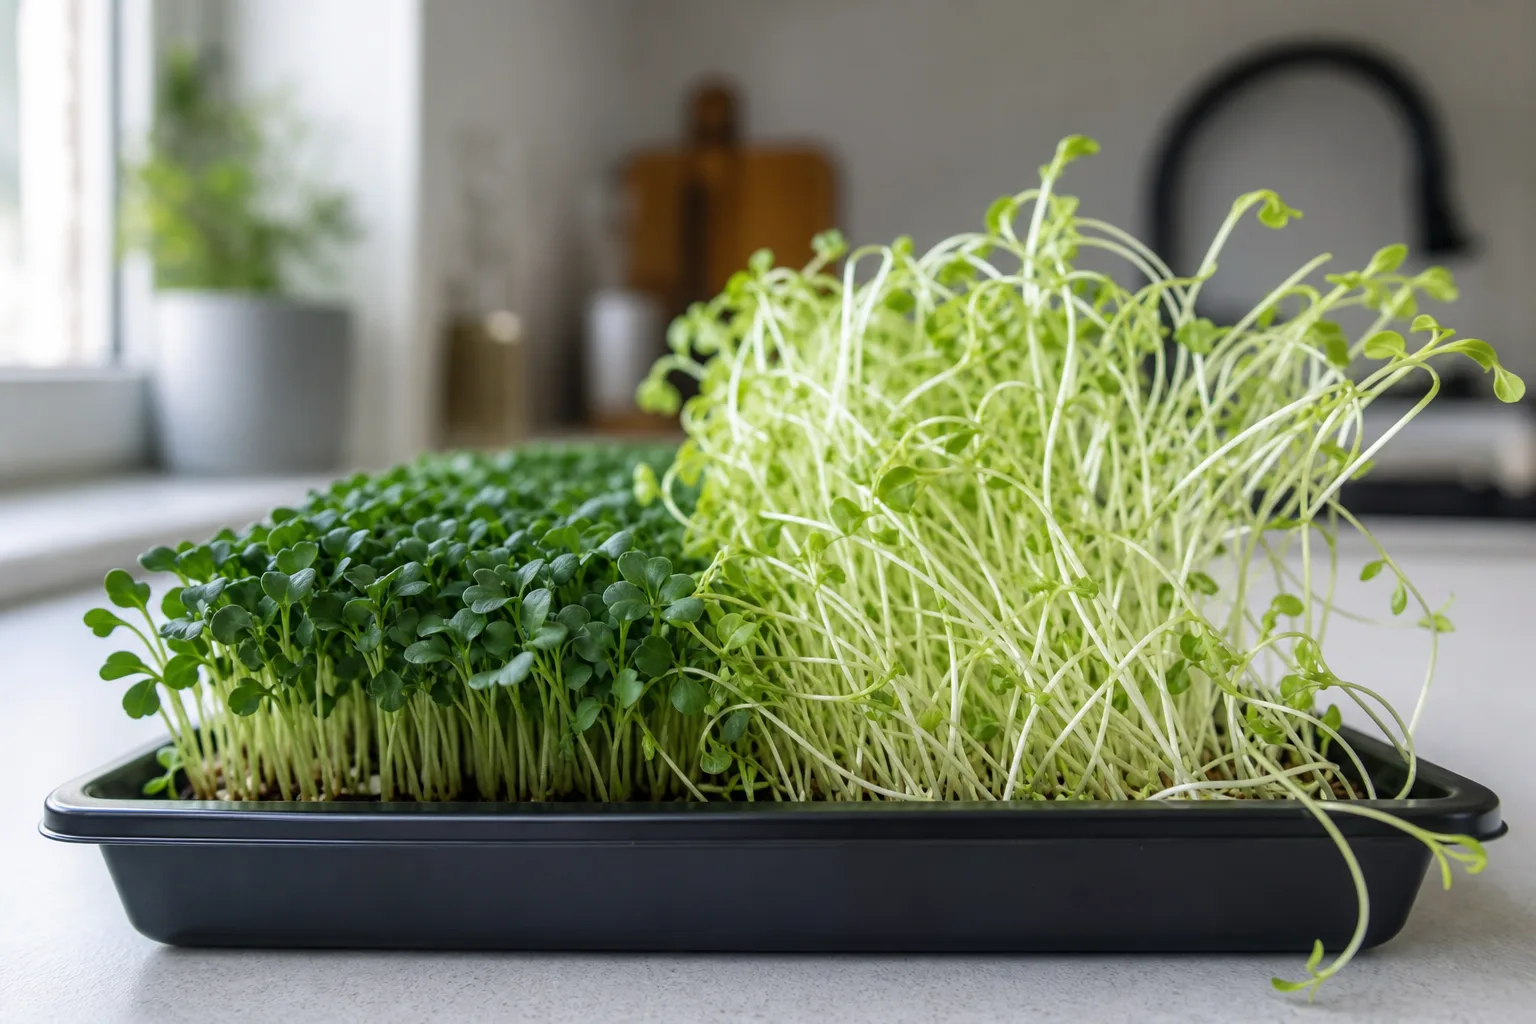
If you have ever started a tray of greens full of hope and ended up scraping mold and spilled soil off your counter, you are not alone. The truth about growing microgreens maintenance is that the seeds are the easy part. The hard part is the ten quiet days in between, when one missed watering or one warm, stuffy afternoon can undo the whole tray.
The good news is that almost every common failure traces back to three culprits: mess, mold, and the daily maintenance load. Mastering growing microgreens maintenance is less about a green thumb and more about controlling a handful of variables consistently. Once you understand what actually causes each one, they become surprisingly manageable. This guide walks through the real fixes, in plain language, so your next tray makes it to harvest instead of the compost bin.
Why Growing Microgreens Maintenance Is Harder Than It Looks
Microgreens are fast. Radish can germinate in 1 to 2 days and be ready to harvest in 5 to 7. That speed is exactly why they reward attention and punish neglect. A tray is a living thing on a tight clock, and the window for mistakes is narrow.
Three things quietly drive most of the trouble:
- Mold thrives on the combination of excess moisture, poor airflow, overcrowded seeding, and warmth.
- Mess comes mostly from soil: filling trays, watering, and harvesting all move dirt around your kitchen.
- Maintenance is the daily watering and checking across roughly a 10-day cycle. Travel or one busy week can end a tray.
None of these are signs that you did something wrong. They are structural. Manual growing has a real failure rate, and it is fundamentally a consistency problem, not a talent problem.
Solving the Mold Problem
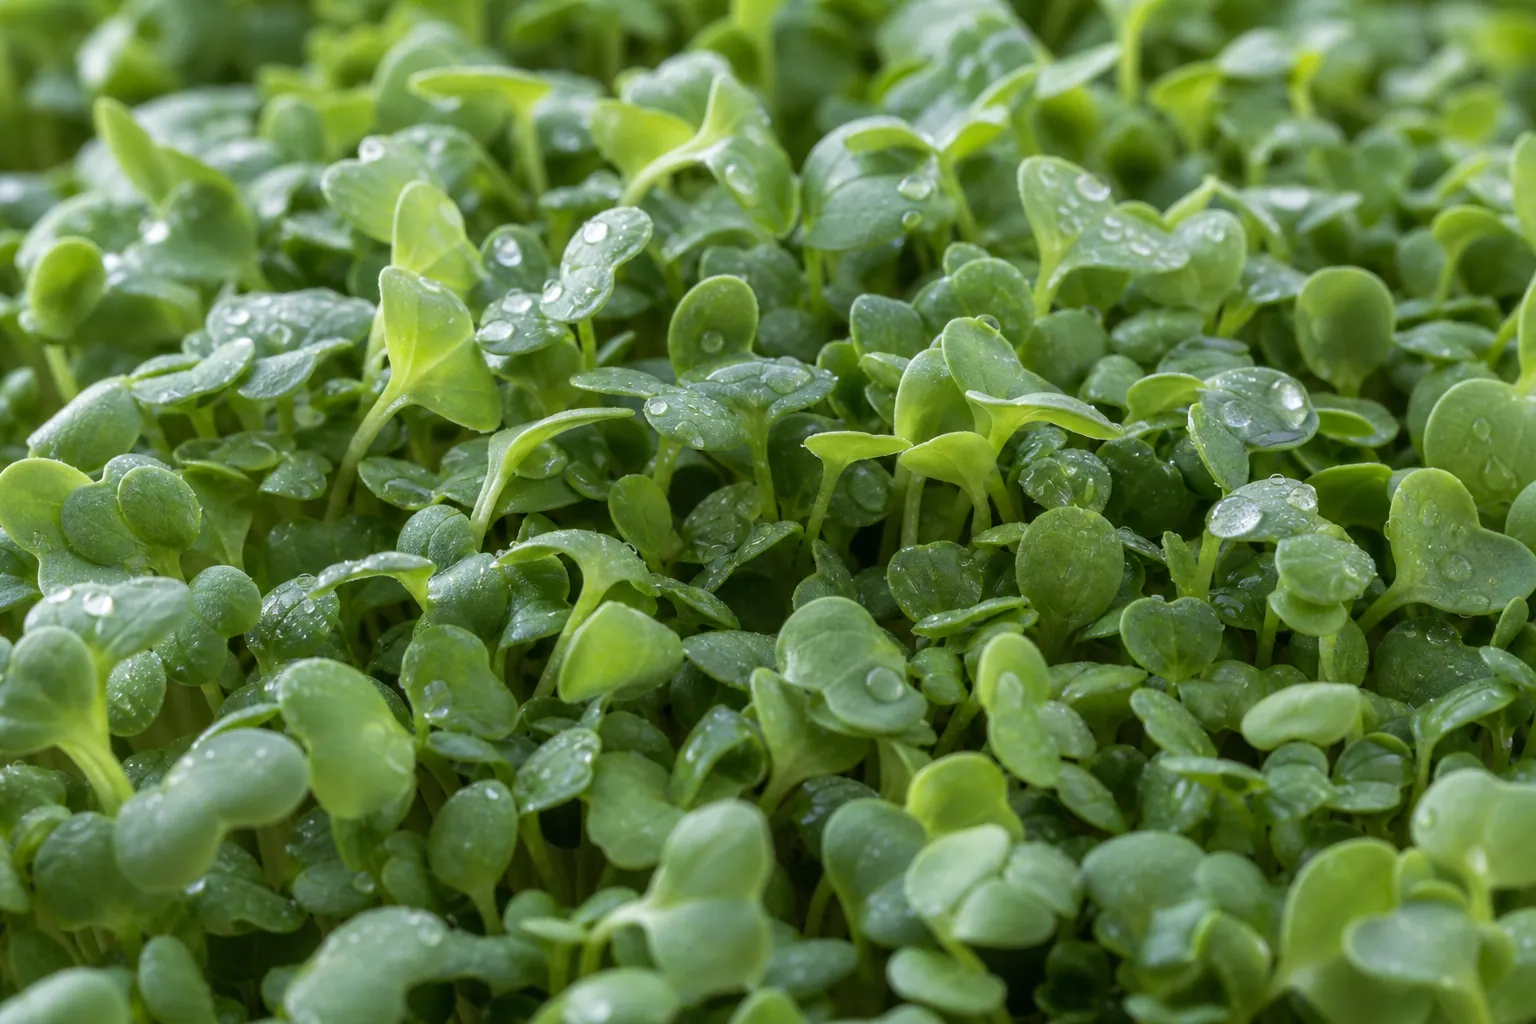
Mold is the single most discouraging failure, and it is also the most preventable. The fuzzy white growth people panic over is usually a moisture-and-air issue, not a lost cause from bad seed.
Here is how the main risk factors map to fixes.
| Mold trigger | What it looks like | Practical fix |
|---|---|---|
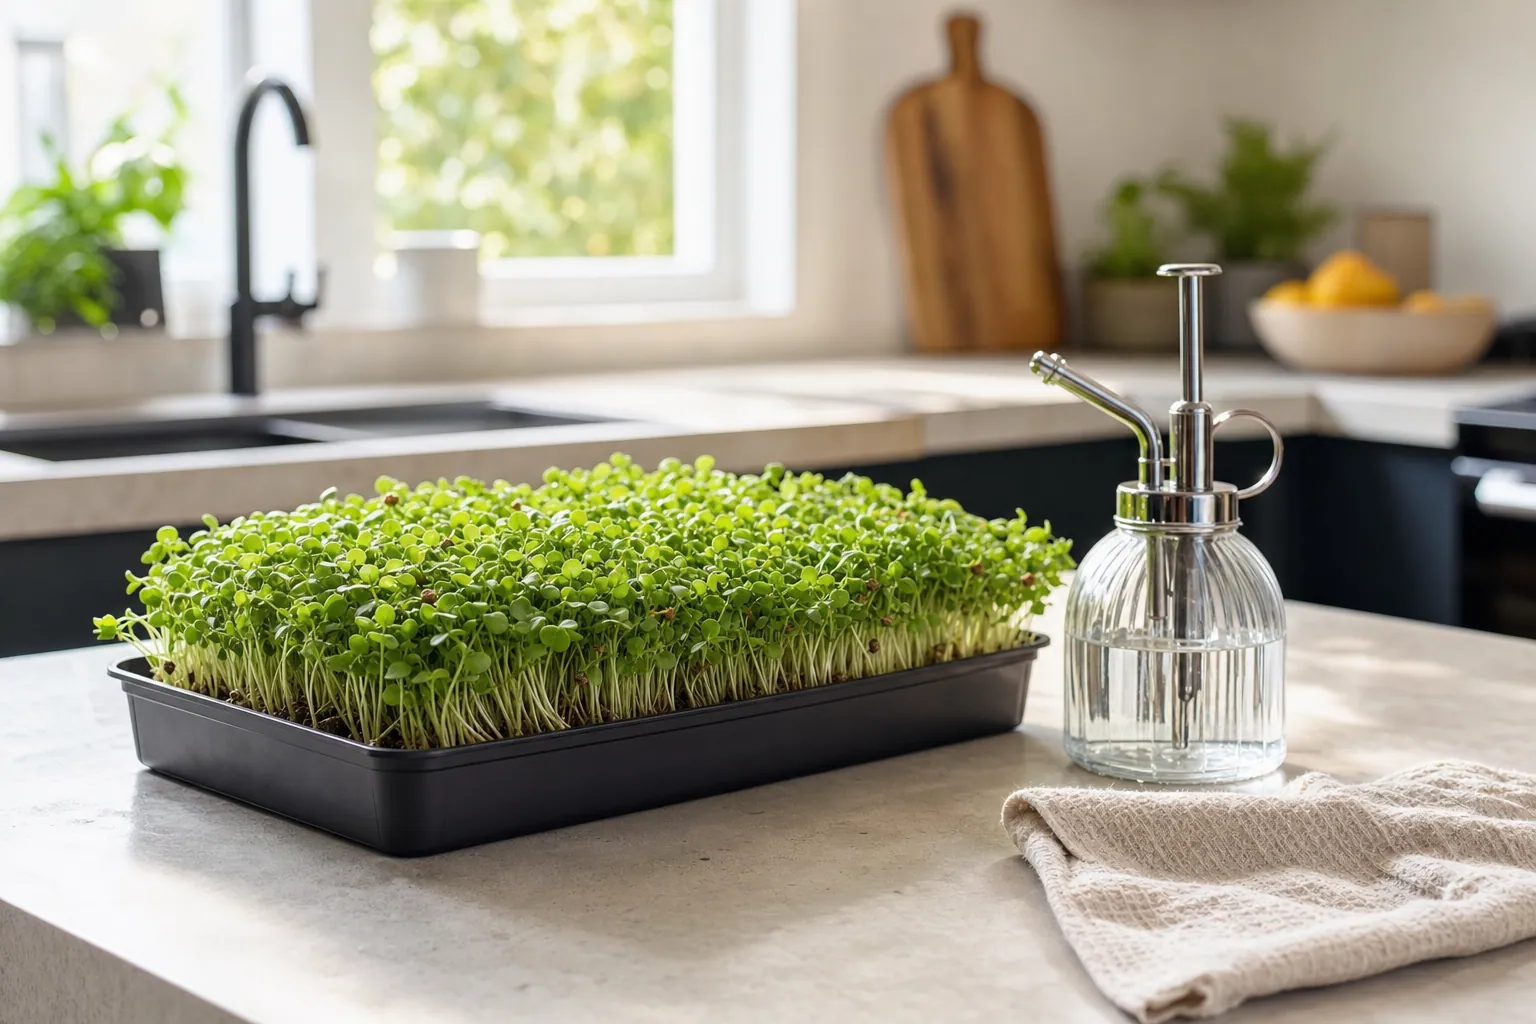
| Excess moisture | Soggy soil, standing water, slimy mat | Water the soil, not the leaves; let the surface breathe between waterings |
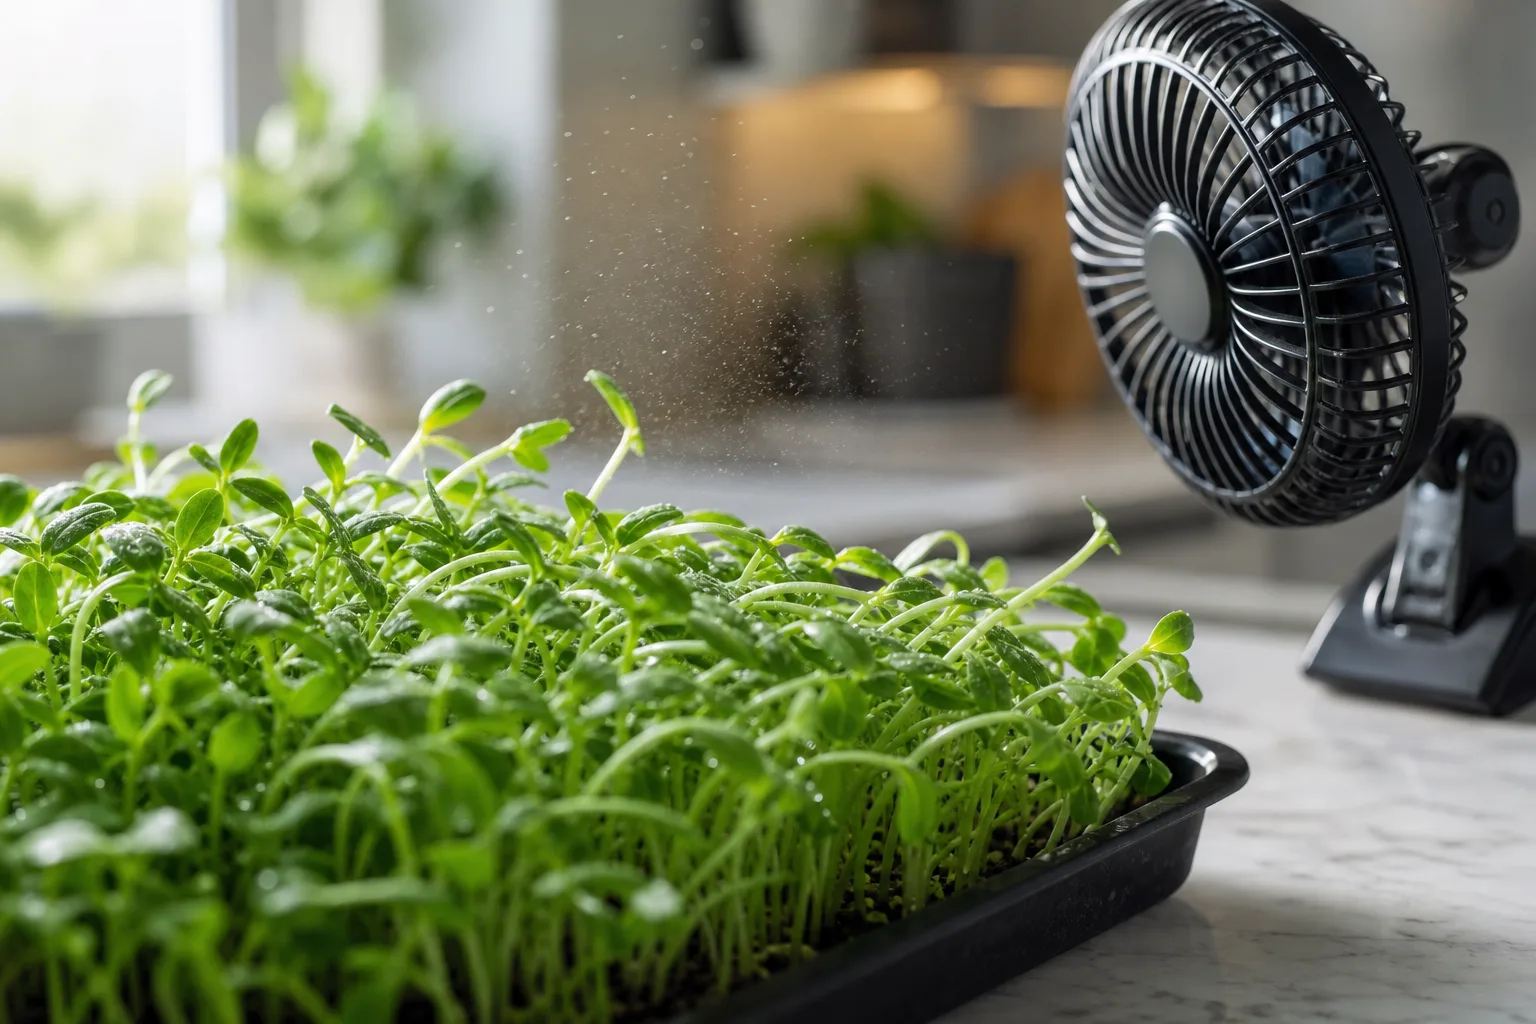
| Poor airflow | Stagnant, humid pocket around the tray | Add gentle air movement; avoid sealed lids once sprouted |
| Overcrowding | Seeds piled on seeds | Use an even, single-layer seed density |
| Warmth | Warm, stuffy room | Keep the grow space cooler and ventilated |
A quick note for beginners: white fuzz at the roots is sometimes harmless root hairs, not mold. Root hairs are fine and disappear when misted; true mold is cobweb-like and spreads across the soil and stems, and it often carries a musty smell. The single best test is timing. Root hairs appear within a day or two of germination and vanish with light misting or a breeze. Mold appears later, lingers, and creeps outward from one spot. When in doubt, improve airflow first and lower the temperature a few degrees before you write off the tray.
Most home mold problems come down to a stuffy microclimate. A tray sealed under a dome in a warm 75 to 80 F kitchen creates exactly the saturated, still air that mold needs. The fix is rarely a fungicide; it is a small fan, a cooler corner, and a lighter hand with the watering can. If mold keeps returning despite your best effort, the environment itself is the problem, not your technique. We go deeper on this in why microgreens keep molding.
Taming the Mess
The mess is less dramatic than mold but more constant. Almost all of it is soil: it gets on the counter during filling, scatters during watering, and clings to scissors and stems at harvest.
A few habits cut it down significantly:
- Fill and seed trays over a sink or a large baking sheet to catch stray soil.
- Bottom-water when you can, so you disturb the surface less.
- Harvest with sharp scissors directly over a bowl, in one clean pass.
- Keep a small dedicated towel just for grow-day cleanup.
If the soil itself is the thing you dread, it is worth knowing you can skip it. Hydroponic and pad-based methods remove the dirtiest variable entirely, which we cover in grow microgreens without soil. For a full beginner walkthrough of the manual process, start with how to grow microgreens at home.
The Real Challenge: Daily Maintenance
This is the failure no one warns you about. Mold and mess are visible. The maintenance load is invisible until the day you forget.
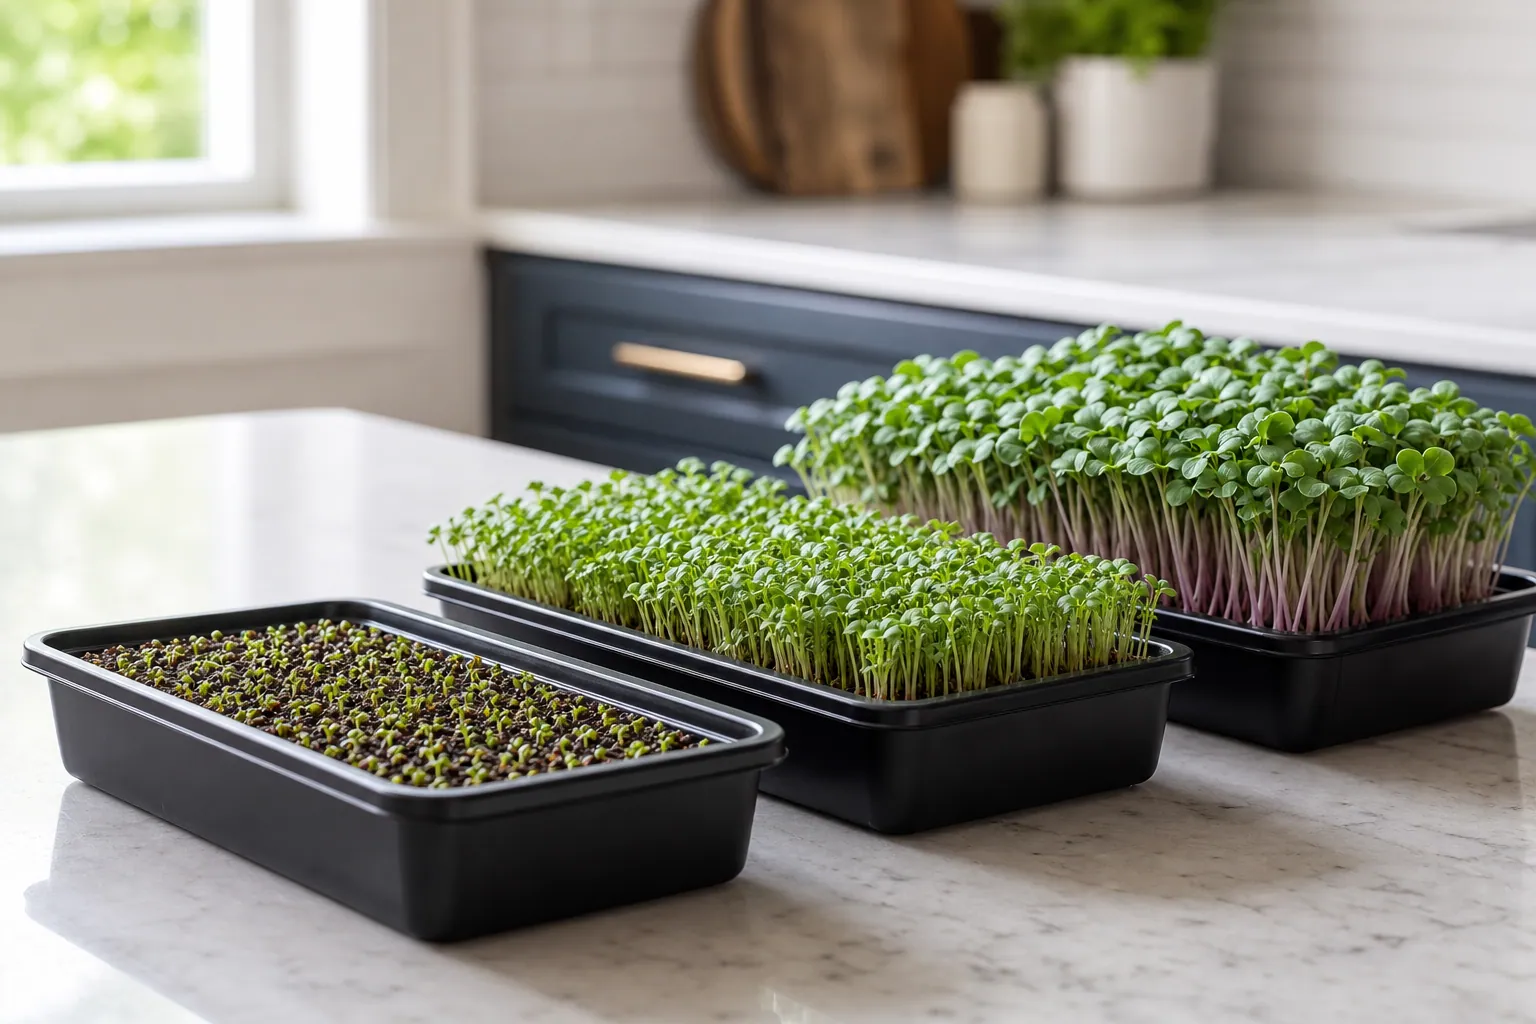
A tray needs attention nearly every day for about ten days. Miss a watering during a heat wave and the tray can dry out and stall. Leave for a weekend and you may come home to a loss. The plants do not pause for your schedule. To keep a steady supply on the counter, most people end up running several trays at once on a staggered rotation, which multiplies the number of touchpoints they have to remember.
Here is what a single cycle actually asks of you, day by day.
| Day | Stage | What the tray needs |
|---|---|---|
| 1-2 | Germination | Even moisture, often a cover, kept warm but not hot |
| 3-4 | Uncover and greening | Move to light, begin gentle airflow, check for mold daily |
| 5-7 | Growth | Daily watering, watch moisture and temperature closely |
| 7-10 | Harvest window | Cut what you need; remaining greens decline fast once cut |
Stack two or three trays for a continuous supply and you are now juggling overlapping schedules, each with its own critical window. That is roughly 20 to 30 separate watering-and-checking moments per month, and missing the wrong one at the wrong time loses a tray.
This is why so many enthusiastic growers quit after a few trays. It is not that growing is too complex. It is that perfect daily consistency over many overlapping cycles is genuinely hard for a busy household.
A Maintenance Cheat Sheet by Crop
Choosing forgiving, fast crops reduces the number of days something can go wrong. These are the best beginner options.
| Crop | Germination | Harvest | Why it is beginner friendly |
|---|---|---|---|
| Radish | 1-2 days | 5-7 days | Fastest to results, vigorous, hard to kill |
| Pea shoots | A few days | About a week | Forgiving, robust, high in protein |
| Broccoli | A few days | About a week | Reliable and nutrient dense |
| Sunflower | A few days | About a week | Sturdy stems, satisfying yield |
If you are picking your very first tray, our roundup of the easiest microgreens to grow breaks down each one in more detail. And the payoff is real. Peer-reviewed reviews and USDA data show these tiny greens can be roughly 2 to 3.5 times more nutrient dense than their mature counterparts, with radish microgreens often at the top. They are especially rich in vitamins C, K, and E along with antioxidant polyphenols. Broccoli microgreens are a standout for a different reason: they can carry far more of the precursor that becomes sulforaphane than mature broccoli does, which is why they earn a spot in so many home rotations. The lesson for maintenance is simple. The crops that are easiest to keep alive, radish and pea shoots above all, are also genuinely worth the effort nutritionally, so beginners do not have to trade reliability for value.
When Automation Solves What Habits Cannot
Habits help, but they do not fix the underlying issue: growing microgreens by hand asks for flawless daily consistency, and life is not flawlessly consistent.
This is where a different approach changes the math. Luya is a countertop appliance, a bit like a Nespresso but for greens. You drop in a pre-seeded tray and the machine handles the rest inside a sealed, climate-controlled, ventilated chamber. That sealed and ventilated design is built specifically to keep mold out by managing the exact moisture and airflow conditions that cause it. Precise temperature control keeps the chamber out of the warm, stuffy range mold loves.
It also removes the two other pains. There is no loose soil to clean, because the pre-seeded trays simply drop in. And the daily maintenance burden disappears, because the closed-loop system waters and adjusts on its own across the 7 to 10 day cycle. You harvest only what you need, and the rest keeps growing alive. A built-in camera even lets you check progress remotely, so a busy week no longer means a dead tray.
The point is not that hand-growing is bad. It is that consistency is the bottleneck, and automation is one honest way to solve it. If you are still deciding between the two paths, grow vs buy microgreens lays out the trade-offs.
Curious how a sealed, self-watering grow chamber actually keeps trays alive without daily chores? See how it works, and if mold is your nemesis, read why microgreens keep molding next.