You spent a week and a half watching a tray of seeds turn into a tiny green forest. The last thing you want is to lose that harvest in the final stretch — and harvest day really is where a lot of home growers slip up. Cut too early and you leave flavor and nutrition on the table. Cut too late, or store the greens wrong, and they slump into a slimy mess within a day or two.
The good news is that harvesting and storing microgreens is simple once you understand a few principles: pick the right stage, cut cleanly, dry thoroughly, and chill fast. Get those four right and your greens will stay crisp for the better part of a week. Here is exactly how to do it.
When to harvest: reading the plant, not the calendar
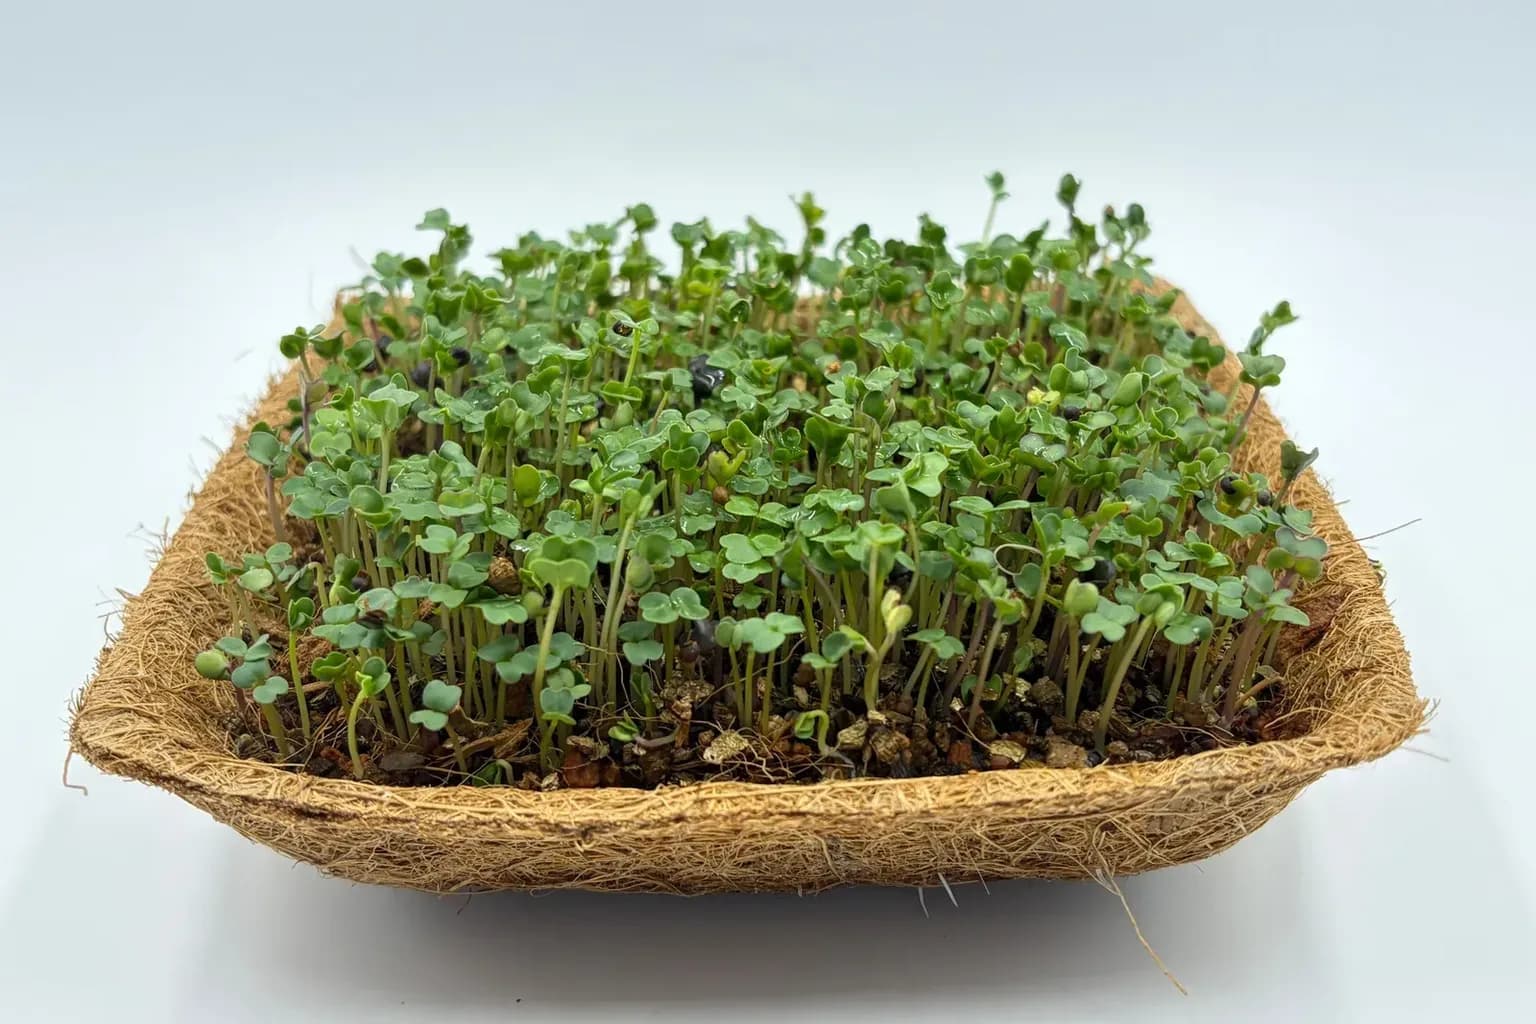
There is no single "ready" date that works for every crop, so think in stages instead of days. Microgreens push out their first pair of leaves — the cotyledons, or seed leaves — within a few days of germinating. Soon after, the first true leaves begin to appear, and these look like miniature versions of the mature plant.
Most microgreens are at their best somewhere between full cotyledons and the first true leaves. That window is usually 7 to 14 days after sowing, depending on the crop and your conditions. A few notes that make the call easier:
- Don't lock yourself into harvesting before true leaves. There's real value in letting a tray push a true leaf or two — more leaf surface often means more flavor and a fuller canopy. Taste a few snips and decide what you like.
- Color is a cue. Greens grown under good light show their true blue-green or purple tones. Pale, leggy, washed-out stems usually mean the tray needed more light, not more time. (If that's your tray, our notes on how to fix leggy microgreens will help next round.)
- When in doubt, harvest. Every extra day on the tray is another day for mold or rot to find a foothold. A slightly young harvest beats a spoiled one.
If you grow on a countertop system like Luya, the cycle is consistent enough that you'll quickly learn each crop's sweet spot by eye.
How to cut: clean, high, and dry
The actual cutting is the easy part. Use sharp, clean scissors or a knife, and cut the stems a little above the base — high enough to leave the roots, seed hulls, and any growing medium behind. Those bits are what muddy your harvest and shorten shelf life.
A few habits that pay off:
- Cut dry, not wet. Harvest before watering, or let the surface dry first. Greens cut while soaking wet bruise more easily and spoil faster.
- Work in handfuls. Gather a small bunch, snip, and lay the cuttings loosely in a bowl. Loose and airy beats packed and crushed.
- Skip the regrow temptation. You can "top" some crops and wait for a second flush, but the returns shrink fast and you give disease extra time to set in. For most home growers, starting a fresh tray is more reliable and less frustrating than nursing a second cut.
Cutting high also keeps your tools and counters cleaner, which matters more than it sounds — clean equipment is the first line of defense against the mold issues we cover in why microgreens keep molding.
To wash or not to wash?
This is the question I get most, and the honest answer is: it depends on how you grew them.
If you grew without soil — on a screen, a clean mat, or a hydroponic setup — your greens are likely clean enough to eat straight off the tray, and you can skip washing entirely. That's one of the quiet advantages of growing microgreens without soil: no grit to rinse off. The catch is that washing adds moisture, and moisture is the enemy of shelf life. Every drop you add is a drop you have to remove again before storage.
If you grew in soil or potting mix, or you simply see seed hulls and debris, a gentle rinse is worth it. Dunk the cut greens in a bowl of cool water, swish lightly, and lift them out so any grit sinks to the bottom. Don't scrub — microgreens are tender.
A handy trick for hull-heavy crops like sunflower: grab the greens by their tops and give the cut stems a brisk shake. The leaves are tougher than they look and the loose hulls will fall away without much fuss.
My rule of thumb: wash only if you need to — and if you wash, dry like you mean it.
Drying: the step that decides shelf life
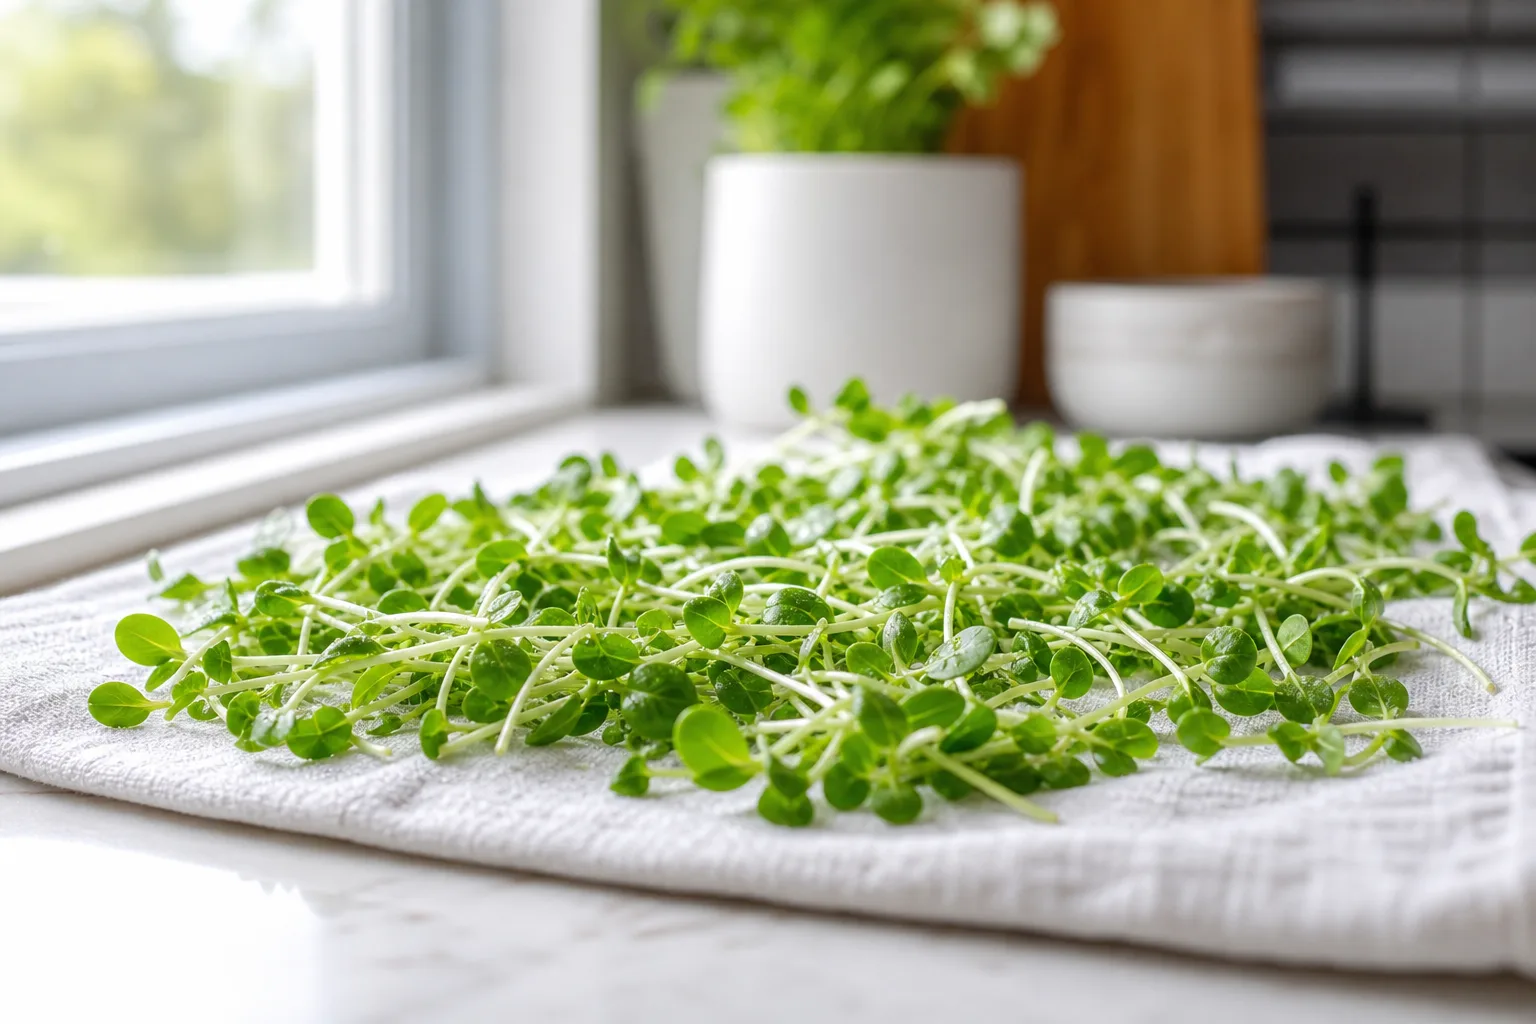
Drying is the single biggest factor in how long your microgreens last. Surface water invites the bacteria and fungi that turn fresh greens slimy. Your goal is greens that are crisp and dry to the touch — not bone-dry and wilted, just no visible moisture.
Two reliable methods:
| Method | How to do it | Best for |
|---|---|---|
| Salad spinner | Spin in short bursts, then lay out a few minutes | Larger batches, sturdier crops |
| Towel air-dry | Spread in a single layer on a clean cloth or paper towel; pat gently | Delicate crops, small harvests |
Whichever you choose, finish by spreading the greens in a single layer and letting them air out for several minutes before you pack them away. Patience here buys you days of freshness later.
Storing microgreens: cold, dry, and gently sealed
Once your greens are cut and dry, get them cold quickly. A few principles cover almost every situation:
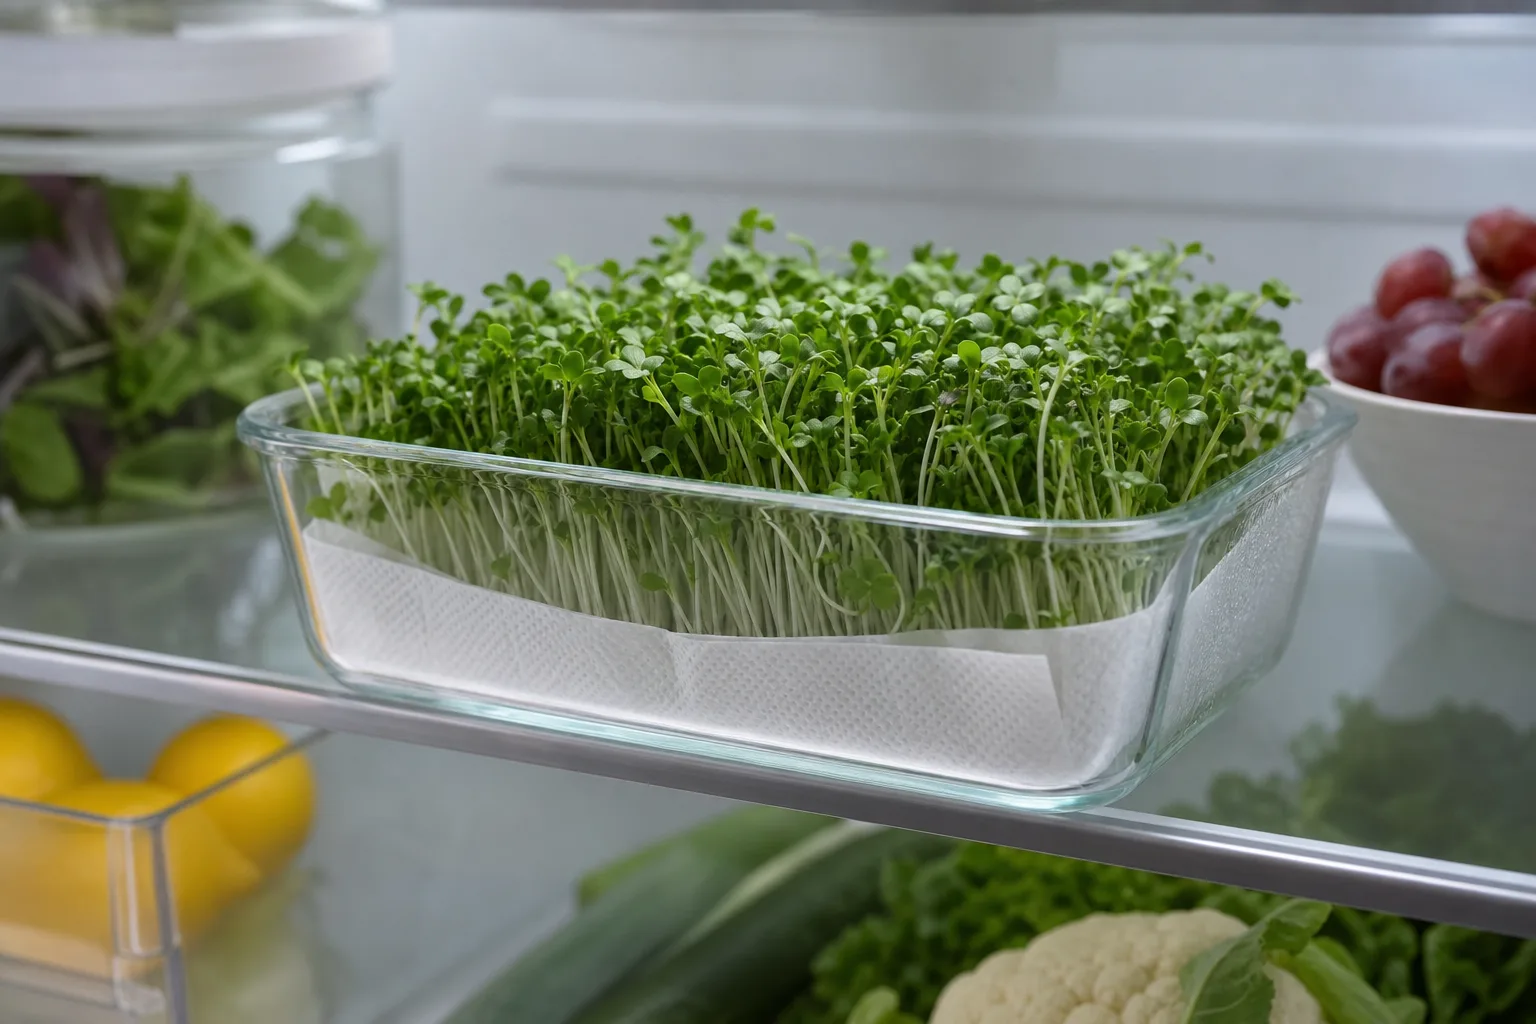
- Use a breathable container. A clear container or a zip-top bag works well. Line it with a dry paper towel to wick away any leftover moisture, and swap the towel if it gets damp.
- Don't pack them tight. Crushed greens bruise and break down faster. Loose layers keep their crunch.
- Aim for the crisper drawer, where temperatures hover around 36–40°F (2–4°C). Cold slows everything down.
- Store cut, not pre-washed, if you can. Washing right before you eat keeps them fresher longer than washing before storage.
One option worth knowing about: many crops can be left alive with roots intact right up until you eat them. Greens left growing on their mat stay at peak freshness because they're never actually harvested until you snip what you need. That's the whole idea behind a countertop grower — cut a handful for tonight's dinner and let the rest keep growing. It's the freshest greens get, and a big reason home growing beats the store-bought trays that are pricey and rarely fresh.
Shelf life by crop
Stored properly — clean, dry, and cold — most microgreens hold their quality for 5 to 10 days. Sturdier crops last longer; tender, delicate ones go first. The table below gives realistic targets for refrigerated, harvested greens. Treat them as guidelines, not guarantees: your drying discipline and fridge temperature matter as much as the crop.
| Crop | Typical fridge shelf life | Notes |
|---|---|---|
| Pea shoots | 7–10 days | Sturdy stems hold up well |
| Sunflower | 7–10 days | Crunchy and robust; shake out hulls first |
| Radish | 5–7 days | Crisp but tender; dry thoroughly |
| Broccoli | 5–7 days | Mild brassica; store dry and loose |
| Kale & cabbage | 6–8 days | Hardy brassicas, reliable keepers |
| Cilantro & basil | 4–6 days | Delicate; the first to wilt |
| Amaranth & beet | 5–7 days | Colorful and fairly sturdy |
If you're growing the easiest beginner crops like pea shoots, sunflower, and radish, you've also picked some of the better keepers — another reason they're a smart starting point.
Watching for spoilage — and using the leftovers
Trust your senses. Fresh microgreens smell green and clean. The warning signs of greens past their prime are a sour or off smell, sliminess on the leaves, and dark, mushy patches. Any of those means it's time to compost the batch rather than eat it. When greens are merely a little soft but still smell fine, a quick ice-water dunk can often perk them back up.
And don't toss everything you cut away. The roots, stems, and hulls left behind make excellent compost, and the spent water from a hydroponic tray can go right into the pile or onto your garden. It's a satisfying loop — yesterday's harvest feeding next season's soil.
The bottom line
Harvesting and storing microgreens comes down to four moves: cut at the right stage with clean tools, wash only if you must, dry until crisp, and chill fast in a breathable, towel-lined container. Do that and you'll routinely get 5 to 10 days of fresh, crunchy greens — or, if you leave them growing on the tray, you can simply snip what you need, when you need it, and never store anything at all.
That last option is the real luxury of growing your own. Once you've tasted greens cut minutes before they hit the plate, the week-old clamshell from the store is hard to go back to. For more on the freshness gap, see are store-bought microgreens fresh.