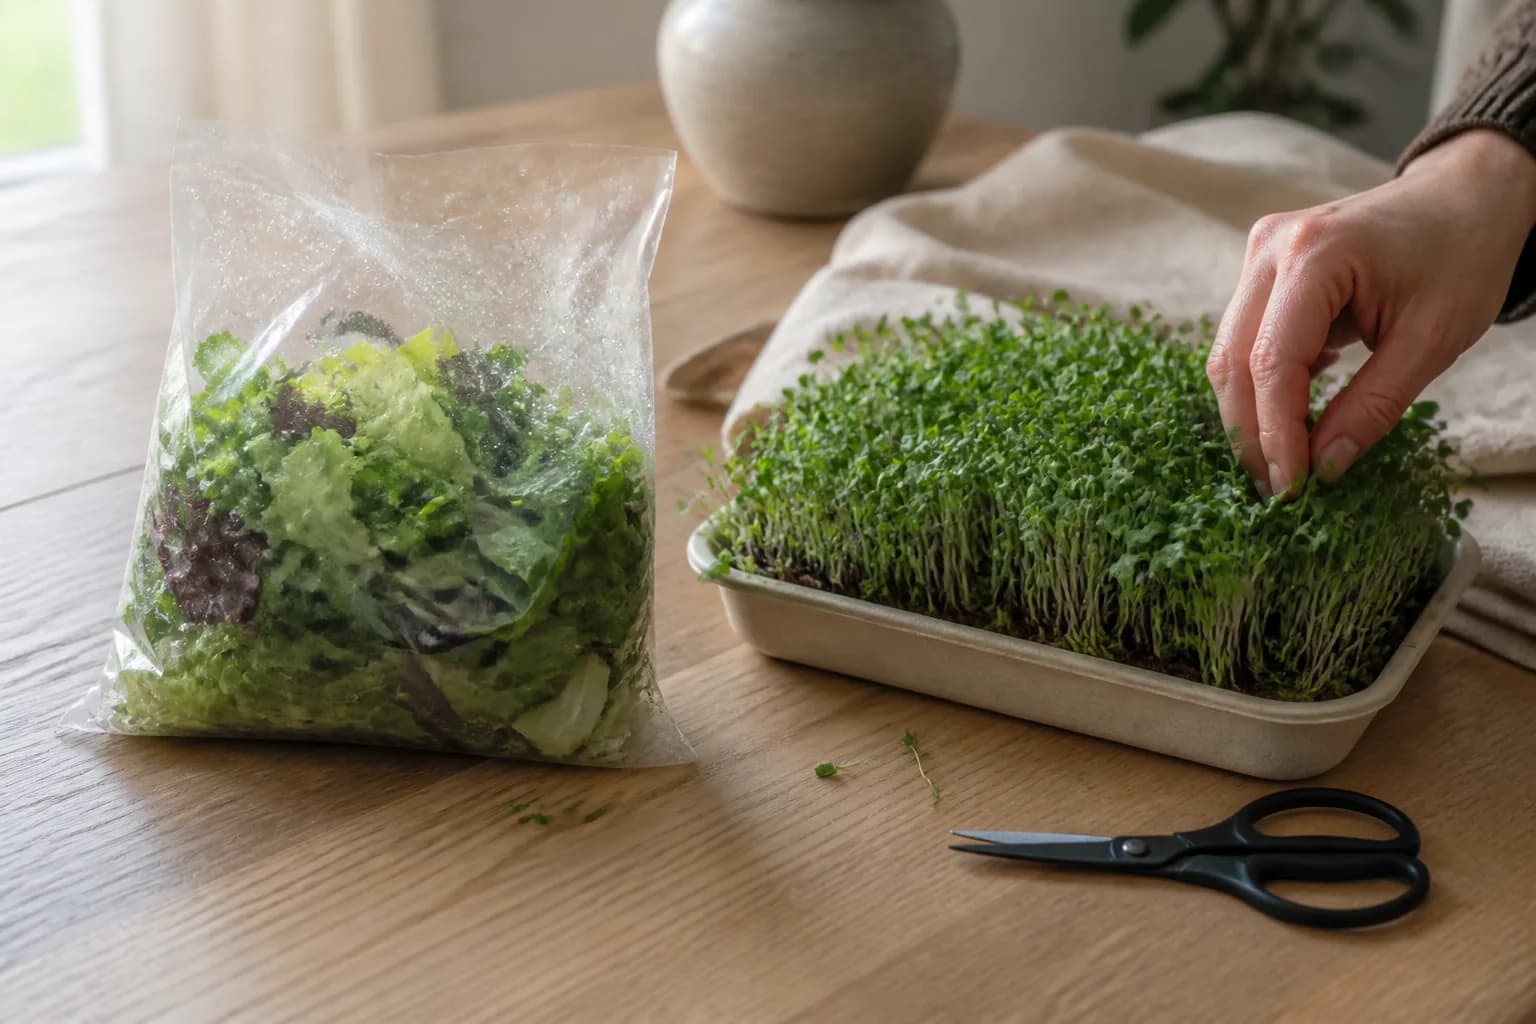
If you've ever paid $5 for a clamshell of greens that turned to slime before the weekend, you already understand the pull of fresh microgreens at home. These tiny seedlings are some of the most nutrient-dense food you can eat, and they peak within minutes of harvest, not days after a cross-country truck ride. The difference between a microgreen snipped over your plate and one that has spent a week in transit is not subtle. It is the difference between a crisp, peppery bite and a limp, faded garnish.
This guide is written for buyers, not hobbyists. It walks through why counter-grown greens make financial and nutritional sense, exactly what they cost against store-bought, which crops are worth your first attempt, and the honest trade-offs of doing it by hand. The goal is to help you decide whether grow-and-eat belongs on your counter, and what the lowest-effort path to it actually looks like.
Why Fresh Microgreens at Home Beat the Store
The case starts with two problems nearly every shopper has run into: price and freshness.
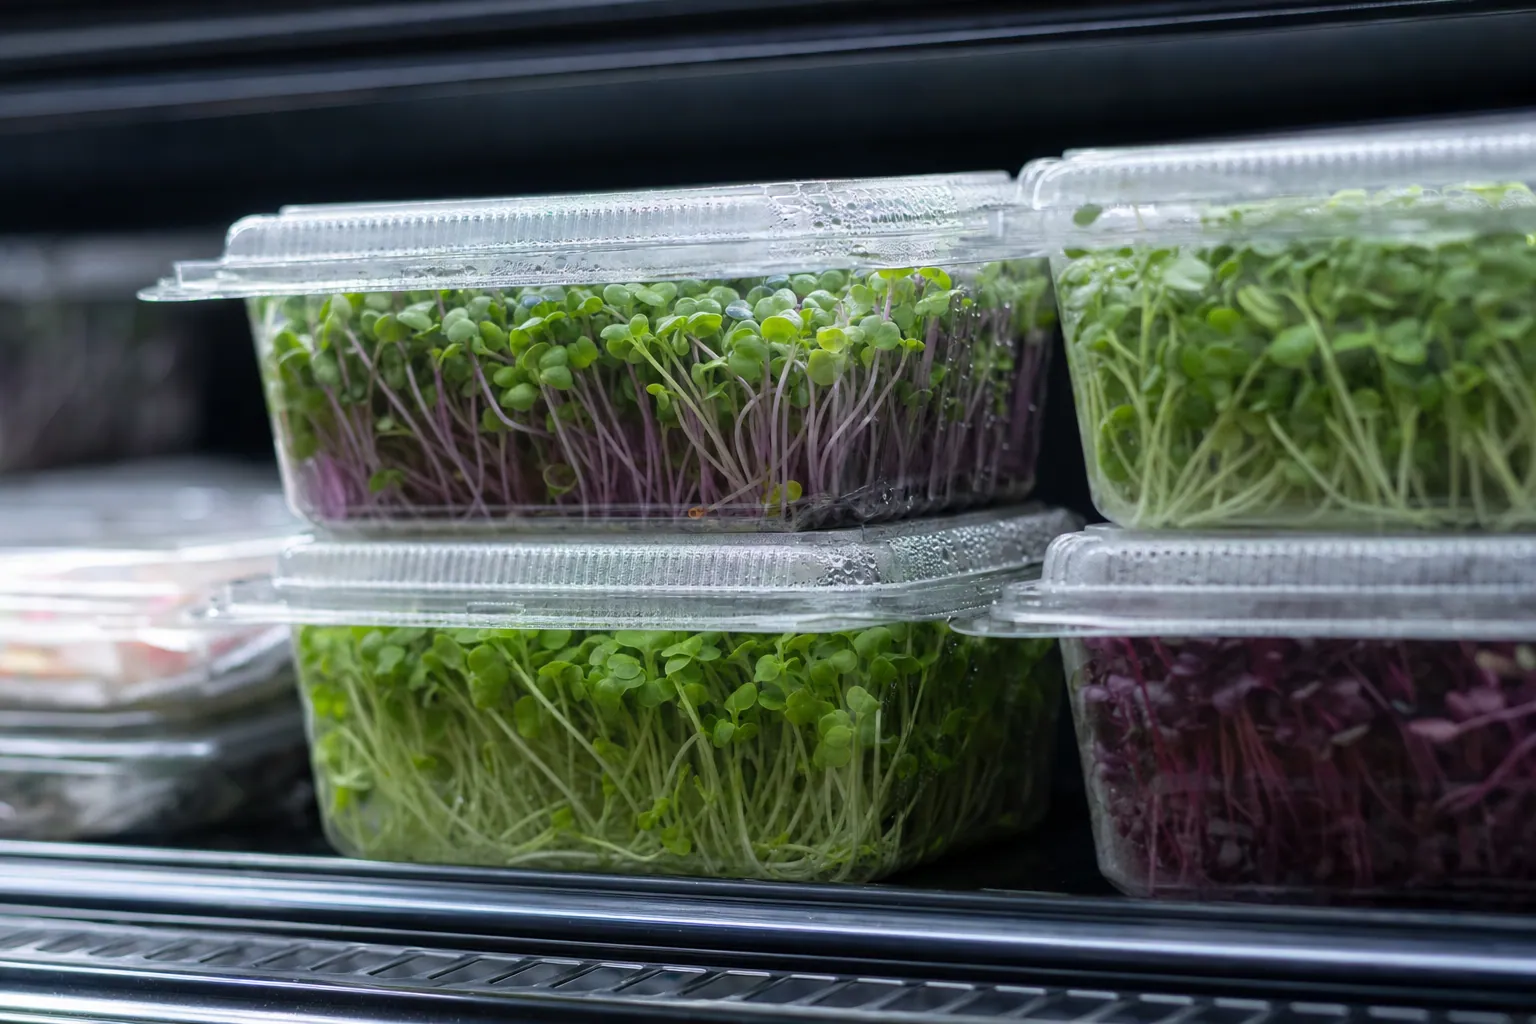
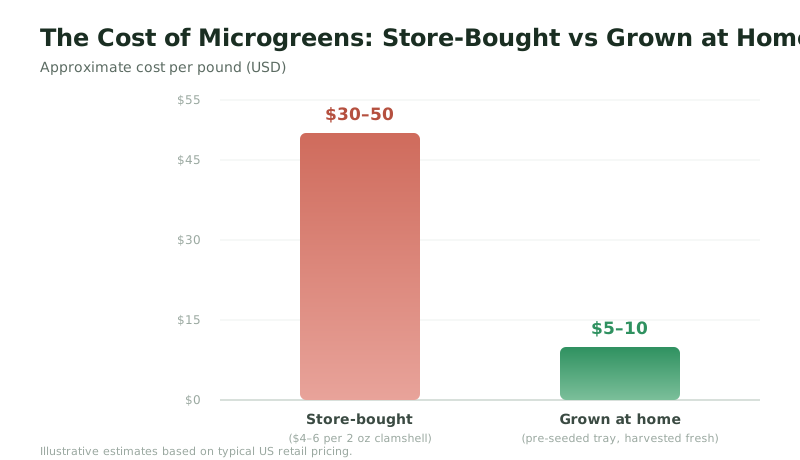
Store-bought microgreens are genuinely expensive. A typical 2 oz clamshell runs $4 to $6, which works out to roughly $30 to $50 per pound. To put that in perspective, that is more than most cuts of steak, for a food you tend to eat by the handful. Add a few clamshells a week into a salad routine and the math turns uncomfortable quickly.
They are also rarely fresh by the time they reach you. Microgreens move through a long supply chain, farm to truck to warehouse to store shelf, often over several days. They are among the most perishable items in the produce aisle, and it shows. They wilt fast, carry a short shelf life, and a frustrating share of every package ends up in the compost before you finish it. Paying premium prices for produce you partly throw away is the worst of both worlds. (For the full breakdown, see why store-bought microgreens are expensive and not fresh.)
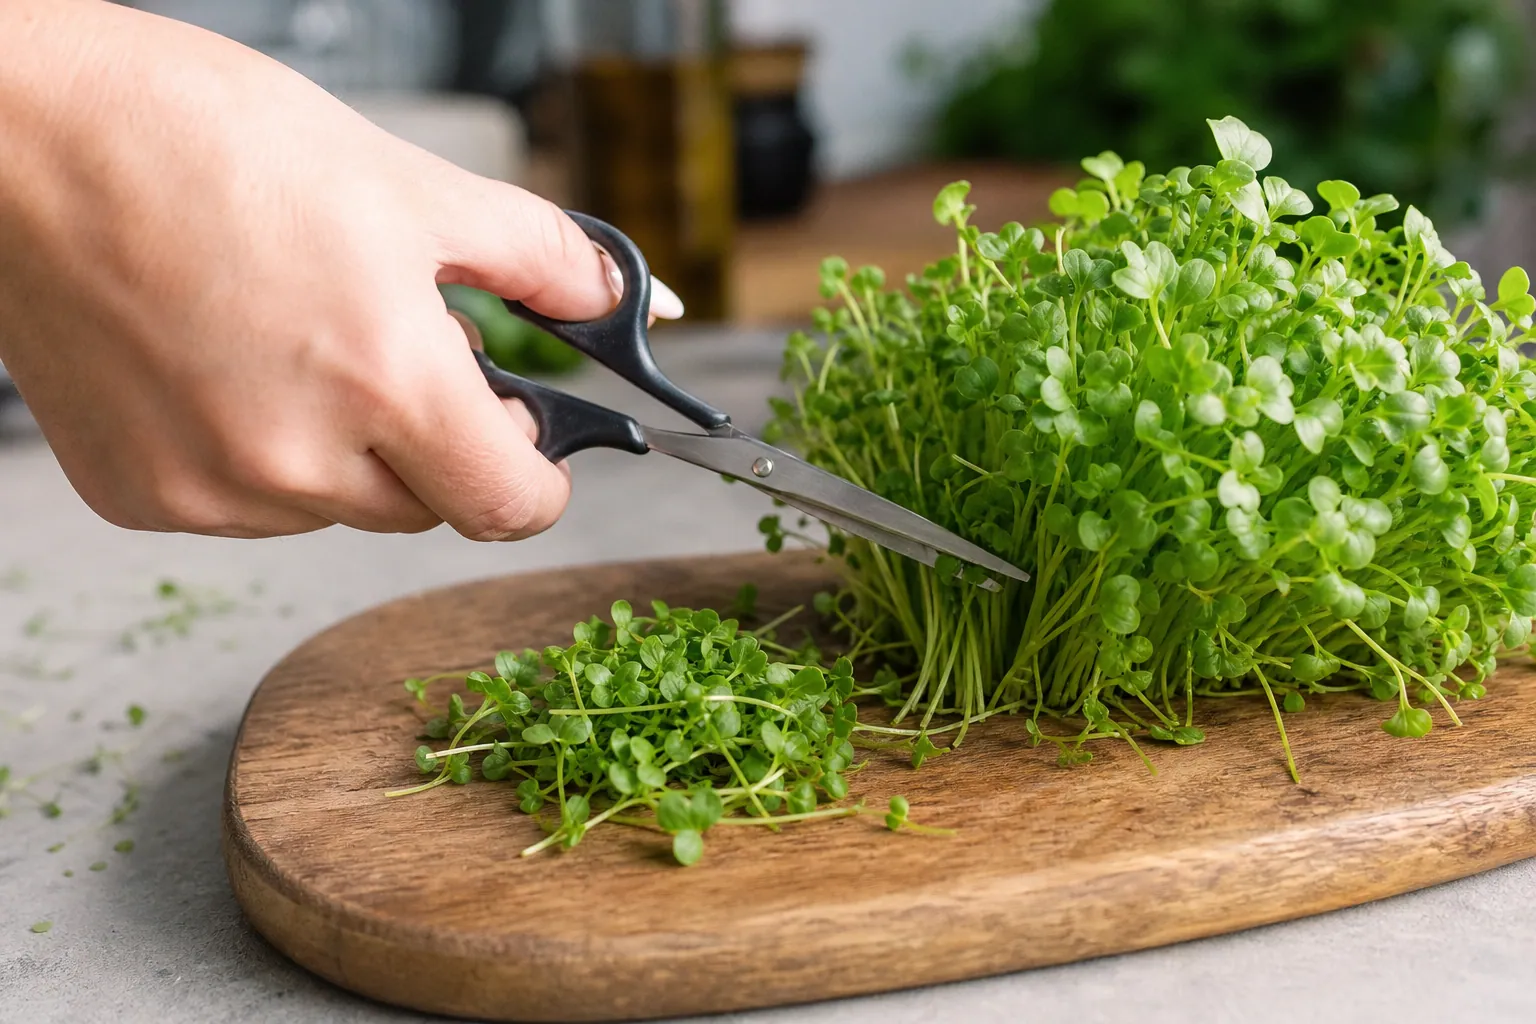
Growing at your counter flips both problems at once. You harvest only what you need, seconds before it hits the plate, and the rest keeps growing alive in the tray. No supply chain, no wilting clock, no waste. A single tray harvested over several days replaces multiple clamshells, so the per-serving cost drops well below store pricing even before you factor in what you stop tossing.
The nutrition is the real headline, though. Microgreens are roughly 2 to 3.5 times more nutrient-dense than their full-grown counterparts, according to peer-reviewed reviews (MDPI Plants) and USDA data, with radish microgreens often topping the list. Gram for gram, they pack more vitamins C, K, and E plus antioxidants and polyphenols than the mature vegetables they come from. You are not eating a garnish. You are eating one of the most concentrated whole foods available, and you are eating it at its peak. If you want the deeper science, our microgreens nutrition overview lays it out.
What to Grow First (and What Each One Gives You)
A few crops are forgiving, fast, and genuinely worth eating. If you are testing whether this fits your kitchen, start with these rather than anything exotic.
| Crop | Germination | Harvest | Why it's worth it |
|---|---|---|---|
| Radish | 1-2 days | 5-7 days | Fastest, peppery, most nutrient-dense of the group |
| Pea shoots | A few days | ~7-10 days | One of the more protein-dense microgreens; sweet and crunchy |
| Broccoli | A few days | ~7-10 days | Richest source of sulforaphane precursor |
| Sunflower | A few days | ~7-10 days | Nutty, hearty, holds up well in salads |
Radish is the confidence-builder. It germinates in a day or two and is ready to eat in under a week, so you see a result before you have time to lose interest. It also happens to be the most nutrient-dense of the common crops, with a clean peppery kick that works on eggs, tacos, and toast. If you want a ranked starting point, our guide to the easiest microgreens to grow covers the rest.
Broccoli is the standout for anyone focused on health. Broccoli microgreens and sprouts contain roughly 10 to 100 times more glucoraphanin, the sulforaphane precursor, than mature broccoli, based on research from Johns Hopkins, though the finished sulforaphane you actually get varies widely by variety, growing conditions, and harvest timing. That is a staggering concentration to get from a plant you can grow on your counter in a week.
Sulforaphane is worth understanding before you decide what to plant. It is an isothiocyanate that forms when the compound glucoraphanin meets the enzyme myrosinase as you chew or chop the greens. Once formed, it activates the body's Nrf2 antioxidant and detox pathway, and it is being studied for blood-sugar regulation, inflammation, and cellular defense. That is research-stage work, not proven cures, so treat the headlines with care. But it explains why broccoli microgreens have become the crop health-conscious buyers grow first. The practical takeaway: eat them raw and fresh and chew them well, because heat and overcooking degrade myrosinase and waste the precursor you grew. We go deeper in how to maximize sulforaphane.
Pea shoots earn their place on protein alone, ranking among the more protein-dense microgreens, which makes them a genuinely strong plant-based source and not just a flavor accent. Red cabbage microgreens have drawn attention too: an animal study found they lowered LDL and liver cholesterol, along with inflammatory markers, in mice on a high-fat diet (USDA). That is early mouse research, not human proof, but it is one more reason these tiny greens keep appearing in the literature rather than fading as a food trend. For where this fits a wider diet, see are microgreens good for you.
The Honest Trade-Offs of Growing Your Own
Growing microgreens by hand is rewarding, but it is not effortless, and pretending otherwise sets buyers up to quit. Three things trip up most beginners. It is worth knowing them before you spend on seed, soil, and trays.
Mold. This is the number one reason trays fail. It thrives on a specific combination: excess moisture, poor airflow, overcrowded seeding, and warmth. Get two or three of those at once and a fuzzy white bloom can claim a tray overnight, and there is no rescuing it, you start over. New growers tend to overseed and overwater, which is exactly the recipe mold wants. (If you have already hit this, see why microgreens keep molding.)
Mess. Soil-based growing is, well, soil. Bags of it in a closet, spills on the counter, dirt rinsed down the sink after every cycle. For some people that is part of the fun. For most buyers eyeing a tidy kitchen, it is friction that quietly ends the habit.
Maintenance. Microgreens run on roughly 10-day cycles that need daily watering and attention. Miss a day or two during a heat wave and a tray can dry out or bolt; a weekend trip or one genuinely busy week can wipe out a batch. Manual growing carries a real failure rate, and it is almost always a consistency problem rather than a skill problem. The greens are easy. Showing up every single day for ten days is the hard part.
| Trade-off | What goes wrong | What it takes to avoid |
|---|---|---|
| Mold | Moisture + poor airflow + crowding + warmth | Careful watering, airflow, thin seeding |
| Mess | Soil spills and post-cycle cleanup | Dedicated space and regular cleaning |
| Maintenance | Daily care across a ~10-day cycle | Consistency, even on busy weeks |
None of this is a reason to skip microgreens. It is a reason to be honest about the commitment, and to decide up front whether you want a hobby or a habit. If you want a full walkthrough of the manual method, our guide to how to grow microgreens at home covers it step by step, mold prevention included.
Removing the Chores: Where Luya Fits
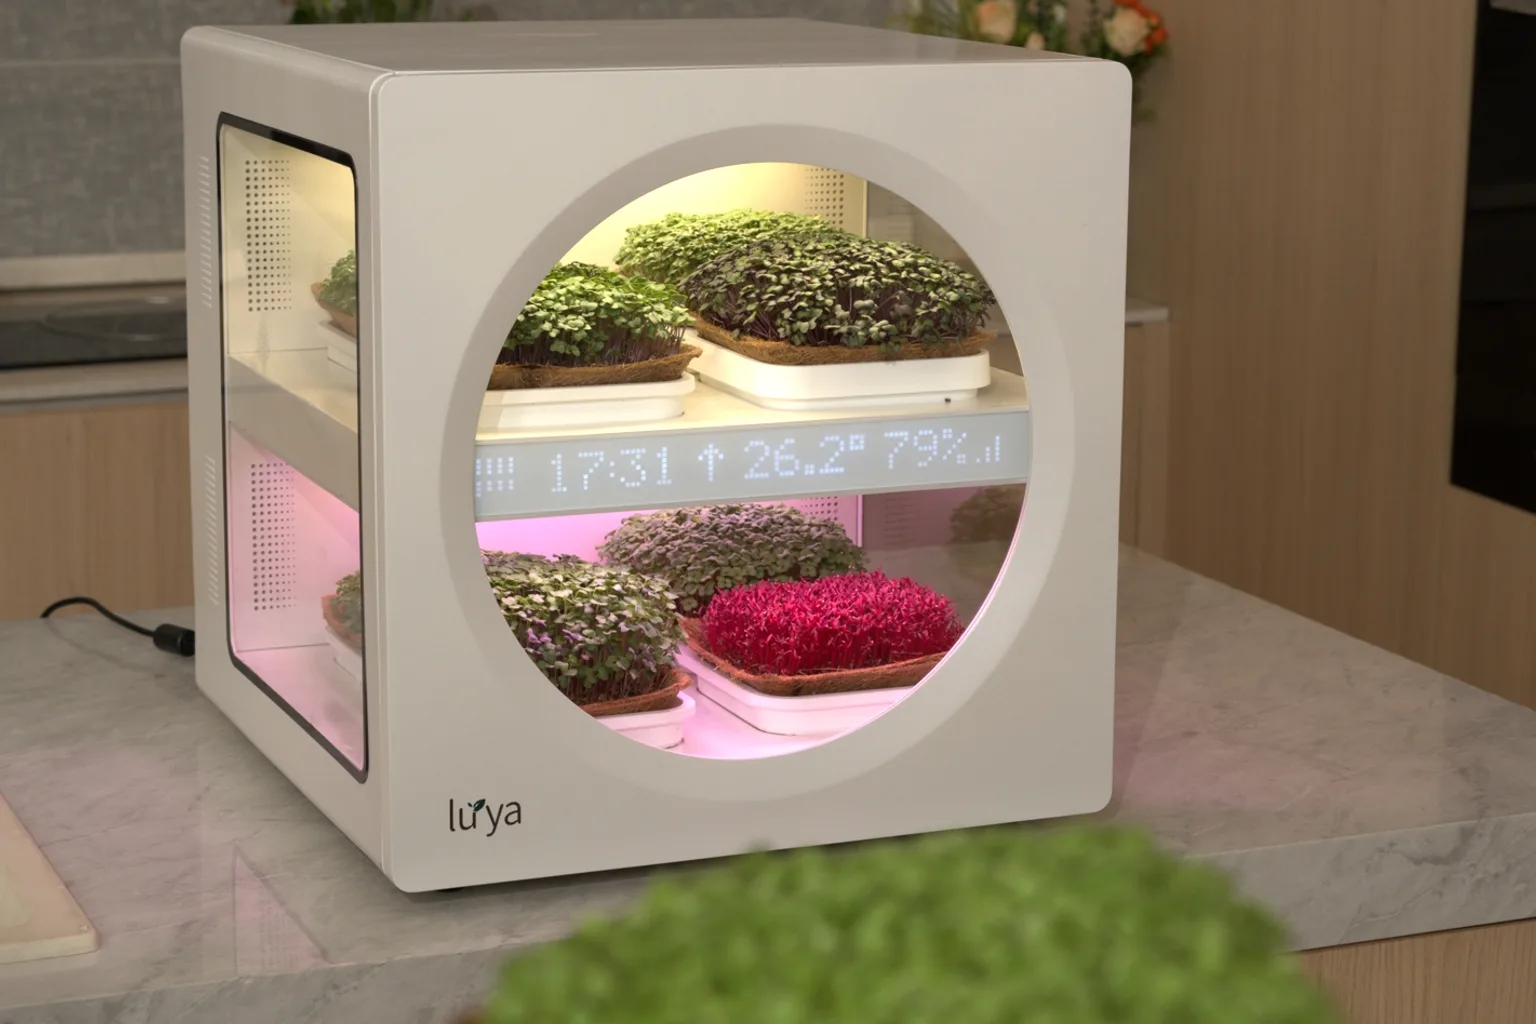
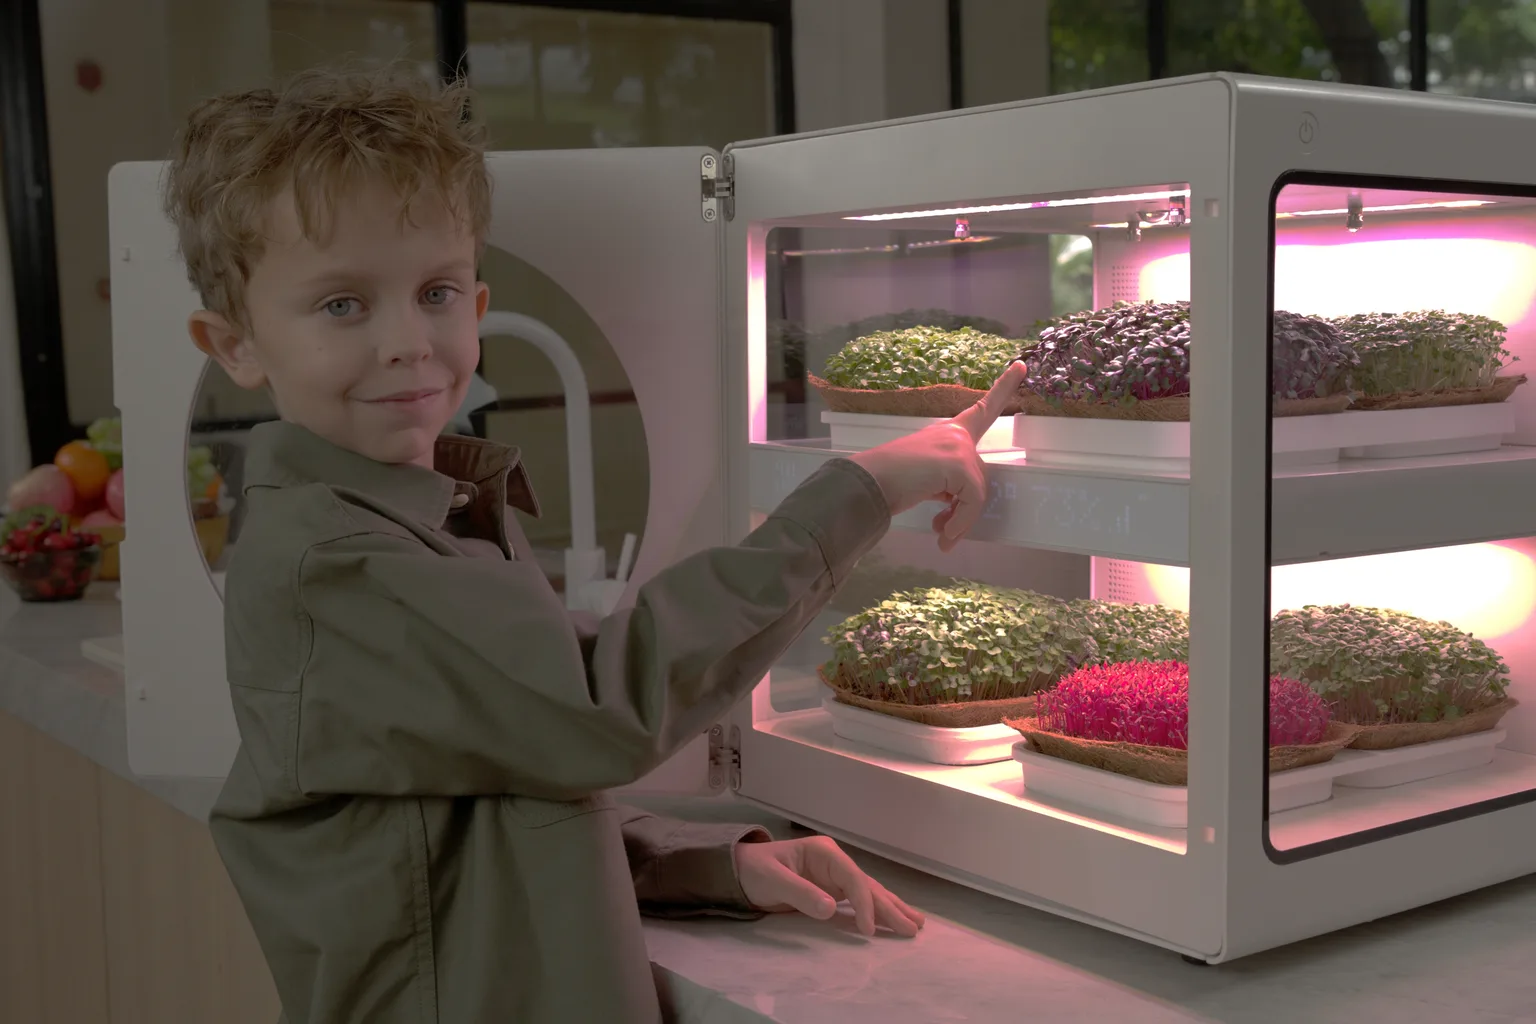
This is the gap Luya was built to close. The Luya X is a countertop appliance, about 17 inches tall, that grows fresh microgreens at home without the mold, mess, or daily maintenance. The mental model is a Nespresso, but for greens.
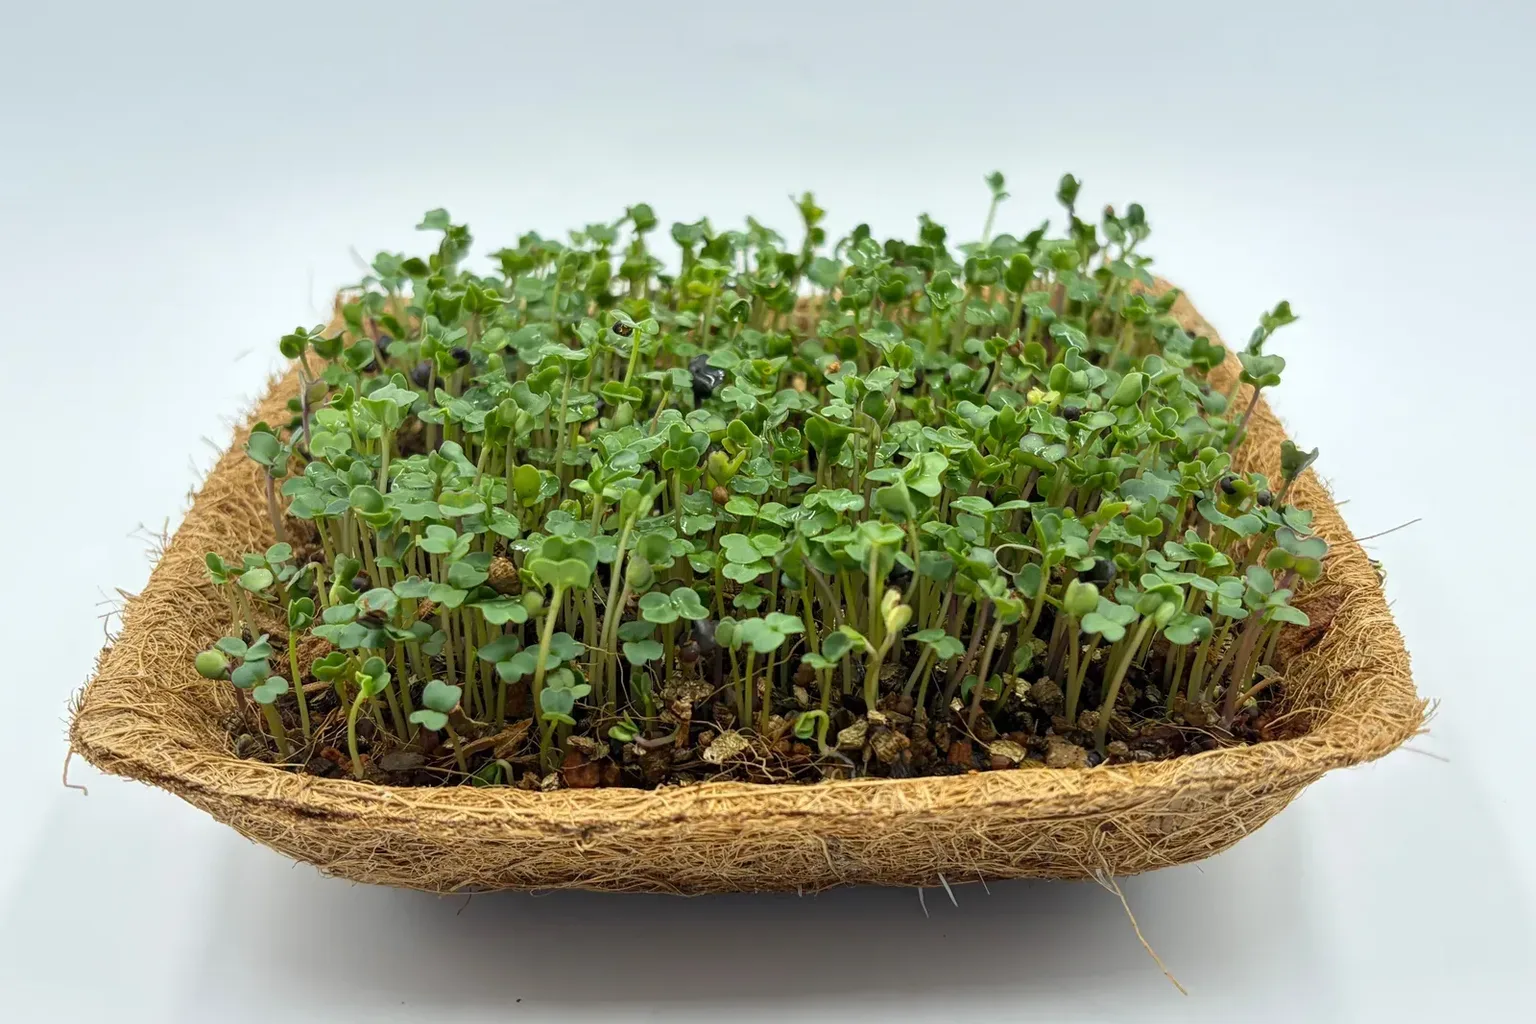
You drop in a pre-seeded tray, made in the US with about a one-year shelf life, and the machine handles the rest. A sealed, climate-controlled, ventilated chamber keeps mold out by managing the exact conditions that cause it. AI closed-loop control and precise heating-and-cooling temperature management run the grow, with automatic multi-channel nutrient dosing along the way, so there is no measuring or mixing. A remote live camera and automatic time-lapse let you watch each cycle from your phone, and grows run about 7 to 10 days. You harvest only what you need, and the rest keeps growing alive in the chamber.
In other words, it closes both gaps at once. The DIY pains, mold and mess and daily maintenance, disappear because the work is automated and the chamber is sealed. The buyer pains, expensive and not fresh, shrink because greens cost less per serving than clamshells and are harvested seconds before you eat them. It is not the only way to get counter-fresh greens, but for people who love the idea and dread the chores, it is the most reliable path we know of.
Curious how the hands-off approach actually works? See how it works for the full picture, or keep reading with grow vs buy microgreens if you want to run the numbers for your own kitchen first. Either way, the freshest, most nutritious greens you will eat are the ones grown right where you cook.
References
- Fahey JW, Zhang Y, Talalay P. Broccoli sprouts: an exceptionally rich source of inducers of enzymes that protect against chemical carcinogens. PNAS. 1997;94(19):10367–10372. https://doi.org/10.1073/pnas.94.19.10367
- Xiao Z, Lester GE, Luo Y, Wang Q. Assessment of Vitamin and Carotenoid Concentrations of Emerging Food Products: Edible Microgreens. J Agric Food Chem. 2012;60(31):7644–7651. https://doi.org/10.1021/jf300459b
- Dewhirst RA, Clarkson GJJ, Rothwell SD, Fry SC. Ascorbate retention and degradation in spinach and other salad leaves. Food Chemistry. 2017;233:237–246. https://doi.org/10.1016/j.foodchem.2017.04.049