There is a moment in every good restaurant meal, just before the first bite, when the plate stops you. The food looks alive. More often than not, the thing pulling that off is a small tuft of greens placed with what looks like effortless precision. That is the microgreen garnish, and it is one of the most useful tricks a home cook can borrow from professional kitchens.
The good news is that garnishing well is not about talent or fancy tools. It is about a handful of principles that chefs apply on instinct: build a little height, play with color, and know when to stop. Master those, and a weeknight bowl of soup can look like it came off a tasting menu. Let's walk through exactly how the pros do it, and how you can do the same at home.
Why chefs reach for microgreens in the first place
Microgreens are the seedlings of edible vegetables, harvested somewhere between 7 and 21 days after germination. For decades they lived almost exclusively in professional kitchens, where chefs used them as flavor accents and finishing touches on soups, salads, and sandwiches. They were a chef's secret long before they showed up at farmers' markets and upscale grocery stores.
Part of the appeal is purely visual. Microgreens come in a range of natural colors that a chef can use like a paint palette, from the deep reds of amaranth and red mustard to the purplish hues of opal radish and red cabbage to the clean greens of broccoli and arugula. But there is substance behind the style, too. Microgreens can carry far more concentrated nutrients than their full-grown versions, which means that decorative pinch on top is also doing real nutritional work. If you want the background on that, our piece on microgreens nutrition digs into the numbers.
The other reason chefs love them is flavor delivery. A garnish is the last thing to hit the plate, so it is also the first thing your palate registers. A few peppery radish leaves or sweet, nutty sunflower shoots set the tone for the entire dish.
Principle one: build a little height
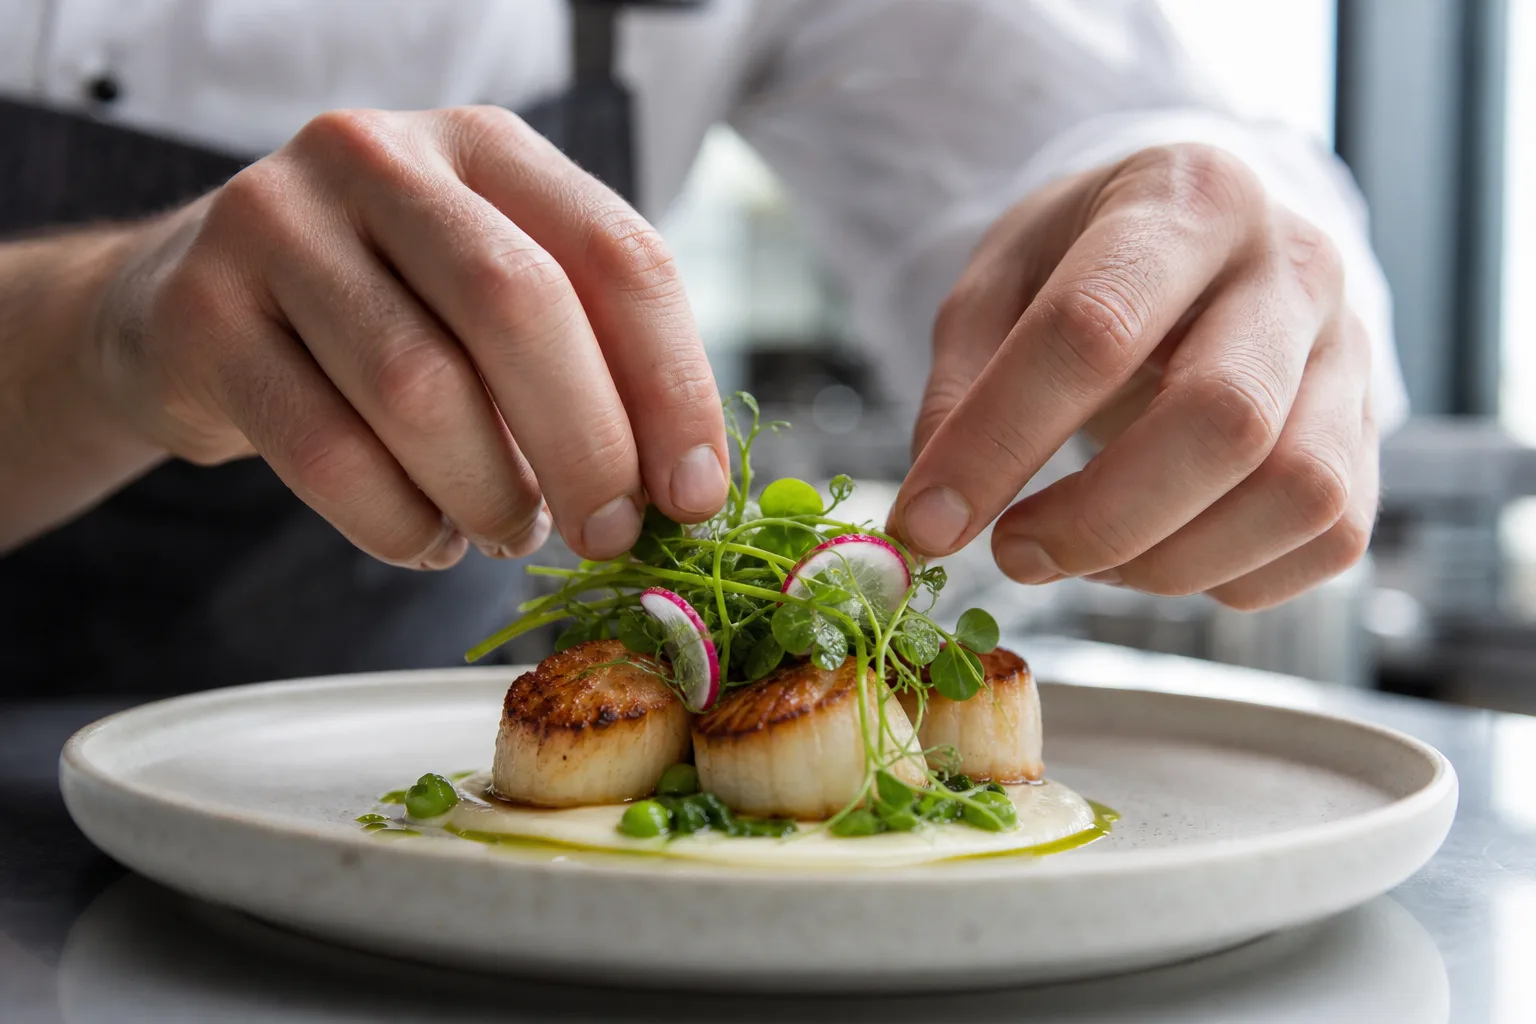
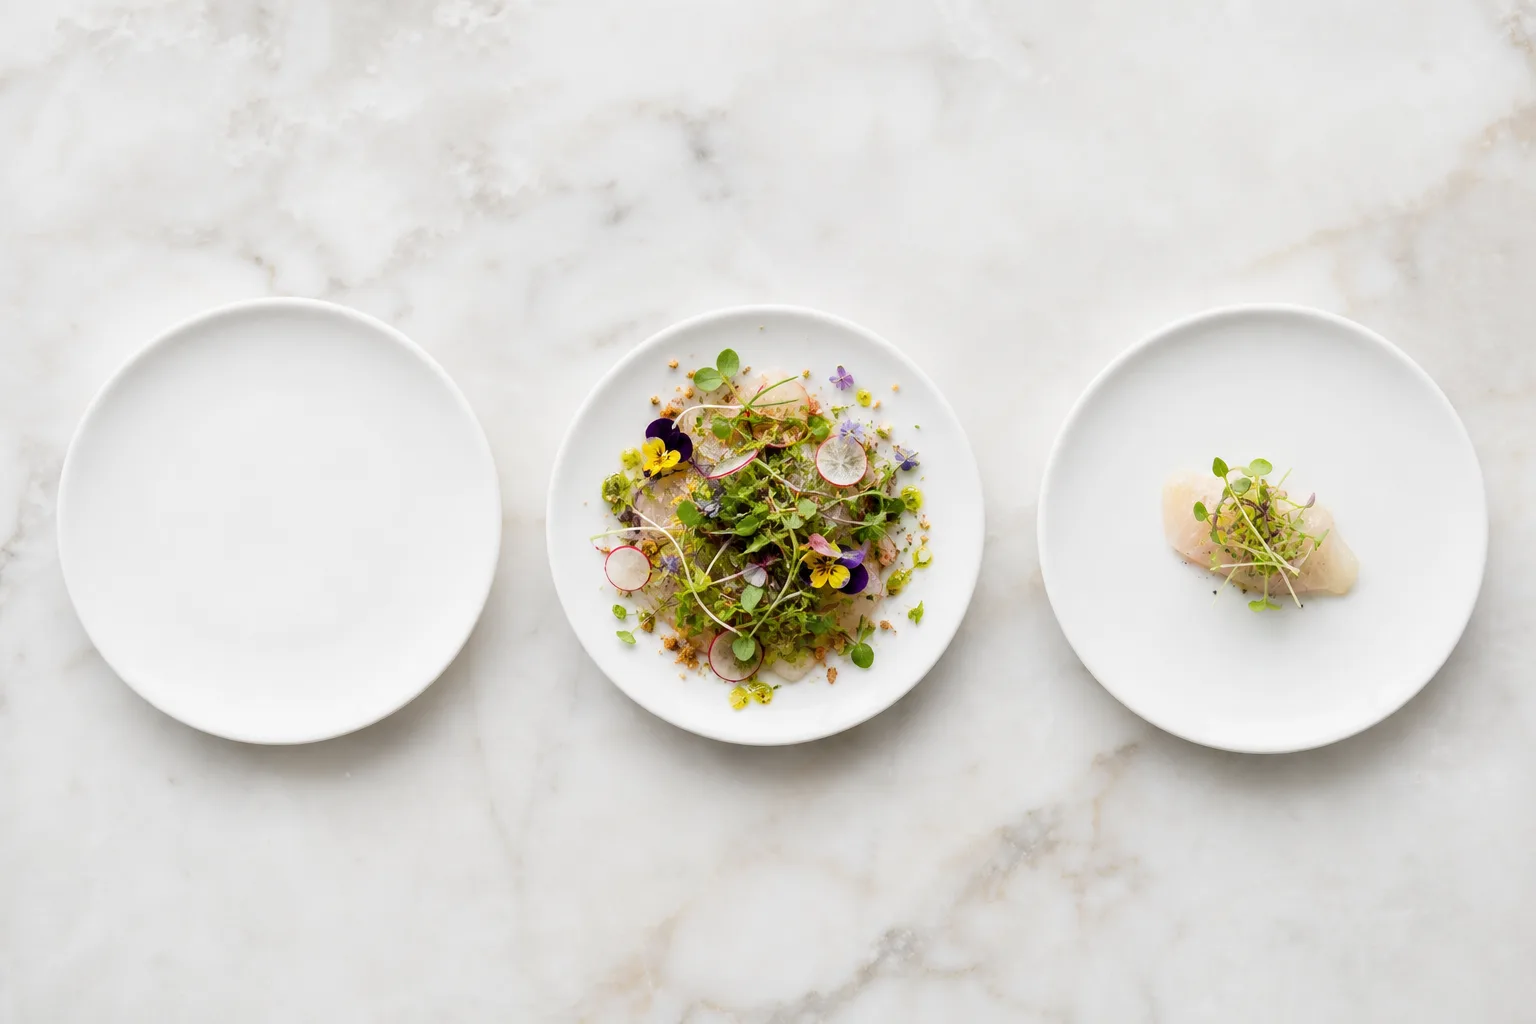
The single biggest difference between an amateur garnish and a professional one is dimension. Beginners tend to scatter greens flat across the surface, which reads as messy. Chefs do the opposite. They gather a small cluster and place it so the leaves stand up and catch the light, creating a vertical accent that draws the eye to the center of the plate.
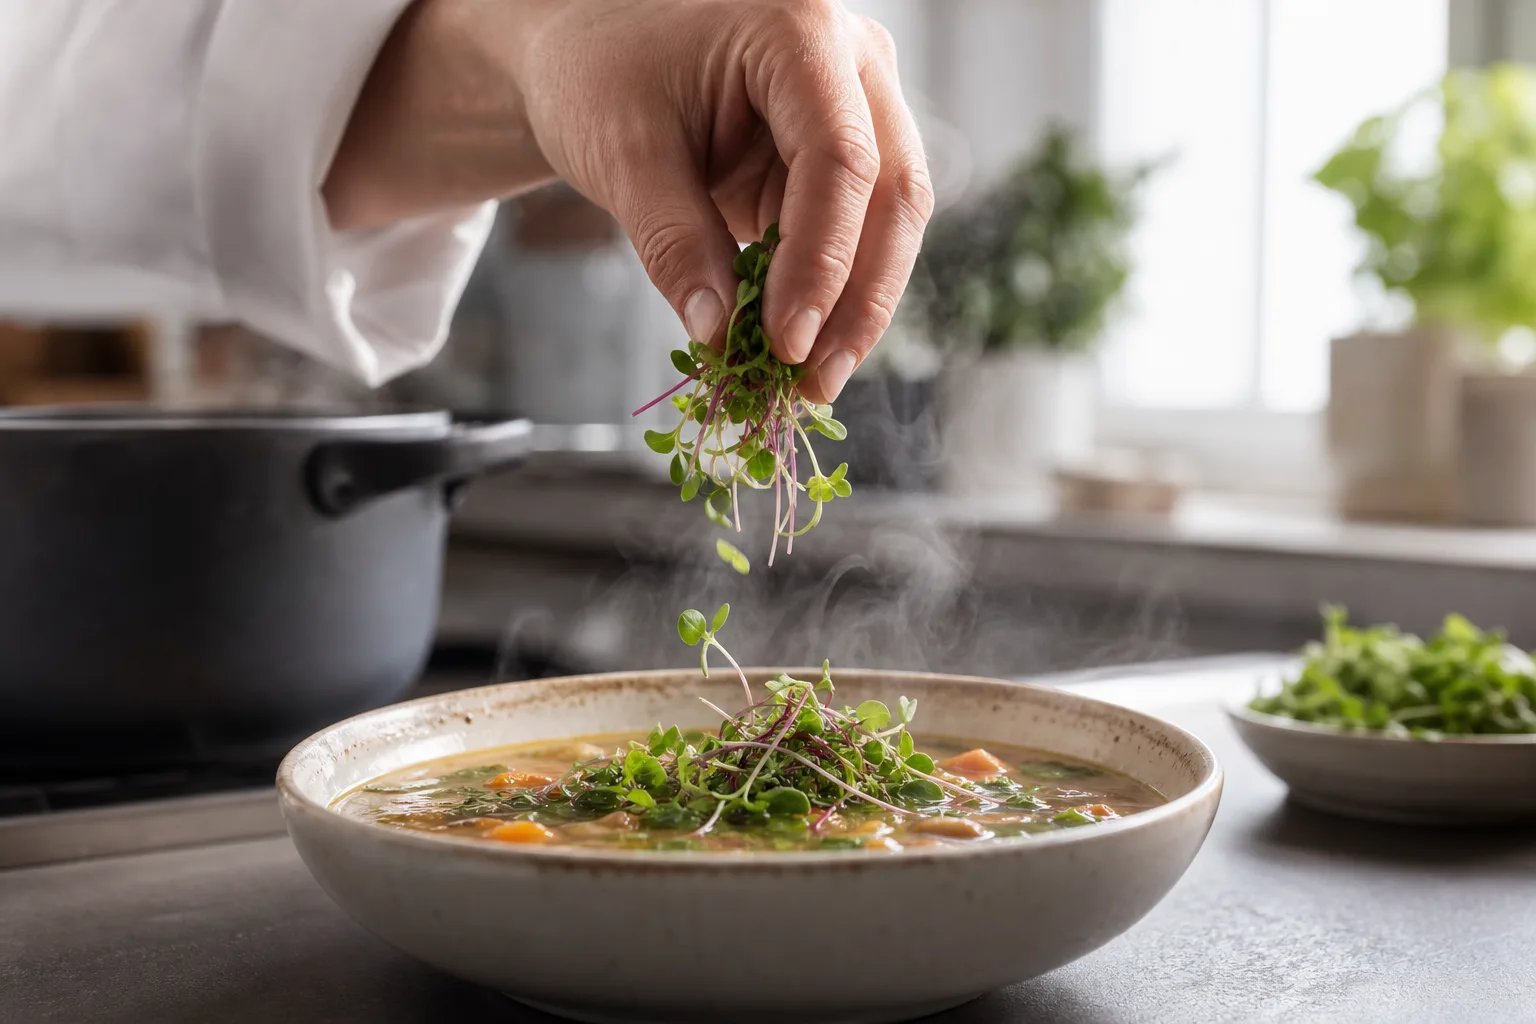
The technique is simple. Take a loose pinch of microgreens, hold them gently by the stems, and set them down as a unit rather than sprinkling. Let a few leaves lean against a protein or a quenelle of something creamy so they have support. On a soup or a puree, rest the cluster on a crouton, a slice of avocado, or the rim of a poached egg so it perches above the liquid instead of sinking into it.
Tender, structured varieties hold their shape best for this. Pea shoots, sunflower, and radish all have enough backbone to stand. Softer greens like alfalfa work too but tend to flatten, so use them where a lower profile is fine.
Principle two: contrast is everything
Color is what makes a plate photograph well, and it is also where home cooks leave the most on the table. The rule chefs follow is contrast: pick a garnish color that fights with the food underneath, not one that blends in.
Here is a quick cheat sheet for matching microgreen color to the dish:
| Dish base color | Best microgreen contrast | Example pairing |
|---|---|---|
| Pale / creamy (risotto, soup) | Deep red or purple | Amaranth or red mustard on cauliflower puree |
| Dark / brown (steak, braise) | Bright green | Broccoli or pea shoots on a short rib |
| Red / tomato | Vivid green or purple | Arugula on a tomato tart |
| Green (pesto, herb sauce) | Red or magenta | Beet or red radish on a green-on-green plate |
Flavor contrast matters just as much as color. A panel of trained tasters who evaluated a dozen microgreens found that the category splits into distinct flavor families, anchored by four representative profiles: the mild, slightly cabbage-like broccoli; the sweet, vegetal pea shoot; the sharp heat of mustard; and the tangy, nutty bite of arugula. Knowing which family you are reaching for lets you season with the garnish. Pair a rich, fatty dish with something peppery to cut through it; lift a sweet dish with something herbaceous. Our microgreens flavor pairing guide goes deeper if you want to plan by taste.
Principle three: practice restraint
If there is one mistake that instantly marks a home plate as amateur, it is too much garnish. A handful of greens dumped on top doesn't say "fresh," it says "crowded." Chefs treat microgreens like a finishing salt: a deliberate accent, never a pile.
A useful target is to cover no more than a small fraction of the plate and to leave plenty of negative space around your accent. The empty plate around the food is part of the composition. Restraint also keeps the flavors balanced, because some microgreens are genuinely intense. Mustard and radish in particular can dominate a bite, so a little goes a long way.
| Serving format | Suggested garnish amount | Placement style |
|---|---|---|
| Individual plated entree | 1 small pinch (about a tablespoon, loose) | Single off-center cluster |
| Bowl of soup | 1 pinch | Floating on a crouton or swirl |
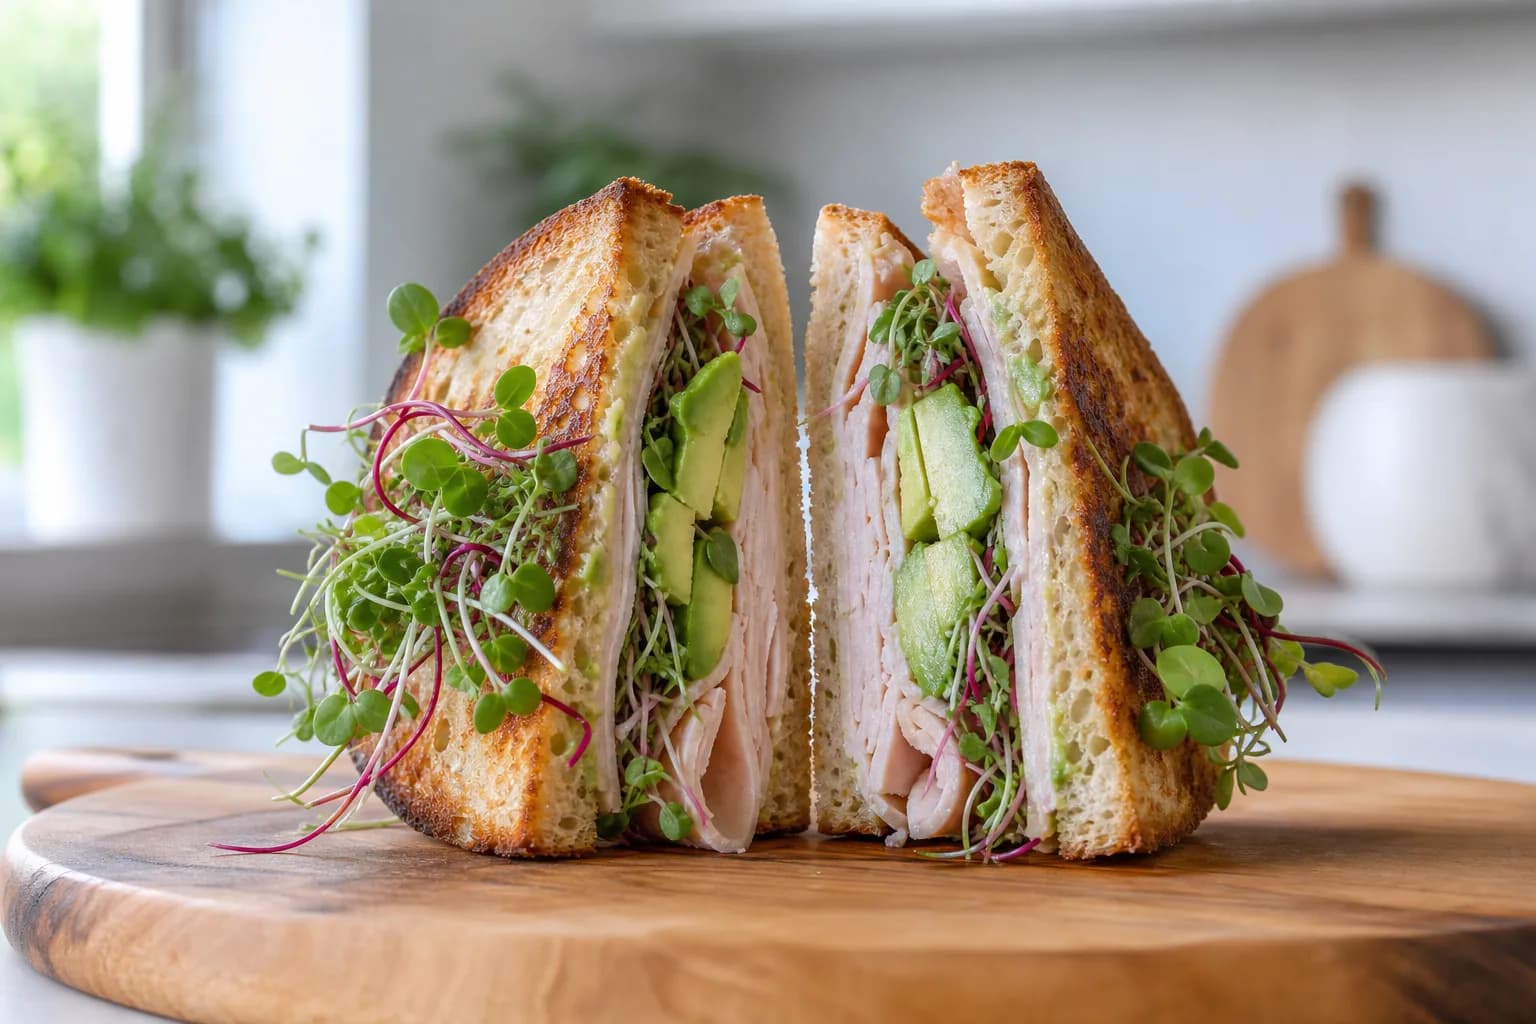
| Sandwich or toast | A thin, even layer | Tucked so leaves peek out the side |
| Sharing platter | 2 to 3 small clusters | Spaced, not blanketed |
When in doubt, use less than you think you need. You can always add one more leaf. You cannot un-clutter a plate.
Principle four: freshness is the whole game
Here is the part professionals will not compromise on, and it is the hardest to replicate at home. A garnish only works if the greens look vibrant and perky at the exact moment they reach the table. Wilted, yellowing microgreens do the opposite of what you want, drawing attention to tiredness instead of vitality.
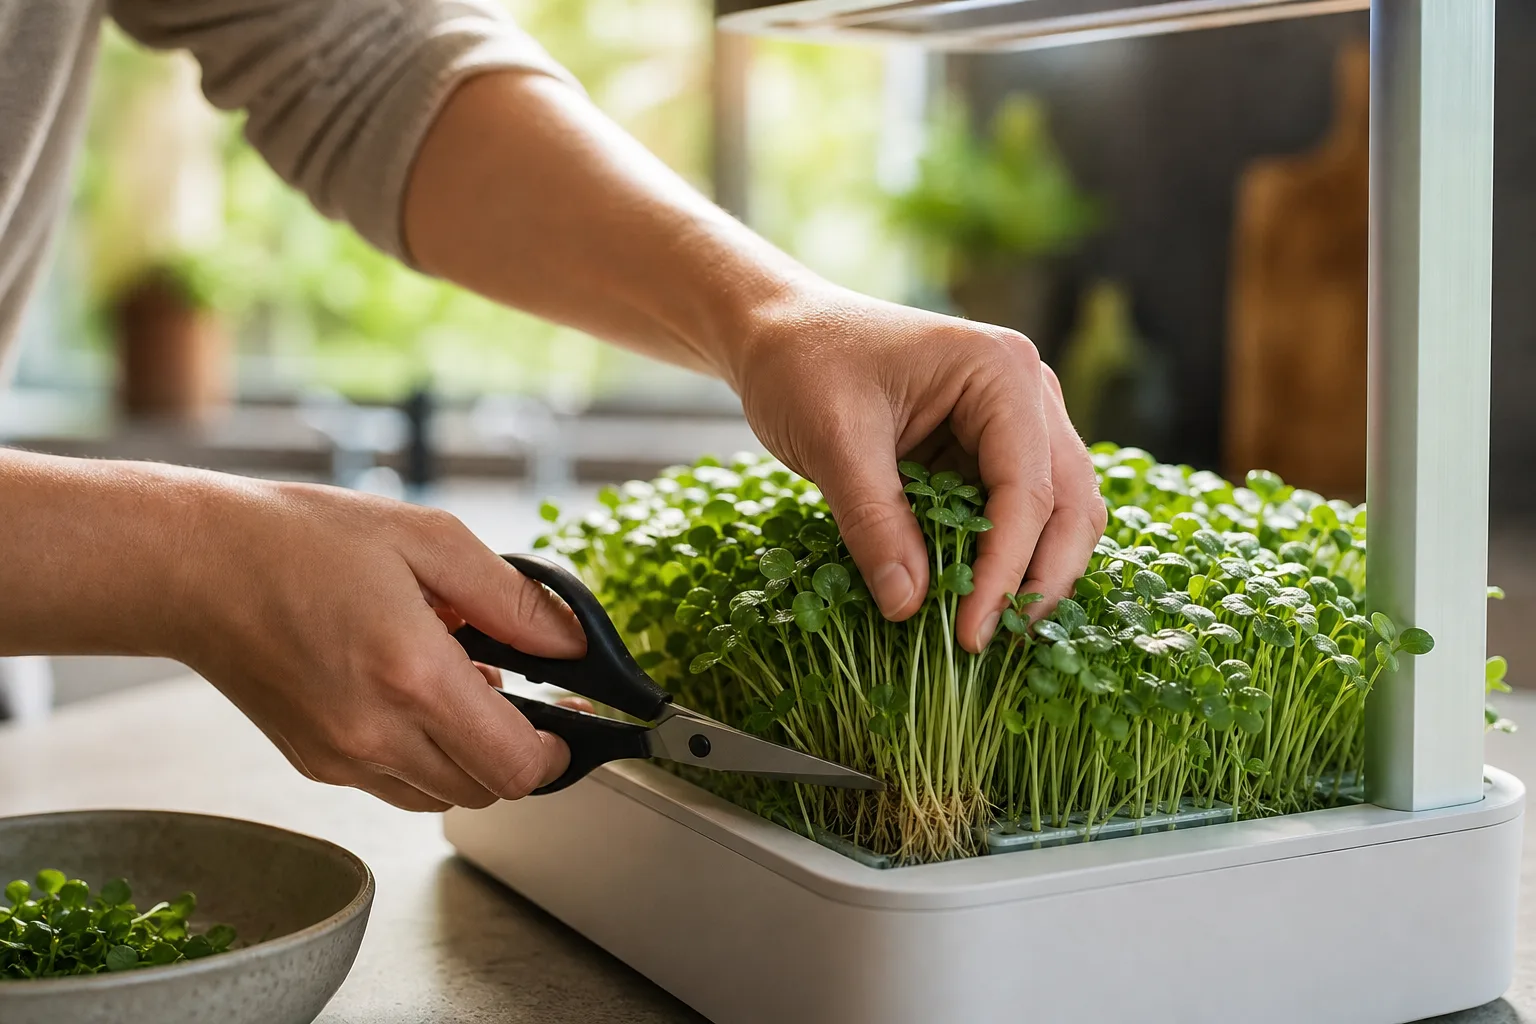
This is the real reason top restaurants increasingly grow or finish their greens on site rather than relying on deliveries that may be days old. Front-of-house freshness is not a luxury, it is a visual requirement. Greens cut minutes before plating stand taller, hold color longer, and carry brighter flavor than anything that has spent time in a clamshell. If you have ever wondered why store-bought microgreens feel expensive but never quite fresh, this is the gap.
For home cooks, the solution that mirrors what restaurants do is to harvest at the last second. A countertop grower like Luya keeps a living tray of microgreens within arm's reach of the stove, so you snip exactly what you need just before plating. The greens are still rooted and turgid when they hit the dish, which is precisely the look you are after. If you would rather start from scratch, our how to grow microgreens at home guide covers the basics.
A quick toolkit: which microgreen for which job
Different garnishing situations call for different greens. Here is how chefs tend to think about the workhorses:
- Radish is the color-and-drama pick. The purple and red varieties produce intensely colored leaves and a strong, peppery bite, which makes them a favorite for visual punch on a pale dish.
- Sunflower is sweet, nutty, and substantial. It has long been a gourmet garnish because the shoots are sturdy enough to stand up and mild enough to go on almost anything.
- Broccoli is the gentle all-rounder, slightly bitter and crunchy, and it happens to be rich in sulforaphane, so it earns its place nutritionally too.
- Arugula brings tangy, nutty, almost astringent flavor for dishes that can take a sharper edge.
- Beet delivers earthy sweetness and deep red color on even very young seedlings, perfect when you want red without heat.
Match the green to both the look and the flavor you are going for, and the garnish stops being decoration and becomes part of the cooking. For more ways to actually eat what you grow beyond garnishing, see how to eat microgreens.
Putting it all together
Garnishing with microgreens like a chef comes down to four habits, none of which require special skill. Build a small amount of height so the greens catch the light. Choose a color that contrasts with the food underneath. Use restraint and let the empty plate do some of the work. And above all, finish with greens that are genuinely fresh, because vibrancy is the entire point.
The next time you plate dinner, slow down for the last ten seconds. Pinch a small cluster, set it with intention slightly off-center, and step back. That tiny pause is the difference between food that looks made and food that looks plated. With a living supply of microgreens on hand, it becomes the easiest upgrade in your kitchen.