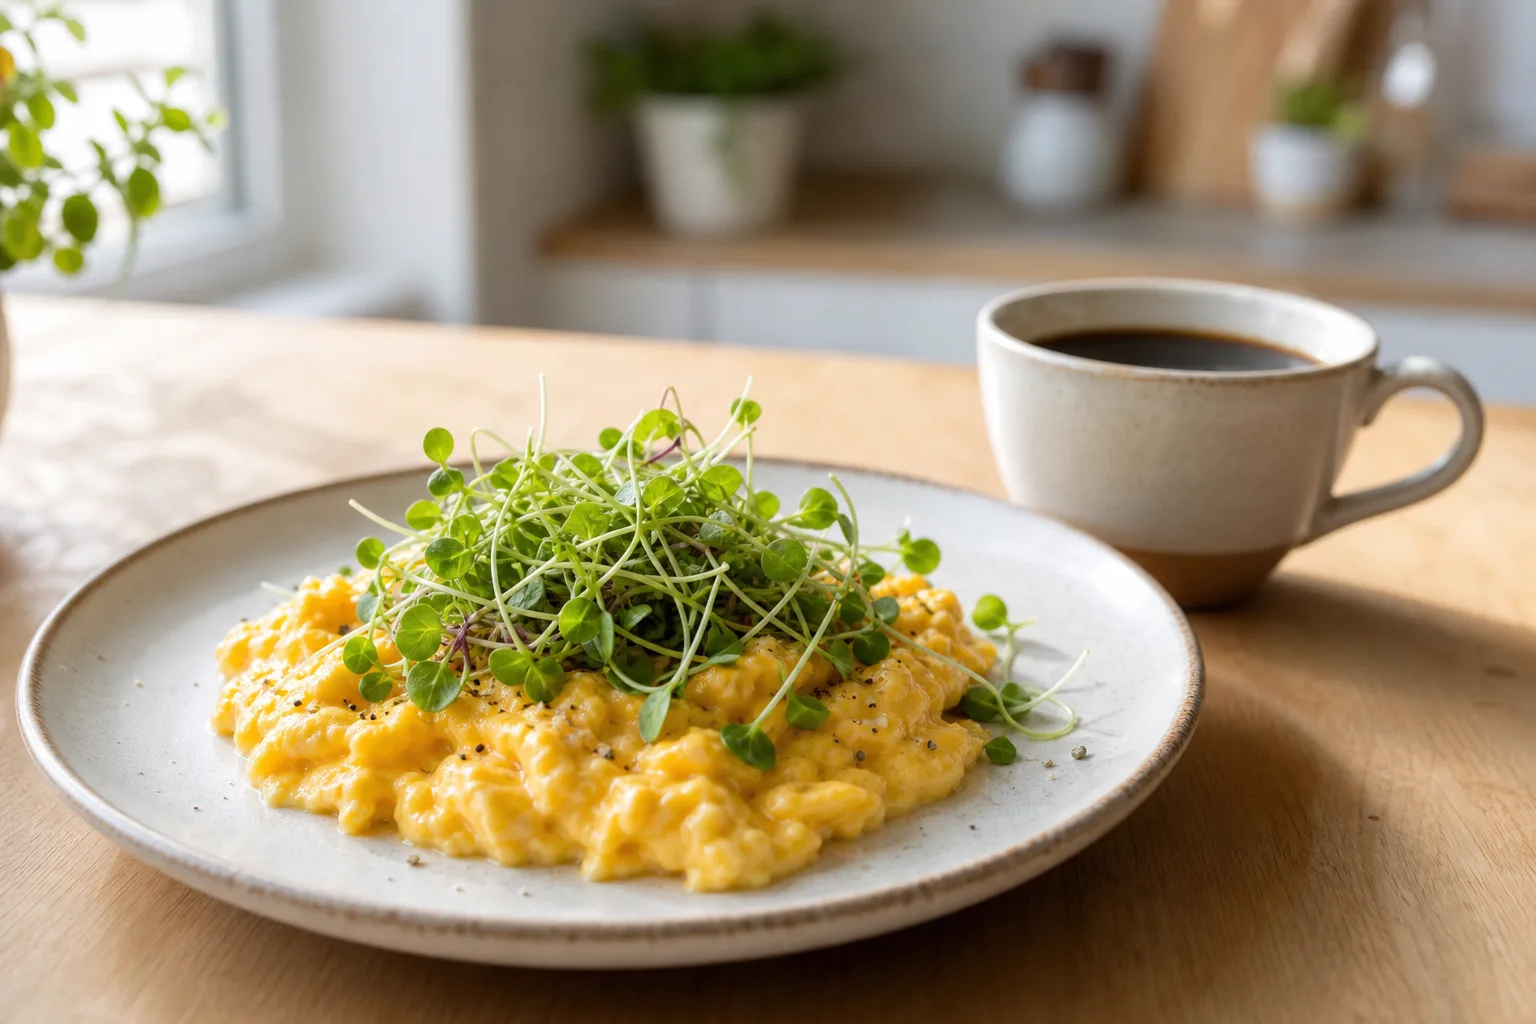
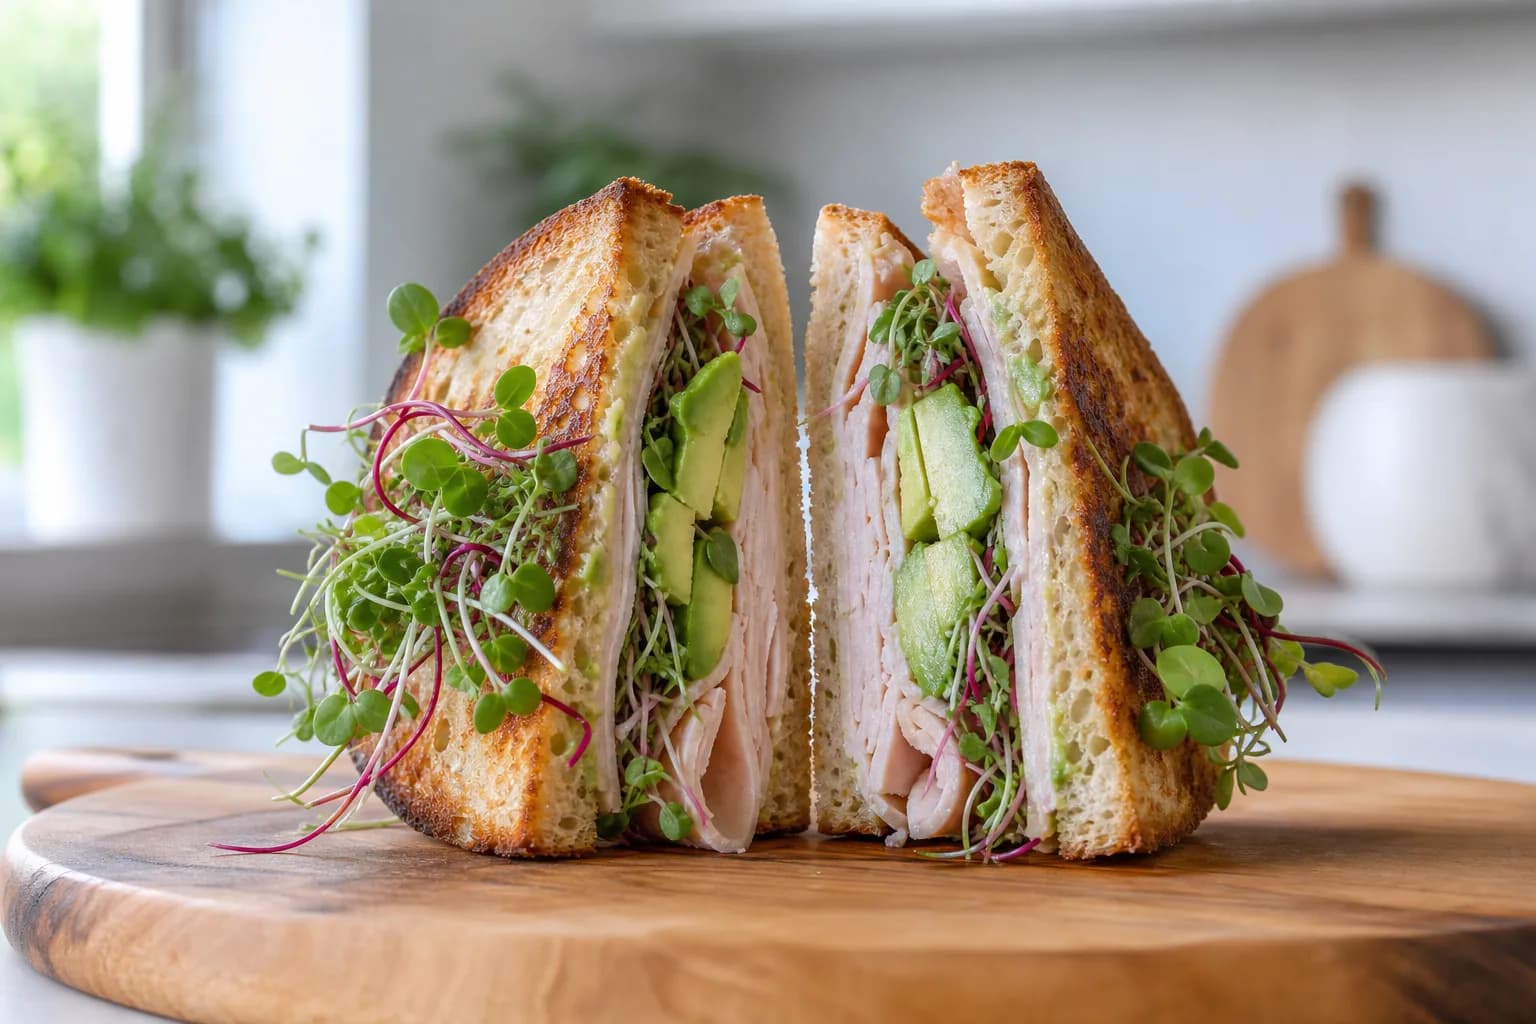
There is a quiet moment in every sandwich where it can go either way. You have the bread, the protein, the spread, maybe a slice of tomato. Then comes the green layer, and most of us reach for the same tired leaf of lettuce we have used our whole lives. It adds crunch and not much else. Swap in a small handful of microgreens, though, and that same sandwich gains a peppery lift, a bit of color, and a real jolt of flavor that makes you taste the whole thing differently.
Microgreens are not a garnish you balance on top and admire. They belong inside the sandwich, pressed between the layers, where their flavor actually does some work. Below is how to use them well, which crops to pick, the combinations worth trying, and a light note on why they tend to out-perform lettuce nutritionally.
Why microgreens beat lettuce as a sandwich layer
Lettuce earns its spot mostly through habit. It is wet, mild, and cheap, and it disappears the moment anything bolder shows up. Microgreens do the opposite. They carry concentrated flavor and concentrated nutrition in a much smaller footprint, so a thin layer goes a long way.
The flavor is the obvious upgrade. Radish microgreens bring a clean, almost spicy bite. Arugula adds that tangy, nutty, slightly astringent edge it is famous for. Mustard greens land somewhere near horseradish. None of these are subtle, and that is the point in a sandwich, where everything competes against bread and spread.
The nutrition is the quieter upgrade. Researchers at the University of Maryland and the USDA looked at 25 different microgreens and found that vitamin levels were strikingly high. Depending on the crop and how you measure it, young microgreens can carry several times more of certain nutrients than the same plant grown to maturity, sometimes far more. You are not eating a giant pile, so do not overthink the math. The takeaway is simple: the green layer that used to be filler can now pull real weight. If you want the full picture, our deep dive on microgreens nutrition and the overview at are microgreens good for you lay it out.
The best microgreens for sandwiches and wraps
Not every crop survives the sandwich environment. You want greens with structure and assertive flavor, because they will be pressed, possibly warmed, and surrounded by competing ingredients. Here is how the popular options stack up.
| Microgreen | Flavor | Texture | Best with |
|---|---|---|---|
| Radish | Peppery, sharp | Crisp, sturdy | Roast beef, egg salad, cream cheese |
| Arugula | Tangy, nutty | Tender but firm | Turkey, prosciutto, fresh mozzarella |
| Sunflower | Sweet, nutty | Thick, very crunchy | Hummus wraps, chicken, avocado |
| Pea shoots | Fresh, green, sweet | Crisp, juicy | Smoked salmon, ham, soft cheese |
| Broccoli | Mild, slightly bitter | Crunchy | Any sandwich; the everyday workhorse |
| Mustard | Hot, horseradish-like | Tender | Pastrami, sharp cheddar, grilled cheese |
For a forgiving starting point, broccoli microgreens are hard to beat. They are mild enough to layer into anything, easy to grow, and they bring sulforaphane along for the ride. If you want crunch that holds its own against a hearty sandwich, sunflower microgreens and pea shoots are the sturdiest of the bunch. And when you want heat, radish microgreens and mustard microgreens deliver a bite that wakes up an otherwise plain build.
Combinations worth building your lunch around
A good sandwich is a balance of fat, salt, acid, and freshness, and microgreens slot neatly into the freshness role while sneaking in extra flavor. A few combinations that consistently work:
- Turkey and avocado with radish microgreens. The creamy avocado softens the radish bite, and the peppery edge cuts through the richness so the sandwich never feels heavy.
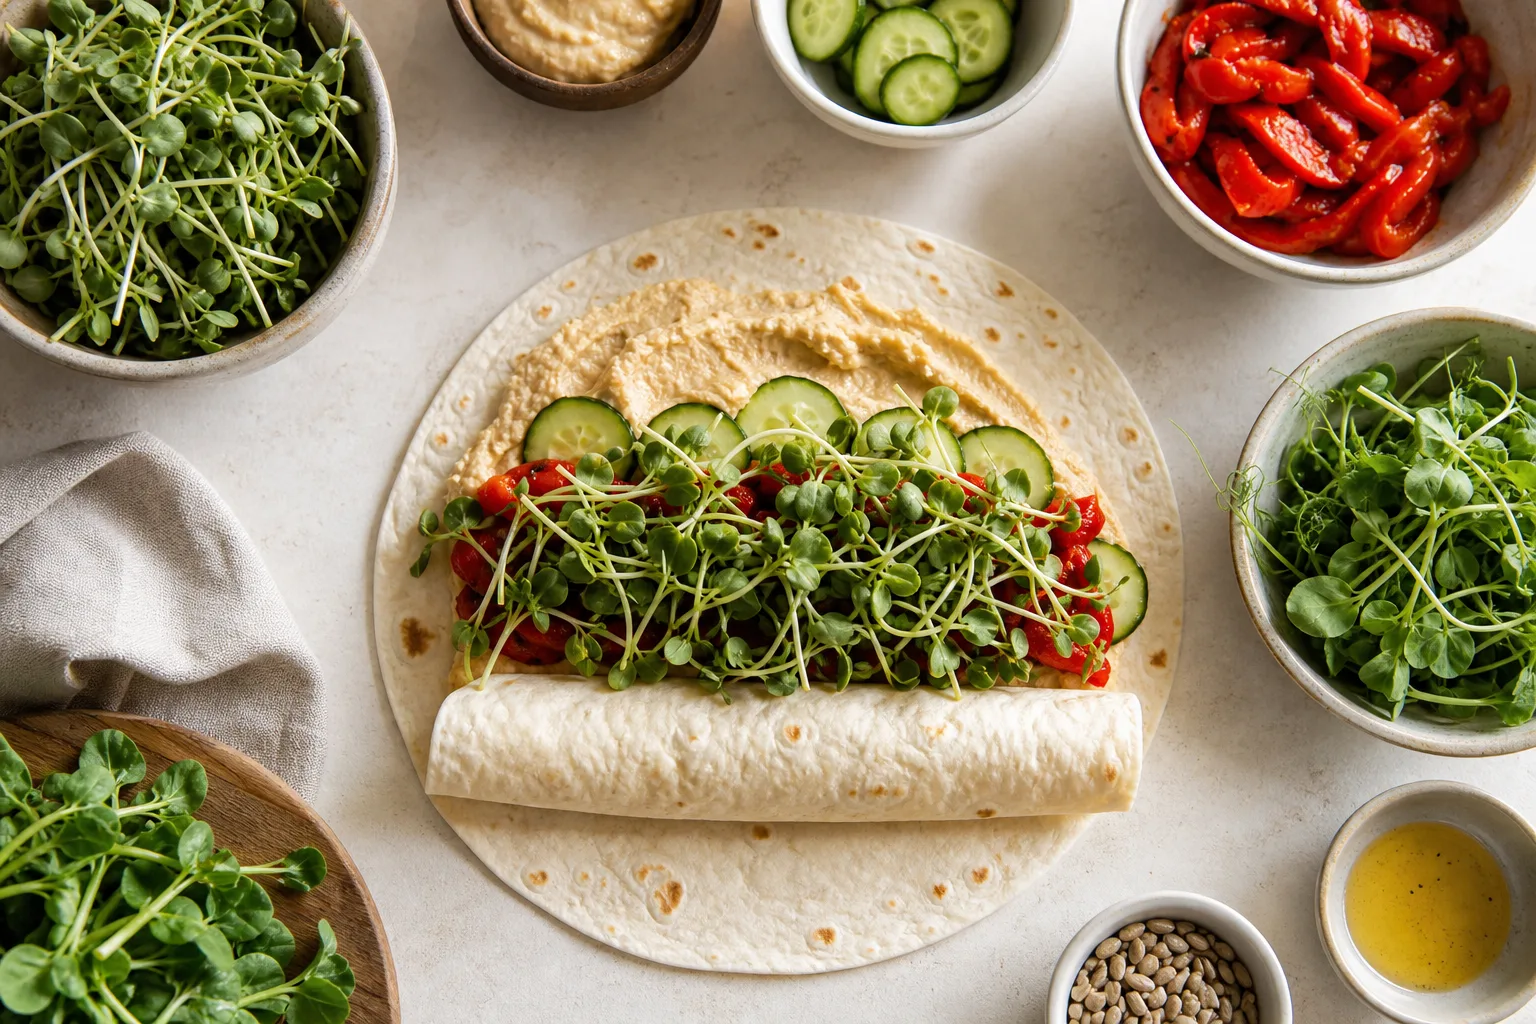
- Hummus and roasted pepper wrap with sunflower microgreens. The thick, nutty crunch of sunflower gives a vegetarian wrap the substance it usually lacks. This one is a lunchbox favorite.
- Smoked salmon and cream cheese bagel with pea shoots. Pea shoots add a fresh, almost garden-sweet note that plays beautifully against the smoke and the tang.
- Grilled cheese with mustard microgreens. Tuck them in after the cheese melts. The heat of the mustard greens against gooey cheddar is a genuinely good surprise.
- Egg salad with arugula microgreens. Arugula's nutty sharpness keeps a mayo-heavy filling from tasting flat.
If sandwiches are your gateway, you will probably want more ways to use a fresh tray. Our guides on how to eat microgreens and microgreens salad ideas cover the rest of the plate.
How to layer them so they actually last
Microgreens are delicate, and a sandwich is a rough place to live. A little technique keeps them crisp instead of slimy.
Start by making sure they are dry. Rinse them in plain tap water like any vegetable, then spin or pat them completely dry. Trapped moisture is the enemy, both for texture and for shelf life. Wet greens turn a sandwich soggy within the hour.
Build a barrier. Place the microgreens against a dry ingredient rather than a wet one. A layer of cheese, a smear of spread, or a slice of cured meat protects the greens from tomato juice and dressing. Think of the spread as waterproofing.
Add them last, or close to it. The longer microgreens sit under pressure surrounded by moisture, the faster they wilt. If you are meal-prepping wraps for the week, pack the greens separately and add them the morning you eat, the same way you would keep dressing on the side.
| Step | What to do | Why it matters |
|---|---|---|
| Rinse | Cool tap water, brief | Removes any grit |
| Dry | Salad spinner or towel | Prevents sogginess |
| Position | Against a dry layer | Shields from moisture |
| Timing | Add last, or pack separately | Keeps them crisp |

A note on heat: cold builds versus pressed sandwiches
Most of the flavor and nutrition in a microgreen lives in tender tissue that does not love high heat. In a cold sandwich or a fresh wrap, that is no problem, the greens stay bright and raw. In a pressed panini or a toasted melt, you have a choice to make.
The trick is to keep the greens out of the hot zone. Build and press your sandwich first, then lift the top, add the microgreens against the melted cheese, and close it back up off the heat. You get the warm, melty sandwich and the fresh, peppery green layer without cooking the life out of it. For more on this balance, see our piece on cooking with microgreens and heat.
Keeping a steady supply on hand
The reason most people never make this swap is supply. Microgreens cost more than lettuce at the store, they show up wilted as often as not, and a clamshell rarely lasts the week. It is hard to build a habit around an ingredient you cannot reliably get fresh.
Growing your own solves the timing problem, since you harvest exactly what your lunch needs and the rest keeps growing. It is genuinely easy to grow microgreens at home, and a countertop device like Luya takes care of the light, water, and climate so a fresh tray is always within arm's reach when you are packing lunch. A snip of radish or sunflower greens straight off the tray beats anything that has spent three days in a plastic box. If you are weighing the options, our breakdown of grow versus buy microgreens walks through the trade-offs.
The bottom line
The green layer in a sandwich is the easiest place to make a small upgrade that you taste every single day. Trade the lettuce for a handful of microgreens and you get more flavor, more color, and more nutrition for almost no extra effort. Pick a sturdy, assertive crop, keep it dry, tuck it against a dry layer, and add it last. Start with broccoli or radish, find the combinations you love, and you will not want to go back to that limp leaf again.