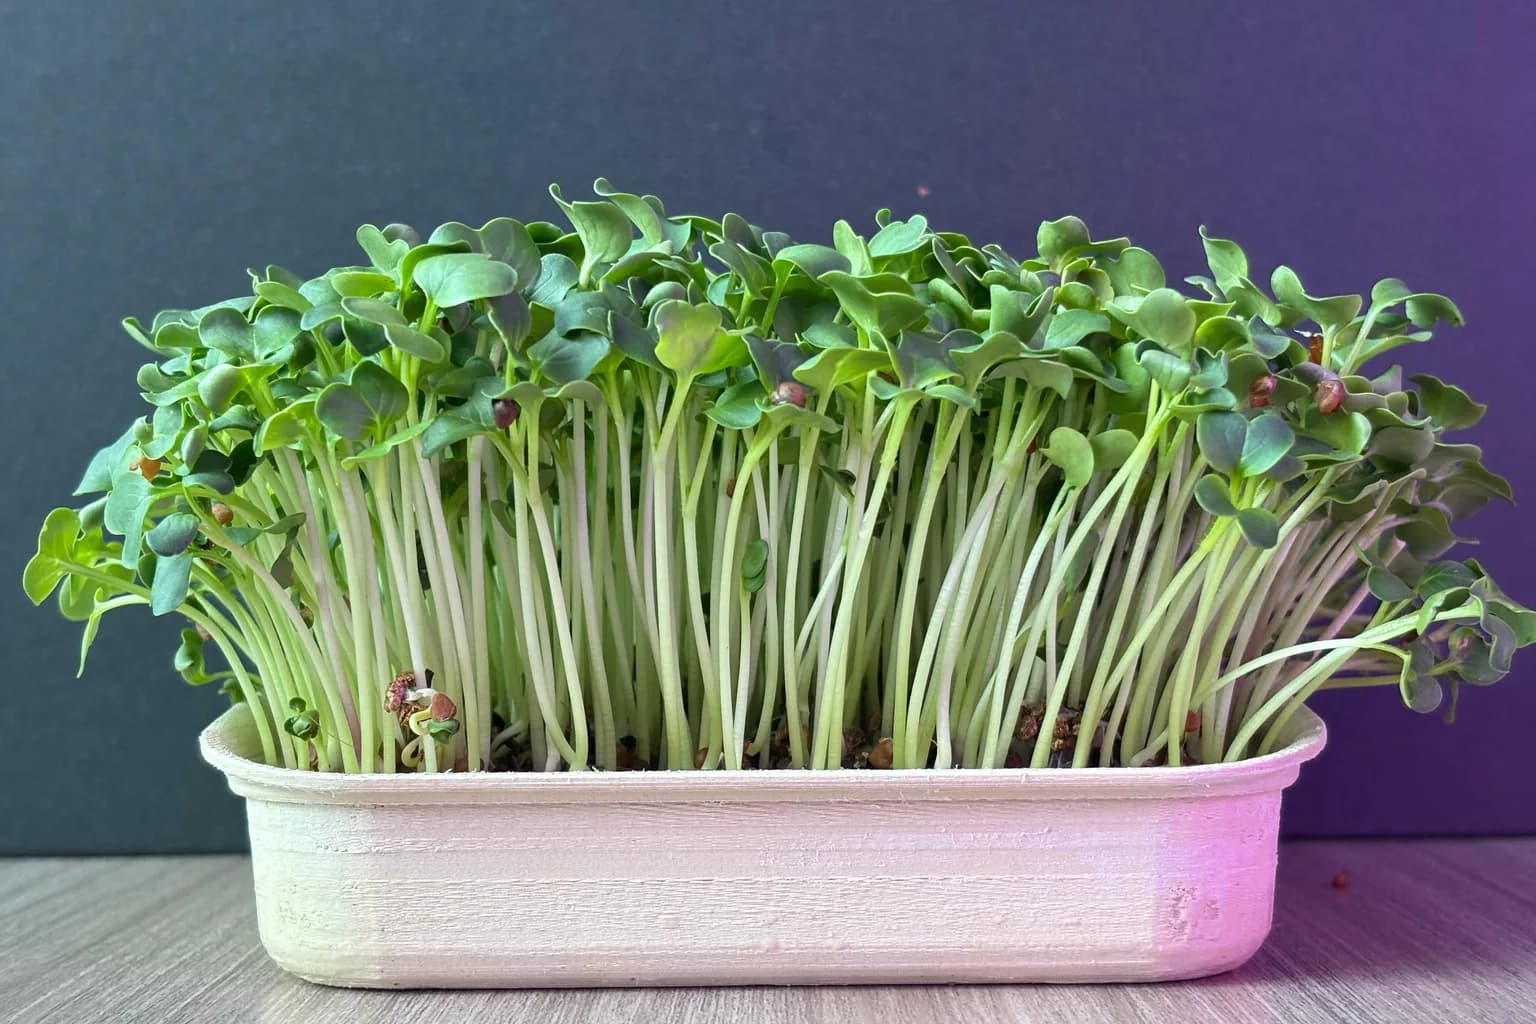
If you want one green that rewards near-zero patience, start with radish microgreens. They germinate in a day or two, are ready to harvest in under a week, and deliver a peppery crunch that wakes up almost any dish. They are also among the most nutrient-dense microgreens you can grow at home, which makes them a rare combination: fast, forgiving, and genuinely good for you. For a first-time grower, that short, satisfying cycle is the difference between a hobby that sticks and a sad tray you throw out.
Whether you are brand new to growing or just want a reliable crop that will not test your attention span, radish is the place to begin.
Why Radish Microgreens Are the Best Beginner Crop
Most plants ask for weeks of care before they give you anything. Radish microgreens do not. Their seeds are large, vigorous, and almost impatient to sprout, which is exactly what you want when you are learning. Large seeds also tolerate uneven sowing and a missed misting better than the tiny, finicky seeds of some other crops, so your margin for error is wider from day one.
Here is how they stack up against other popular beginner-friendly crops.
| Crop | Germination | Harvest | Flavor | Notes |
|---|---|---|---|---|
| Radish | 1-2 days | 5-7 days | Peppery, sharp | Fastest, most forgiving |
| Pea shoots | 2-3 days | 8-12 days | Sweet, fresh | One of the more protein-dense microgreens |
| Broccoli | 2-3 days | 7-10 days | Mild, fresh | Rich in sulforaphane precursor |
| Sunflower | 2-3 days | 8-12 days | Nutty, crunchy | Hearty, satisfying texture |
That 5-to-7-day turnaround is the headline. You can plant on a Sunday and be topping your tacos by the next weekend. For anyone who has watched a houseplant slowly give up, that speed is a confidence builder, and the fast feedback loop teaches you what healthy growth looks like before a slower crop ever would. If you want to compare the full beginner lineup, our roundup of the easiest microgreens to grow walks through each one in more detail, and pea shoots make a natural second crop once radish has built your confidence.
How Nutrient-Dense Are Radish Microgreens, Really?
This is where radish goes from "fun" to "worth eating every day." Microgreens in general are roughly 2 to 3.5 times more nutrient-dense than their mature counterparts, according to peer-reviewed reviews in journals like MDPI Plants and to USDA data. Radish microgreens often land at the top of that range, which is part of why they punch so far above their tiny size.
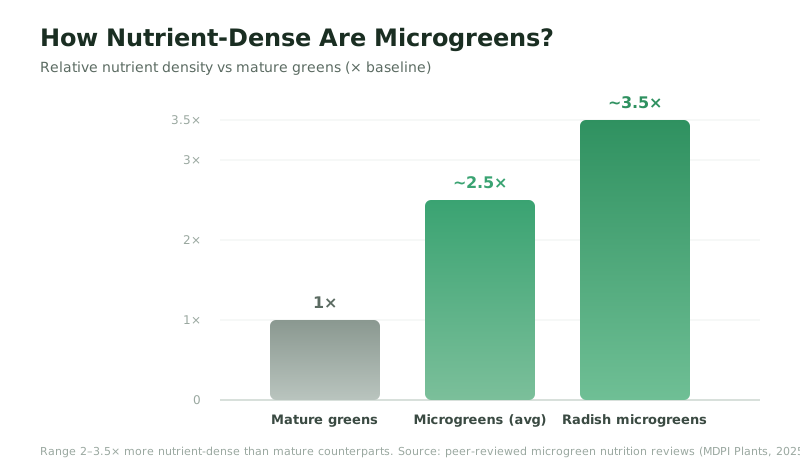
Think about what that means in practice. A small handful of radish microgreens can carry the nutritional payload of a much larger serving of mature radish, and you get it in a fresher, more tender form that is easy to eat raw. They are rich in vitamins C, K, and E, along with antioxidants and polyphenols that support your body's everyday cellular defenses. Because you harvest minutes before eating, none of that has degraded in a truck or on a shelf.
For a deeper look at what is actually inside these tiny greens, see our guide to microgreens nutrition. And if you are curious whether the hype holds up across the board, are microgreens good for you covers the evidence in plain language.
Radish is not the only standout, either. Broccoli microgreens are famous for their glucoraphanin, the sulforaphane precursor, carrying roughly 10 to 100 times more of it than mature broccoli, per Johns Hopkins research, though the finished sulforaphane you actually get varies widely by variety, growing conditions, and harvest timing. That compound forms when you chew or chop the greens raw and activates the body's Nrf2 antioxidant pathway, which is why broccoli microgreens get so much attention. Pea shoots, meanwhile, are a strong plant-based protein source. But for sheer speed-plus-density, radish is hard to beat.
How to Grow Radish Microgreens at Home
The basics are refreshingly simple. Radish seeds do not need pre-soaking, they sprout fast, and they are not fussy about temperature. Here is the short version:
- Sow densely. Spread seeds in an even, thick layer across your growing medium so the canopy comes in full.
- Keep them dark for the first 2-3 days. Covering the tray encourages strong, upright stems as they reach for light.
- Give them light. Once they have sprouted, move them somewhere bright so the leaves green up and develop flavor.
- Water gently and consistently. Even moisture is the goal, not soggy. Watering from the bottom helps keep leaves dry.
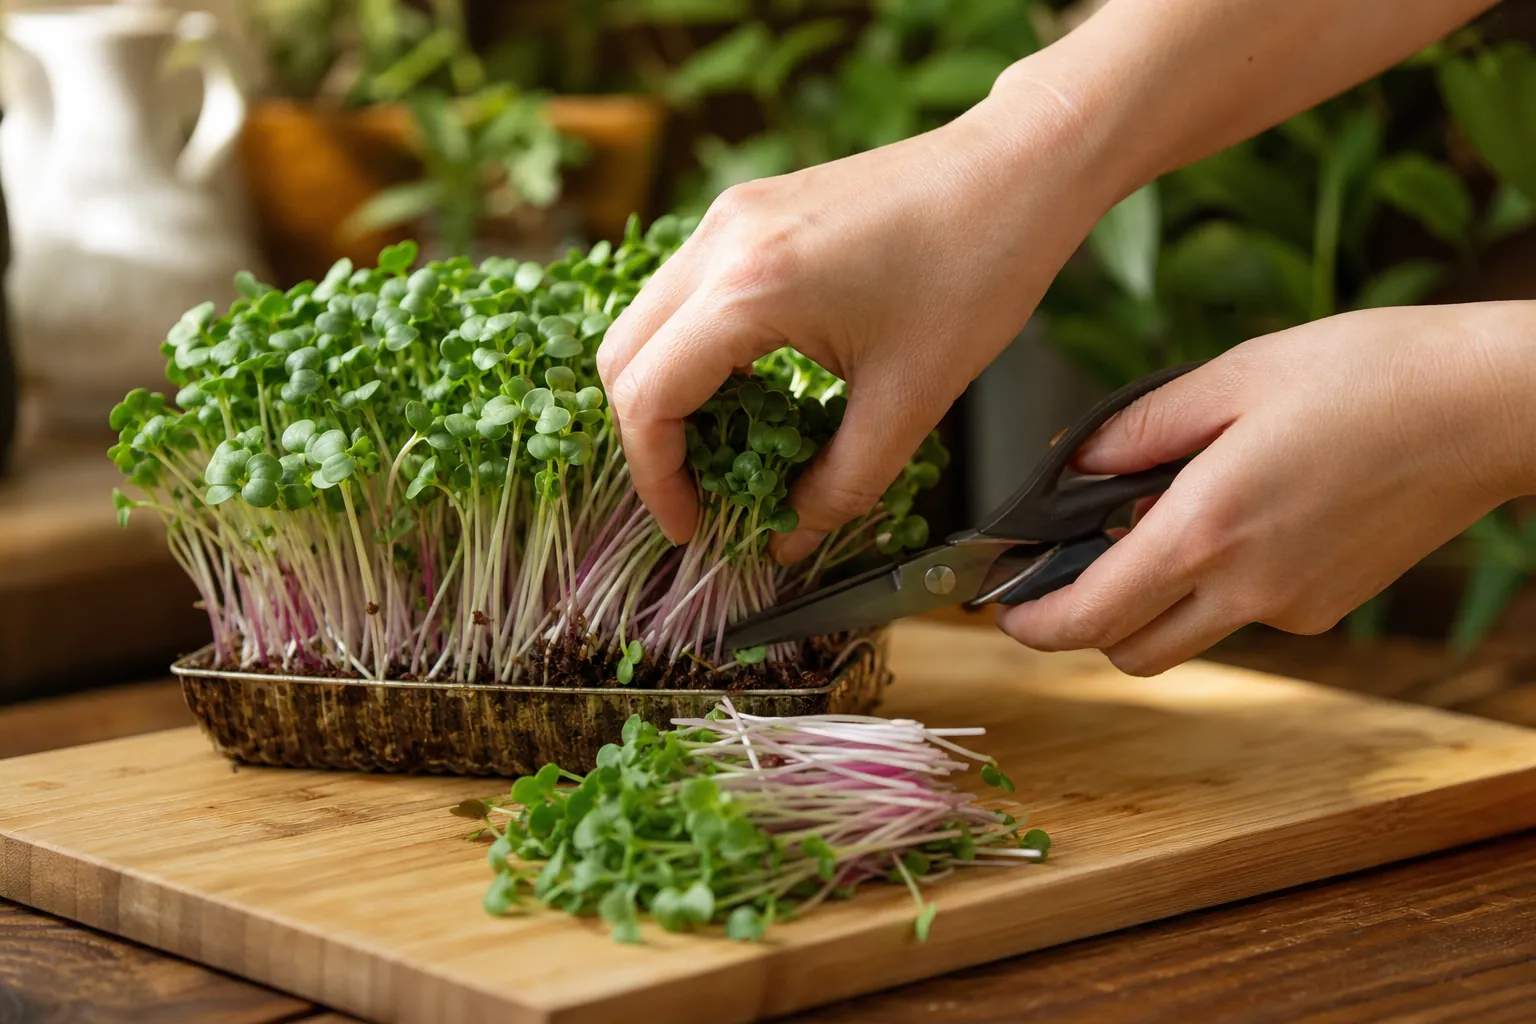
- Harvest at 5-7 days. Snip just above the medium when the first true leaves appear.
That point about consistency is where many home growers stumble. Radish is fast, but a 5-to-7-day cycle still means daily attention. Miss a watering during a heat wave, or leave for a weekend trip, and a tray can dry out or, worse, develop mold from poor airflow and overcrowding.
Mold is the number one frustration in DIY microgreen growing, and it usually comes down to a mix of moisture, warmth, crowding, and stagnant air. The table below sorts the common failure points so you can spot them early.
| Problem | Usual cause | The fix |
|---|---|---|
| Mold (fuzzy white/gray) | Overcrowding, too much moisture, no airflow | Sow lighter, add a fan, water from below |
| Leggy, pale stems | Too little light after germination | Move to bright light by day 3 |
| Dried-out tray | A missed watering on a warm day | Water consistently; check daily |
| Uneven growth | Patchy or thin seeding | Sow a denser, more even layer |
If you have fought mold before, why microgreens keep molding breaks down the exact causes and fixes in more depth. The honest truth is that manual growing has a real failure rate, and it is almost always a consistency problem rather than a skill problem.
How to Eat Radish Microgreens
Their sharp, peppery bite makes radish microgreens one of the most versatile greens in your kitchen. A few easy ways to use them:
- On top of tacos, eggs, and avocado toast for instant crunch, color, and a clean radish heat.
- Folded into sandwiches and wraps in place of, or alongside, lettuce.
- Tossed into salads where their pepperiness plays off sweeter ingredients like apple or beet.
- Blended into a green smoothie when you want nutrition without the strong taste up front.
For more inspiration, our microgreens salad ideas and how to eat microgreens guides are full of simple, repeatable ways to work them into everyday meals. The one rule worth remembering: eat them raw and fresh. Heat dulls both the peppery flavor and the delicate vitamins, so add them at the end of cooking, never during.
The Catch With Store-Bought (and Manual) Microgreens
Radish microgreens are wonderful in theory. In practice, getting them fresh and affordable is harder than it sounds.
Buying them is expensive and inconsistent. A 2-ounce clamshell often runs $4 to $6, which works out to roughly $30 to $50 per pound, premium-steak territory for a green you could grow on a windowsill. And because store-bought microgreens travel through a long farm-to-truck-to-warehouse-to-store supply chain, they are frequently days old by the time you get them. They wilt fast, have a short shelf life, and a lot of them end up in the bin before you finish the box.
Growing them yourself solves the freshness and cost problem but reintroduces the consistency problem: mold, the mess of loose soil, and the daily maintenance that a busy week or a vacation can quietly undo. If you have weighed both sides, grow vs. buy microgreens lays out the full tradeoff. The frustrating part is that each option fixes one pain while creating another.
Fresh Radish Microgreens, Without the Chores
This is the gap Luya was built to close. Luya is a countertop "food computer" that grows fresh microgreens automatically: you drop in a pre-seeded tray, and a sealed, climate-controlled chamber handles the temperature, watering, and airflow that usually trip people up. It keeps mold out, skips the soil mess, and removes the daily-watering burden entirely. You harvest only what you need, and the rest keeps growing alive on your counter. Think of it like a Nespresso, but for greens.
For a fast, peppery, nutrient-dense crop like radish, that hands-off reliability means you finally get the upside, fresh greens harvested seconds before eating, at a lower cost per serving, without the failure rate. If you want to see how the closed-loop system works, from pre-seeded trays to automatic time-lapse video of each grow, visit /how-it-works, or keep planning your first crops with our guide to the easiest microgreens to grow.
References
- Xiao Z, Lester GE, Luo Y, Wang Q. Assessment of Vitamin and Carotenoid Concentrations of Emerging Food Products: Edible Microgreens. J Agric Food Chem. 2012;60(31):7644–7651. https://doi.org/10.1021/jf300459b
- Fahey JW, Zhang Y, Talalay P. Broccoli sprouts: an exceptionally rich source of inducers of enzymes that protect against chemical carcinogens. PNAS. 1997;94(19):10367–10372. https://doi.org/10.1073/pnas.94.19.10367