Few greens announce themselves the way arugula microgreens do. One small pinch and your tongue lights up with a warm, mustardy pepper that mature salad rocket only hints at. They are bolder than the bag of baby arugula at the store, ready in roughly a week, and easygoing enough that a first-time grower can get a clean, flavorful tray without much fuss. If you like food with a little attitude, this is a crop worth knowing.
Arugula, sometimes called rocket, belongs to the brassica family alongside broccoli, kale, and radish. That family connection is the reason for both the signature heat and the surprising nutrition packed into such a tiny plant. Below is everything you need to grow it, eat it, and get the most out of it.
What Arugula Microgreens Taste Like
The flavor is the whole point. At the microgreen stage, arugula delivers a concentrated, peppery, almost horseradish-adjacent kick that fades into a green, nutty finish. It is sharper than radish microgreens in a different way, more aromatic and mustard-like rather than crisp and hot. That intensity comes from glucosinolates, the natural compounds brassicas produce, which release pungent flavor the moment you bite or chop the leaves.
How strong your tray turns out depends a lot on how you grow it. Cooler temperatures and a few extra days under light tend to deepen the bite, while a warm, fast grow keeps it milder and more approachable. Here is how arugula stacks up against other peppery and savory crops.
| Crop | Flavor | Intensity | Best for |
|---|---|---|---|
| Arugula | Peppery, mustardy, nutty | Medium-high | Bold garnishes, salads with attitude |
| Radish | Sharp, crisp, hot | High | Tacos, eggs, instant crunch |
| Mustard | Fiery, wasabi-like | Very high | A little goes a long way |
| Broccoli | Mild, fresh, slightly sweet | Low | Everyday eating, smoothies |
If you are still mapping out which flavors you like, our guide to microgreens flavor profiles lays out the full spectrum, and the spicy microgreens guide digs deeper into the brassicas that bring the heat.
The Nutrition Behind the Bite
That peppery punch is not just flavor for its own sake. Like most microgreens, arugula is far more nutrient-dense than its mature form. Research comparing young greens to their grown counterparts has repeatedly found higher concentrations of vitamins and antioxidants in the seedling stage, often several times more per gram, with some studies measuring standout nutrients many times above mature levels.
Arugula microgreens are a good source of vitamins A, C, and K, plus folate and minerals like calcium and potassium. Because they are brassicas, they also carry the glucosinolates that give the leaves their bite. When you chew or chop them raw, those compounds convert into isothiocyanates, the same broad family that includes sulforaphane, which is studied for its role in the body's own antioxidant defenses.
| Nutrient highlight | Why it matters |
|---|---|
| Vitamin K | Supports normal blood clotting and bone health |
| Vitamin C | Antioxidant that supports immune function |
| Vitamin A (as carotenoids) | Eye and skin health |
| Folate | Cell growth and repair |
| Glucosinolates | Plant compounds linked to antioxidant pathways |
The catch with all of these is freshness. Vitamins and the volatile compounds behind the flavor begin to fade once a green is cut, so a tray harvested minutes before dinner simply delivers more than one that spent days in transit. For the bigger picture on what makes these tiny greens worth eating, see microgreens nutrition and our plain-language take on whether microgreens are good for you.
How to Grow Arugula Microgreens at Home
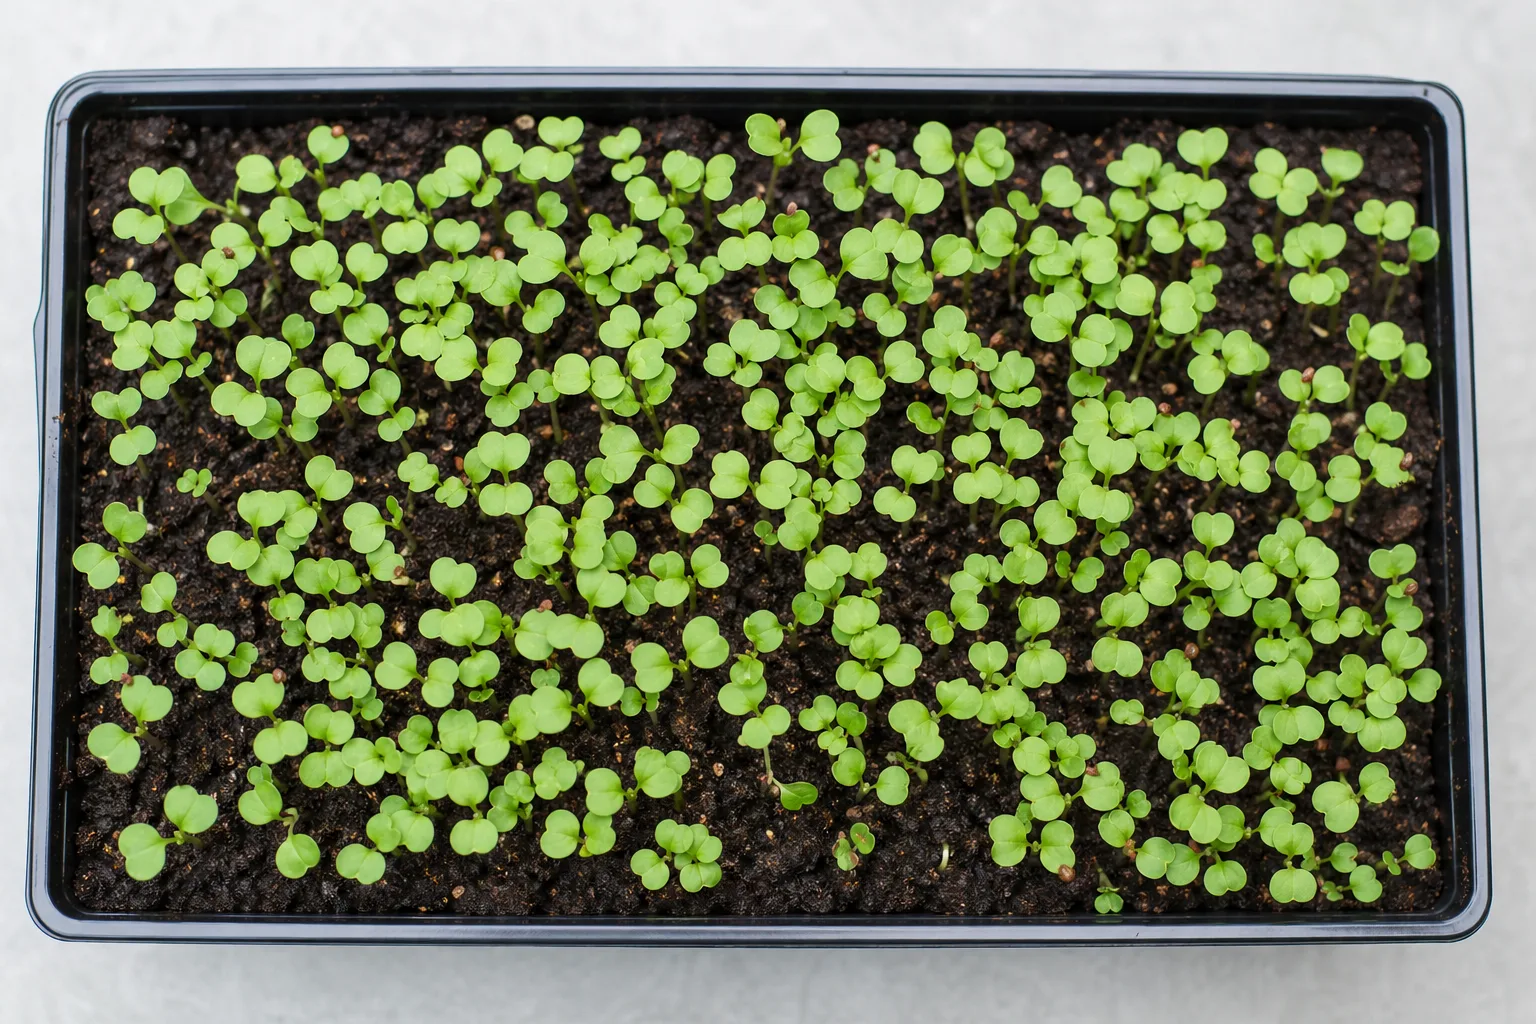
Arugula is one of the more forgiving brassicas to grow, which makes it a great early crop. The seeds are small but vigorous, they germinate quickly, and they do not need pre-soaking. Here is the short version of a reliable grow.
- Sow evenly and fairly dense. Spread the small seeds in a thin, uniform layer so the canopy fills in without clumping. Too much crowding traps moisture and invites mold.
- Cover for the first 2 to 3 days. A dark, humid blackout period encourages strong, straight stems as the seedlings push upward.
- Move to light once they stand up. Bright, indirect light or a grow light greens up the leaves and develops the flavor.
- Water gently, ideally from below. Even, light moisture is the goal. Keeping the leaves dry is the single best mold-prevention habit.
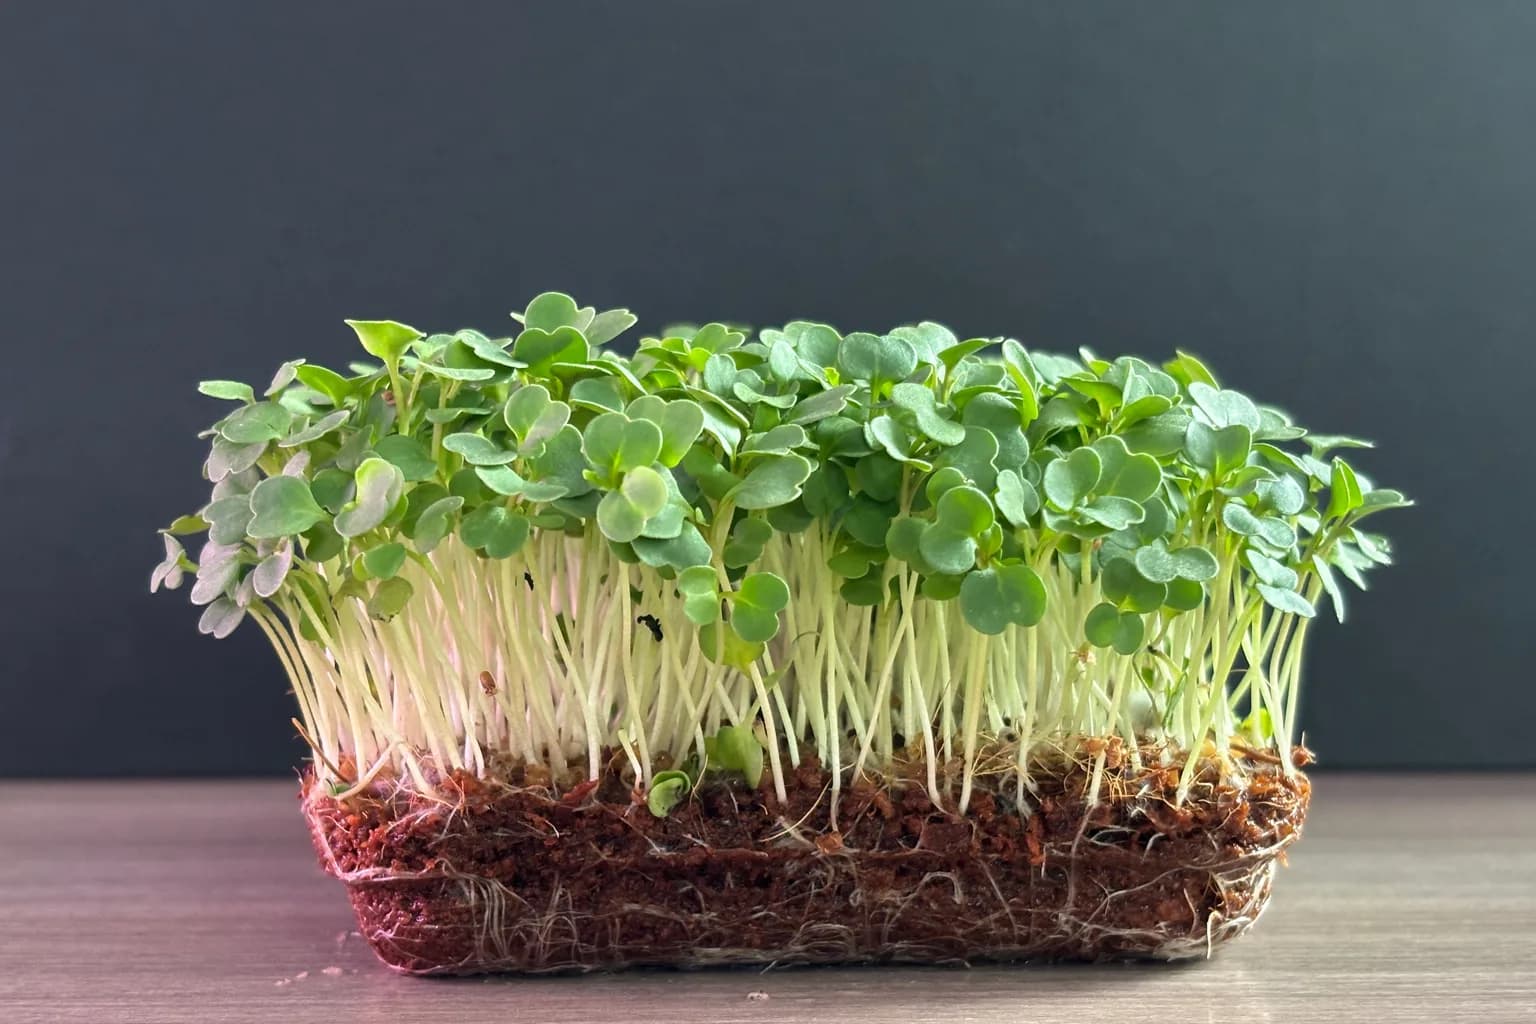
- Harvest around day 7 to 10. Snip just above the medium when the cotyledons are open and the first true leaves begin to show.
One thing to know about arugula's small seeds: they form a gel-like coating when wet, which is completely normal and actually helps them anchor. Do not mistake it for mold, which appears as fuzzy white or gray strands rather than a clear, slippery film.
| Stage | Timeline | What to do |
|---|---|---|
| Germination | Days 1-3 | Keep dark, humid, lightly misted |
| Greening | Days 3-5 | Move to light, water from below |
| Growth | Days 5-9 | Steady light, consistent moisture, airflow |
| Harvest | Days 7-10 | Cut above the medium, eat fresh |
The honest difficulty with manual growing is consistency, not skill. Mold is the most common frustration, and it almost always traces back to overcrowding, too much moisture, and stagnant air. A small fan and a lighter sowing rate fix most problems before they start. If you have battled fuzz before, why microgreens keep molding breaks down the causes, and grow microgreens without soil covers a cleaner growing method.

The Best Ways to Eat Them
Arugula microgreens shine where you want a finishing touch with real personality. Because heat dulls both the pepper and the delicate vitamins, the rule is simple: add them raw, at the very end.
- On eggs and avocado toast, where the peppery bite cuts through richness beautifully.
- Scattered over pizza or flatbread the moment it comes out of the oven.
- Folded into sandwiches and wraps as a sharper stand-in for lettuce.
- Tossed into salads alongside something sweet, like pear, fig, or roasted beet, to balance the heat.
- As a garnish for soups and grain bowls, added at the table so the flavor stays bright.
For more ideas, our microgreens salad ideas and how to eat microgreens guides are full of repeatable ways to work bold greens into everyday meals without overthinking it.
Fresh Arugula Microgreens, Without the Chores
Arugula is wonderful in theory and a little demanding in practice. Buying it is the easy route, but store-bought microgreens are pricey, often days old by the time you get them, and quick to wilt. Growing your own fixes freshness and cost, yet brings back the daily watering, the loose soil, and the mold risk that a busy week can quietly undo.
This is the gap Luya was built to close. It is a countertop food computer that grows fresh microgreens automatically. You drop in a pre-seeded tray, and a sealed, climate-controlled chamber manages the temperature, watering, and airflow that usually trip people up, keeping mold out and skipping the soil mess entirely. You harvest only what you need, and the rest keeps growing on your counter. For a fast, flavorful crop like arugula, that hands-off reliability means you finally get the upside, peppery greens cut seconds before eating, without the failure rate. You can see how Luya works if you want the full picture.
The Takeaway
Arugula microgreens are a small crop with a big voice: bold and peppery, nutrient-dense, and ready in about a week. They reward even a casual grower with intense flavor, ask for little beyond even moisture and good airflow, and turn ordinary eggs, pizza, and salads into something with real character. Sow a tray, keep the leaves dry, and harvest fresh, and you will quickly understand why rocket earned its name.