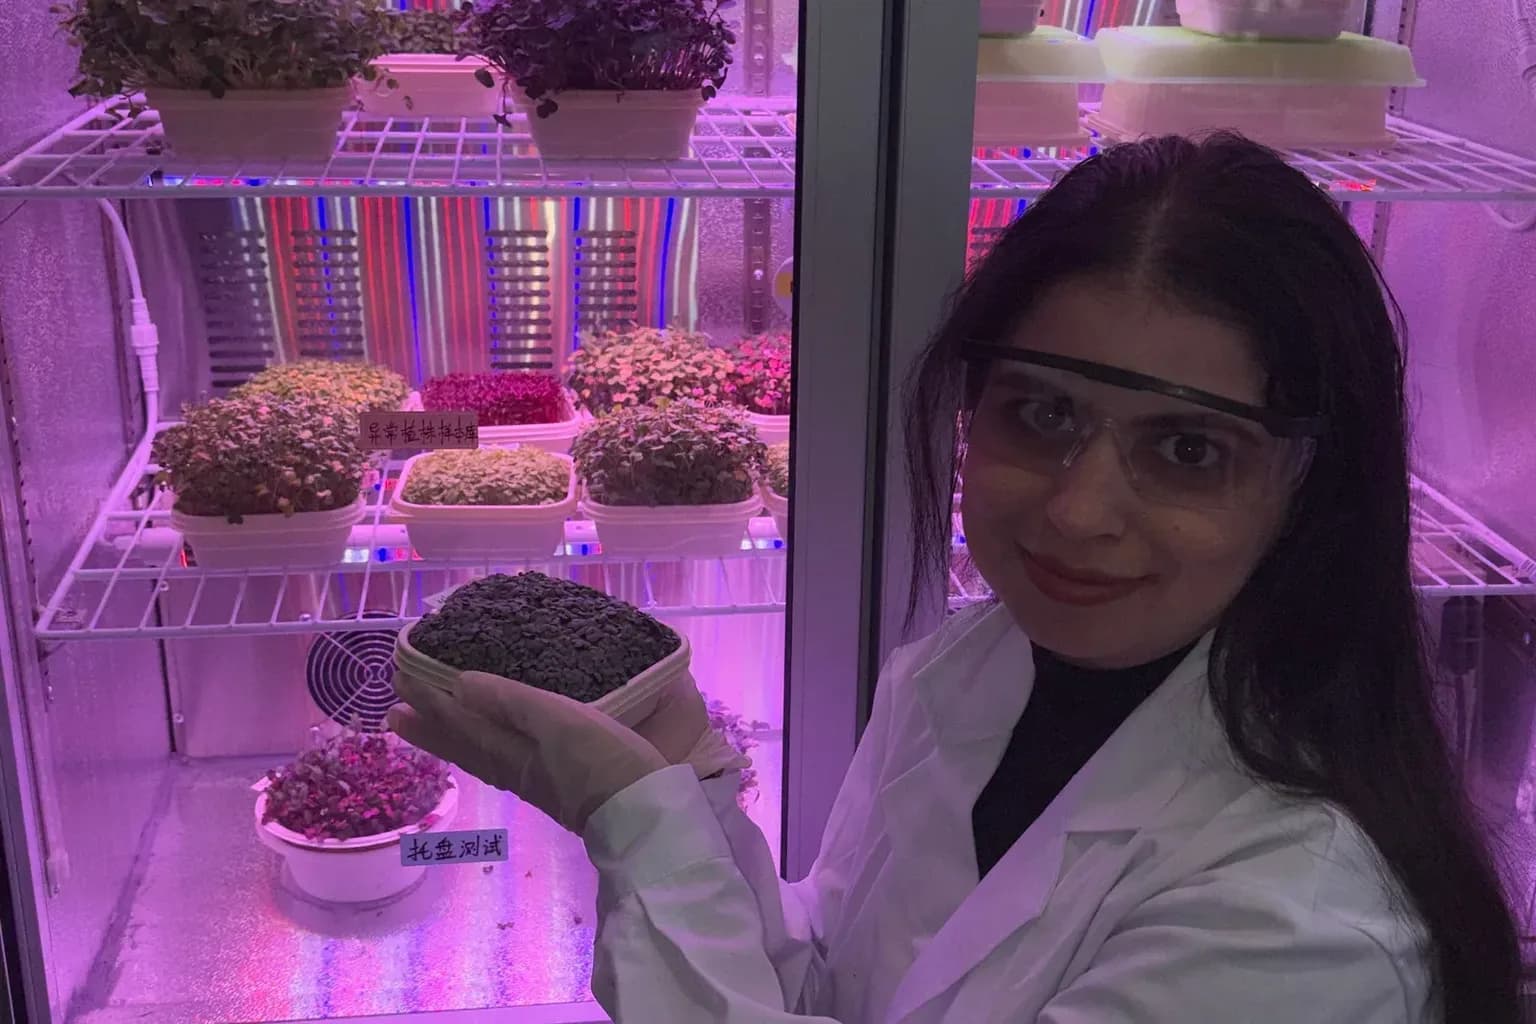
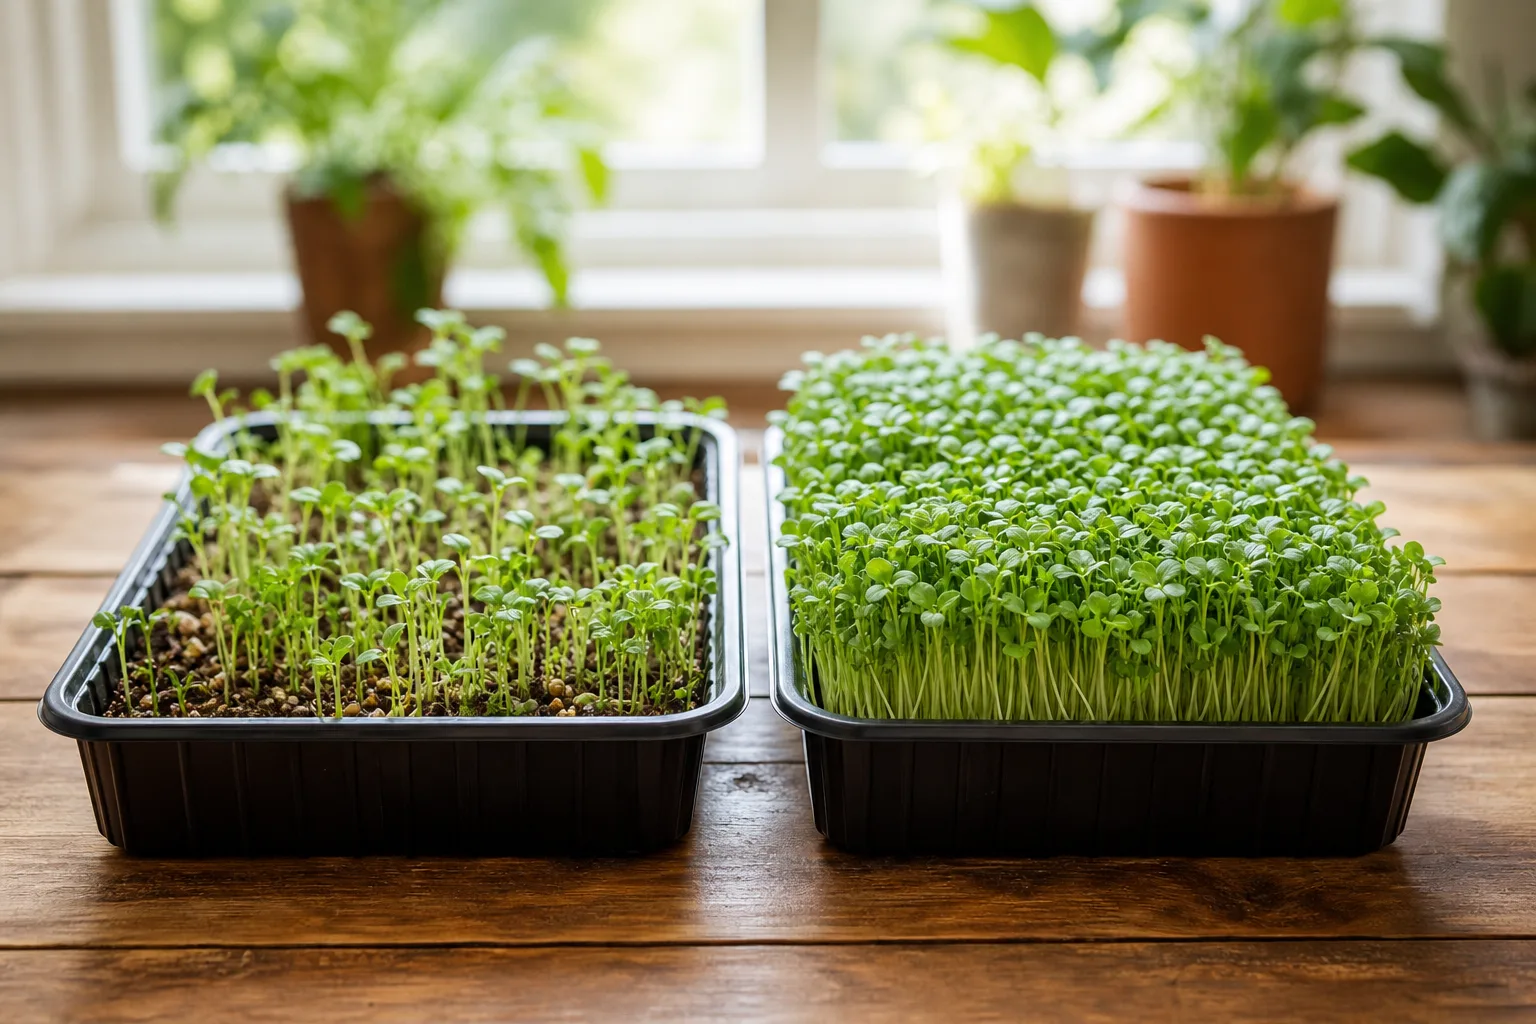
There is a quiet thrill the first time you harvest a tray so thick you can barely see the soil line beneath it. The leaves stand shoulder to shoulder, the stems are pale and crisp, and when you set the scale, the number is bigger than you expected. That density is not luck. It is the sum of a handful of decisions you make before, during, and at the end of a grow.
If you have ever pulled a thin, patchy tray and wondered where the rest of your harvest went, this guide is for you. We will walk through the four levers that move the needle most: how much seed you sow, how evenly you water, how you light the crop, and when you cut it. Get these right and you can routinely grow in heavy ounces, sometimes in pounds, from a single standard tray.
Why yield per tray is the number that matters
Most home growers measure success by whether a tray "worked." A better question is how much edible green that tray produced relative to the seed, water, light, and counter space it consumed. That ratio is yield per tray, and it is the honest measure of an efficient grow.
It matters for two reasons. First, seed is the single largest recurring cost in microgreen growing, so squeezing more grams from the same packet directly lowers your cost per serving. Second, counter space is finite. A dense, well-managed tray can produce what a sparse one needs two or three trays to match, which means less equipment, less cleanup, and more harvests from the same footprint. If you are weighing the math of doing this at home, our breakdown of growing versus buying microgreens shows how quickly dense trays pay for themselves.
The standard unit we will use throughout is the 1020 tray, the roughly 10-by-20-inch flat that almost every grower uses. All the seed weights and yield ranges below assume that size.
Seed density: the single biggest lever
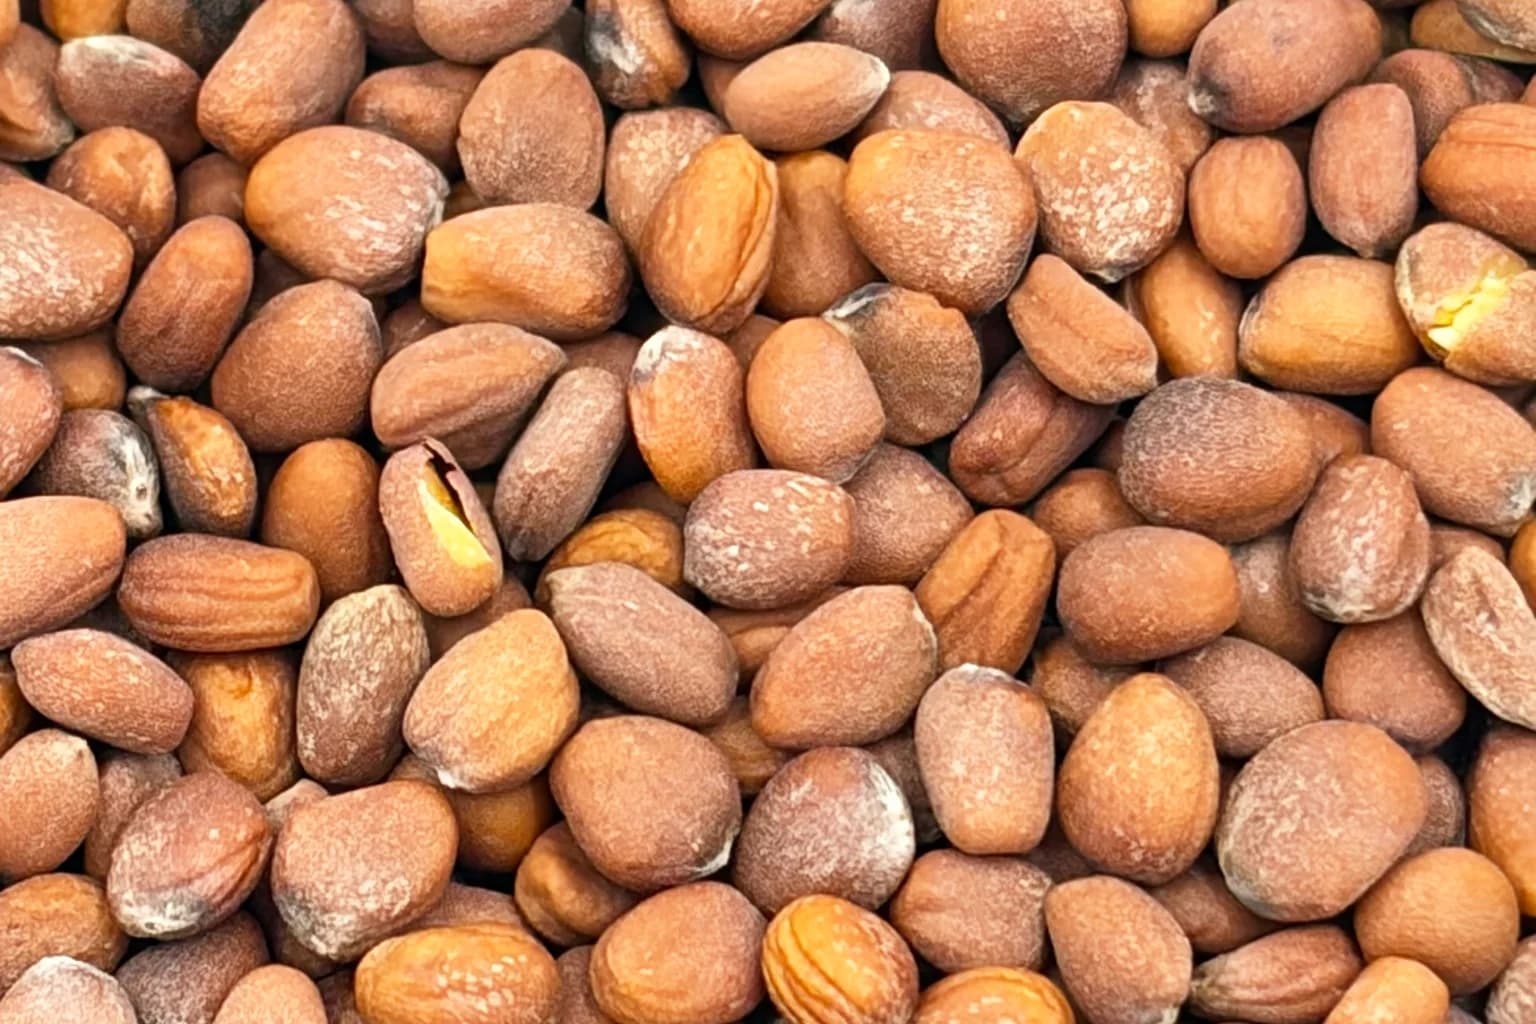
The most common mistake new growers make is sowing too little seed. They picture a garden bed, where plants need room to branch out. Microgreens are the opposite. You harvest them young, at the cotyledon or first-true-leaf stage, so each seedling only needs enough room to stand up straight. Pack them in, and they support each other into a thick, uniform canopy.
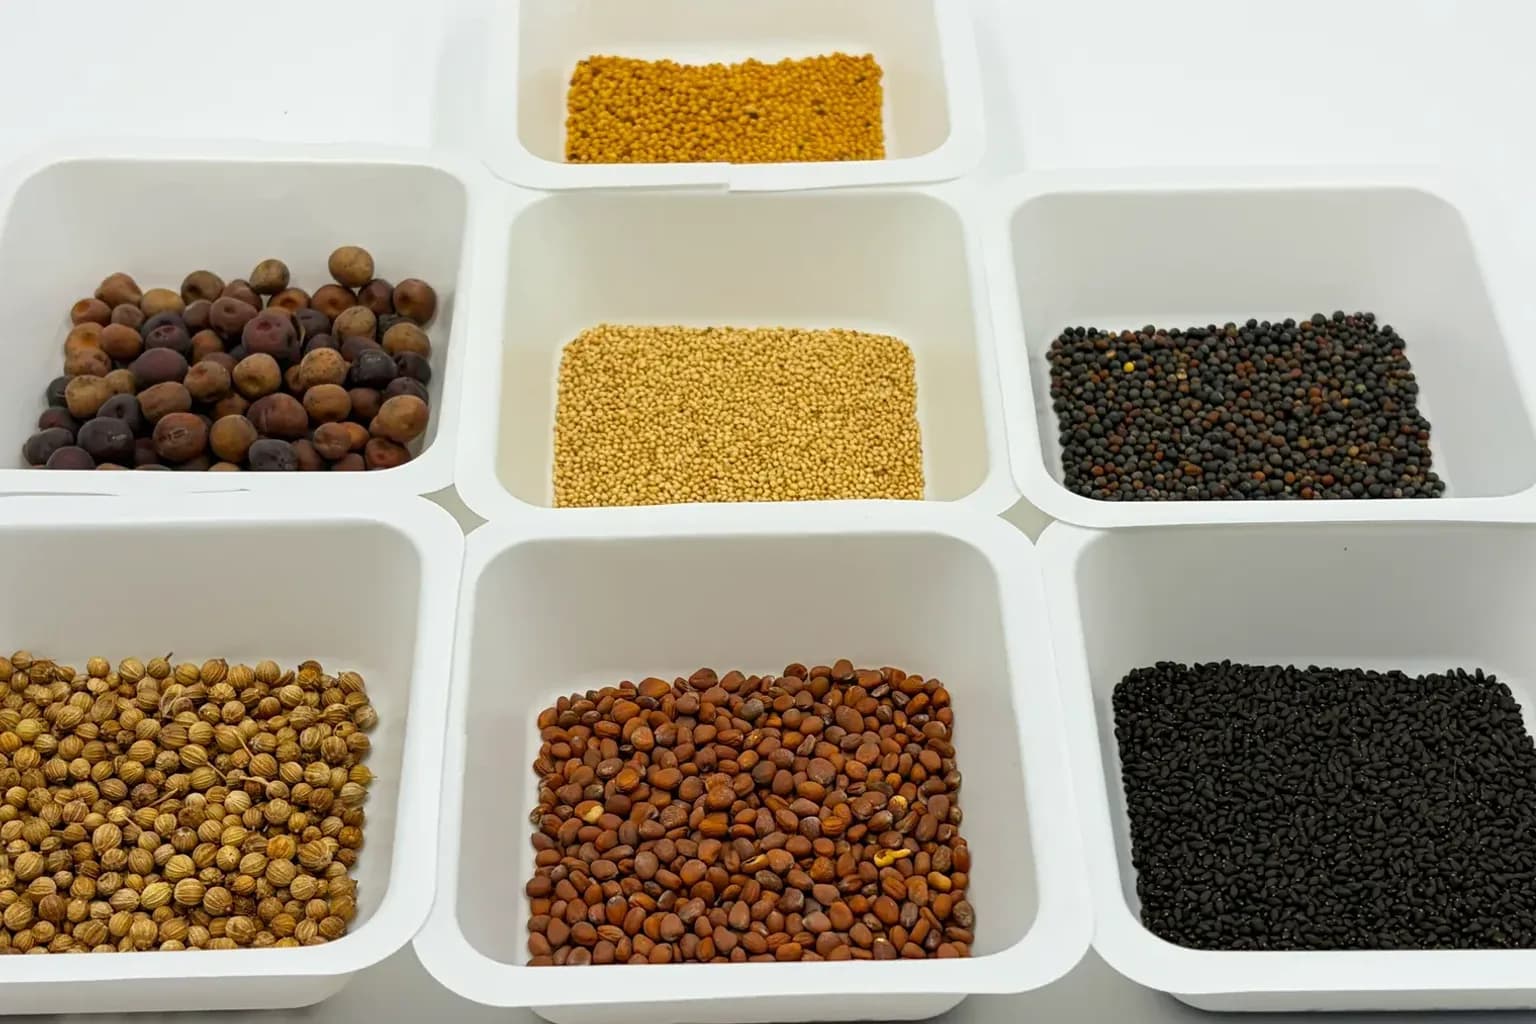
But there is a ceiling. Sow too heavily and the bed becomes a damp, airless mat where seeds rot and mold takes hold before they ever green up. The goal is a single, even layer where seeds nearly touch but do not pile on top of each other. Every crop has its own sweet spot because seed size varies enormously, a sunflower seed dwarfs a broccoli seed, so you measure by weight, not by eye.
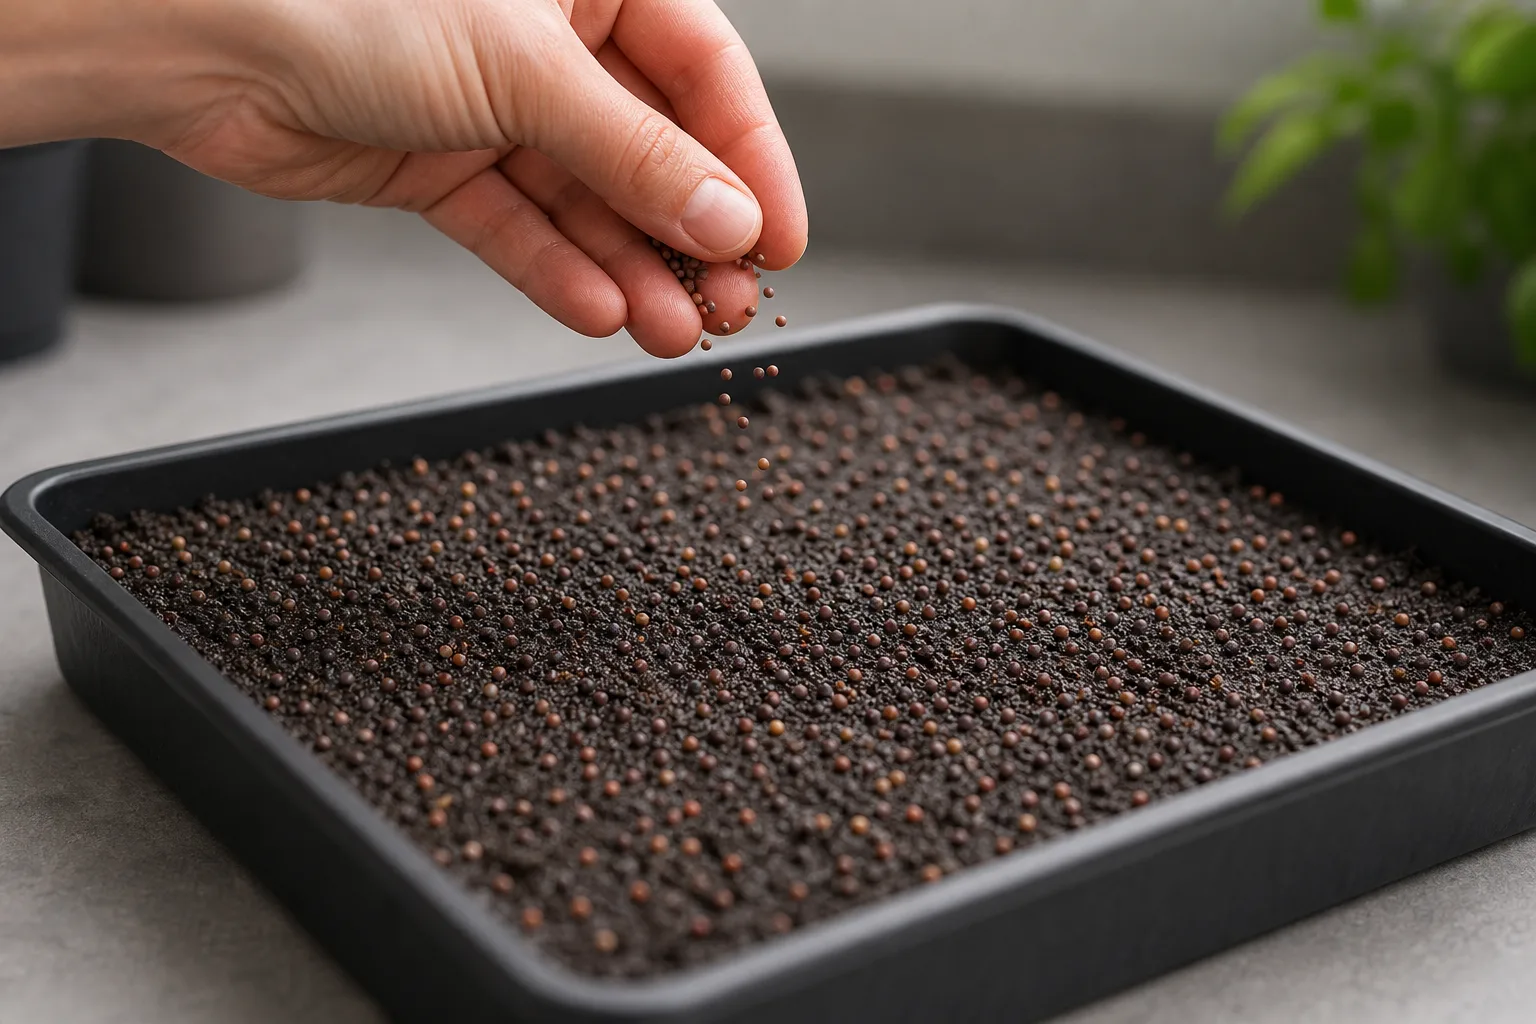
Here are reliable starting densities for a 1020 tray, along with the harvest you can expect when the rest of the grow goes well. Treat these as a baseline and adjust once you find your own sweet spot.
| Crop | Seed per 1020 tray | Days to harvest | Typical yield per tray |
|---|---|---|---|
| Broccoli | 45–55 g | 8–11 | 350–500 g |
| Radish | 60–80 g | 6–9 | 450–650 g |
| Pea shoots | 250–350 g | 9–12 | 800–1,200 g |
| Sunflower | 300–400 g | 8–11 | 800–1,400 g |
| Kale / cabbage | 40–55 g | 8–11 | 300–450 g |
| Arugula | 25–35 g | 6–9 | 250–400 g |
Notice how big-seeded crops like sunflower and pea need far more seed by weight but reward you with the heaviest trays. Small brassicas like broccoli and kale use a tiny fraction of the seed yet still deliver a satisfying harvest. If you are choosing your first crops, the easiest microgreens to grow tend to be the most forgiving of slightly-off density. For larger seeds, a pre-soak before sowing speeds and evens germination, which translates directly into a fuller tray.
Even watering: where hidden yield is won and lost
Density gets the credit, but watering is where many otherwise-good trays quietly underperform. The problem is almost never the total amount of water. It is uneven distribution. Dry spots leave bald patches where nothing germinates, and soggy spots invite the rot and fungus that thin a canopy from below.
The most reliable approach is bottom watering: add water to a reservoir beneath the tray and let the roots draw it up evenly through capillary action. This keeps the seed surface from sitting wet, which is the main trigger for mold. If you grow with a misting top-water method during the early blackout days, mist for even coverage rather than soaking one corner, and let any standing water drain.
A few habits keep moisture even across the whole bed:
- Level your tray. A surface tilted even slightly pools water at the low end and starves the high end.
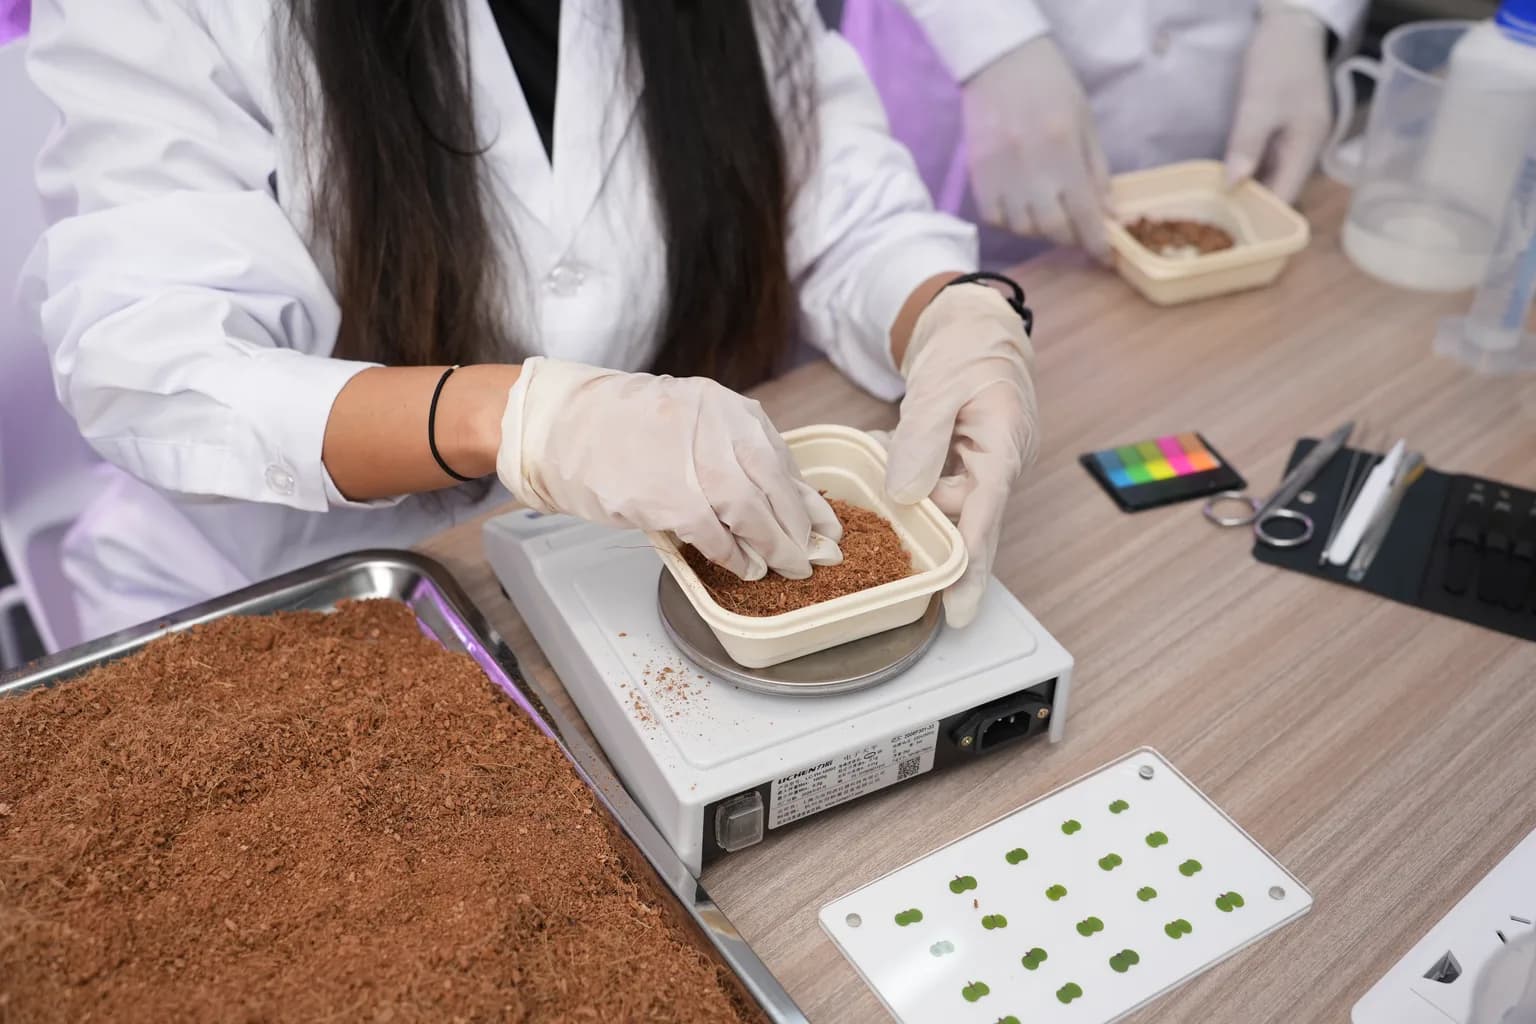
- Soak the medium before sowing, not after, so seeds land on uniformly damp ground.
- Move air once the dome comes off. A gentle fan dries the canopy surface between waterings and is the simplest defense against the damp, stagnant conditions that cause microgreens to mold.
Uneven watering is also the usual culprit behind tall, floppy patches next to short ones. If parts of your tray are stretching, our guide to fixing leggy microgreens covers the light-and-water fixes that even things out.
Light: turning green into weight
During the first few days, microgreens do not need light at all. They germinate in darkness, usually under a dome or blackout cover, which encourages the seeds to push up together and root down before they leaf out. Once that canopy lifts the cover, light becomes the engine that builds mass.
More light, within reason, means heavier leaves, deeper color, and more of the compounds that make microgreens worth eating. A simple daylight-spectrum LED in the 5,000K to 6,500K range works beautifully, and you do not need anything exotic. What matters more is how long the light stays on. Somewhere around 16 hours a day is a comfortable, productive default, giving the crop a long working day while still letting it rest.
| Photoperiod | Effect on the crop |
|---|---|
| 12 hours/day | Slower bulking; leggier stems if light is also dim |
| 16 hours/day | Reliable, well-balanced growth; a good all-round default |
| 18–24 hours/day | Faster bulking and stockier stems; watch for stress on tender crops |
Position the lights close enough that seedlings grow stocky rather than stretching toward a distant source. If you want to go deeper on how spectrum and day length shape both yield and nutrition, see our overview of light and microgreen nutrition. This is also the area where smart hardware earns its keep: a countertop grower like Luya manages the photoperiod, light intensity, and watering automatically, so the variables that usually cost you yield are handled in the background.
Harvest timing: cut at the peak, not past it
You can do everything else right and still leave grams on the table by harvesting at the wrong moment. Cut too early and the plants have not finished bulking. Wait too long and the cotyledons start to yellow, true leaves toughen the texture, and the crop loses both weight per stem and shelf life.
The peak window is when the cotyledon leaves are fully open and rich green, and for many crops just as the first true leaves begin to appear. That is when the tray weighs the most while still tasting tender and sweet. The right day varies by crop, which is why the harvest column in the table above gives a range rather than a single number, taste-test a few stems toward the early end of the window and cut when flavor and fill peak together.
Harvest cleanly with sharp scissors just above the medium, and cool the cut greens quickly. Good timing protects not just the weight on the scale but how long that harvest lasts in the fridge, which our notes on microgreen harvest and storage cover in more detail. Once you are cutting heavy trays consistently, you will have more greens than a salad can absorb, so it helps to have a few microgreen salad ideas and smoothie recipes ready to put the surplus to work.
Putting it all together
The growers who pull the heaviest trays are not using secret seed or special equipment. They are stacking small advantages: a seed layer that is dense but breathable, water that reaches every corner without drowning the surface, a long bright day under close lights, and a harvest cut at the exact peak. Each one adds a little weight. Together they are the difference between a thin, patchy flat and a tray so full it bends the scale.
Start by dialing in density for one crop you enjoy, hold the other variables steady, and weigh every harvest so you can see what your changes actually do. Within a few cycles you will find your own sweet spot, and from then on, maximizing yield per tray stops being a guessing game and becomes a quiet, repeatable habit, one heavy, beautiful tray at a time.