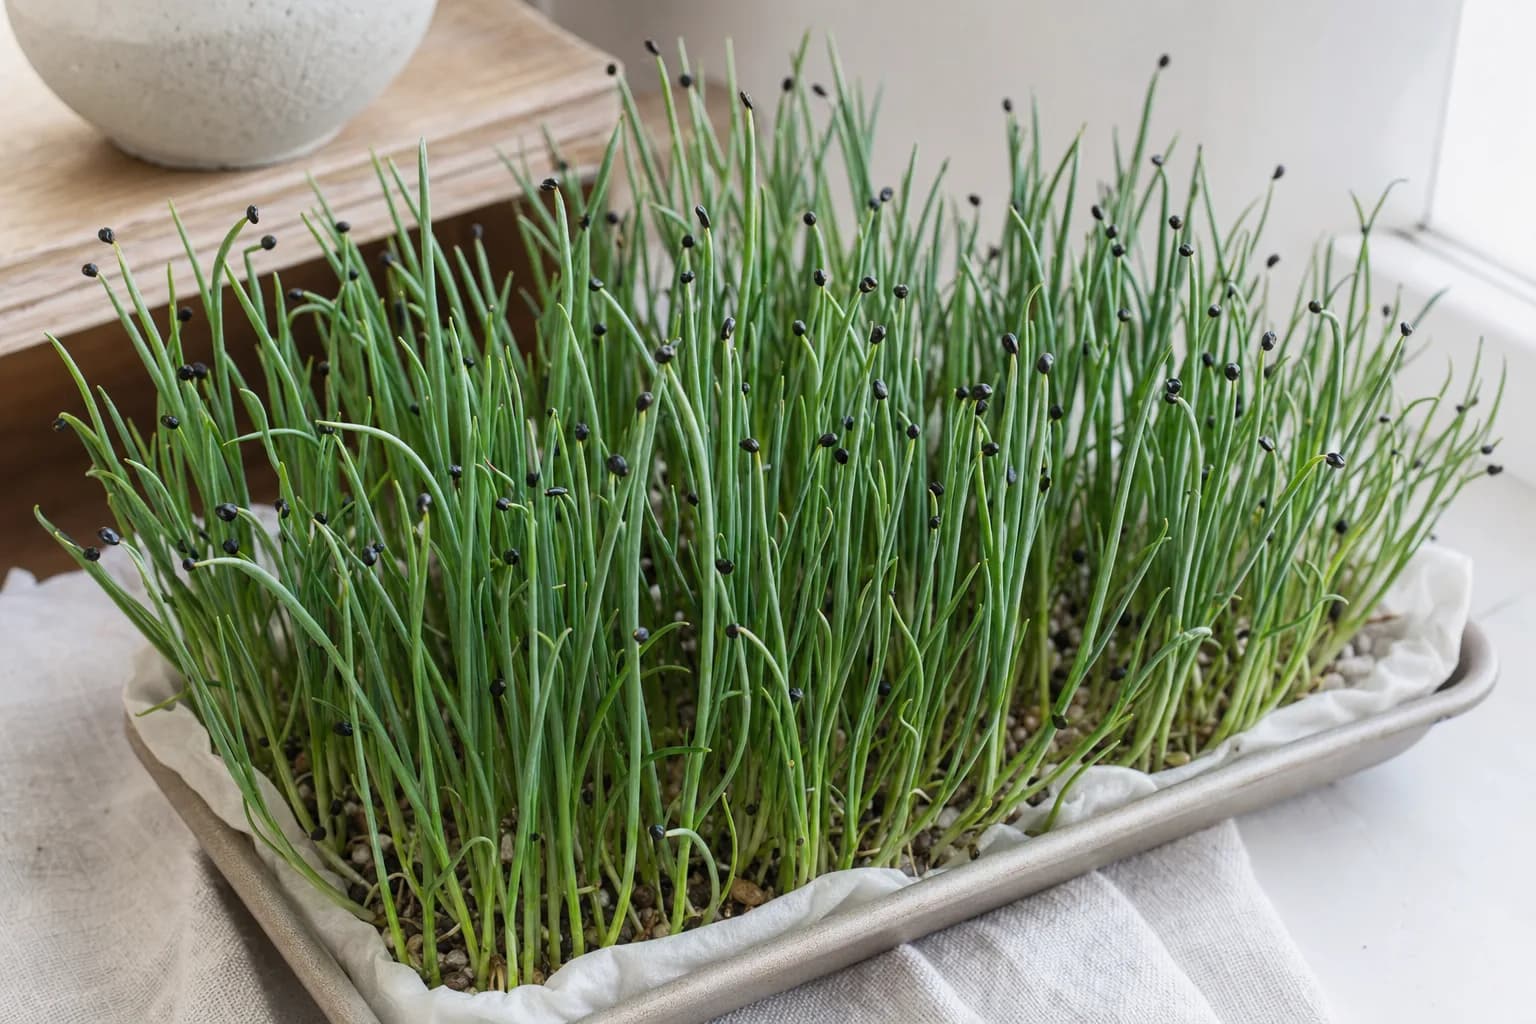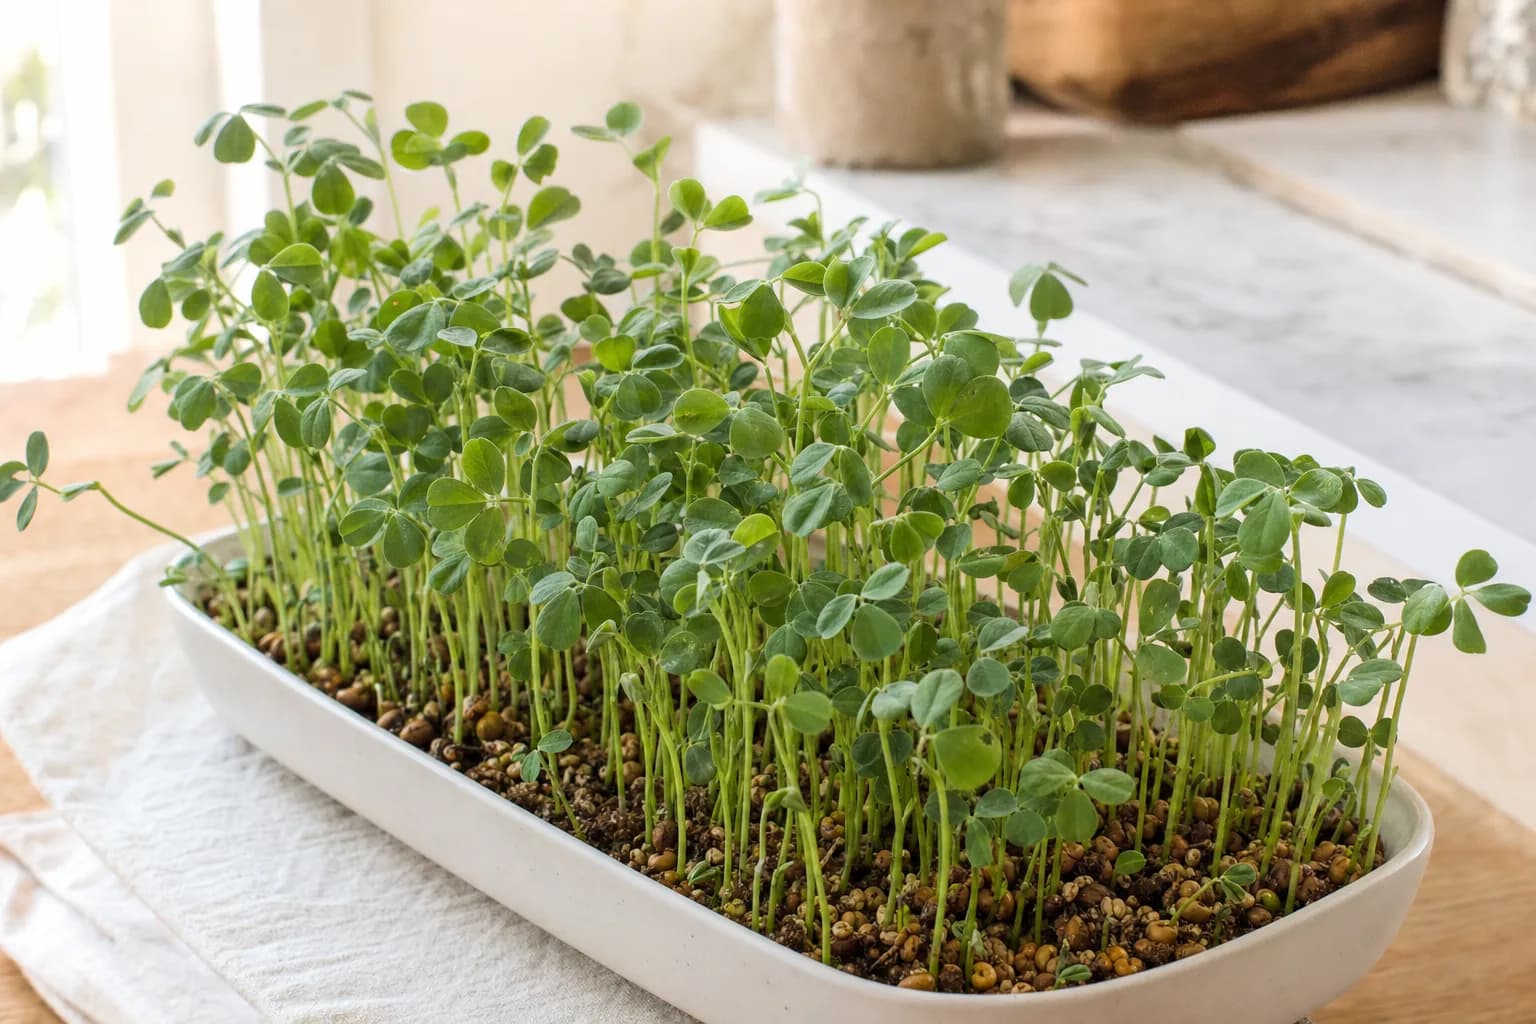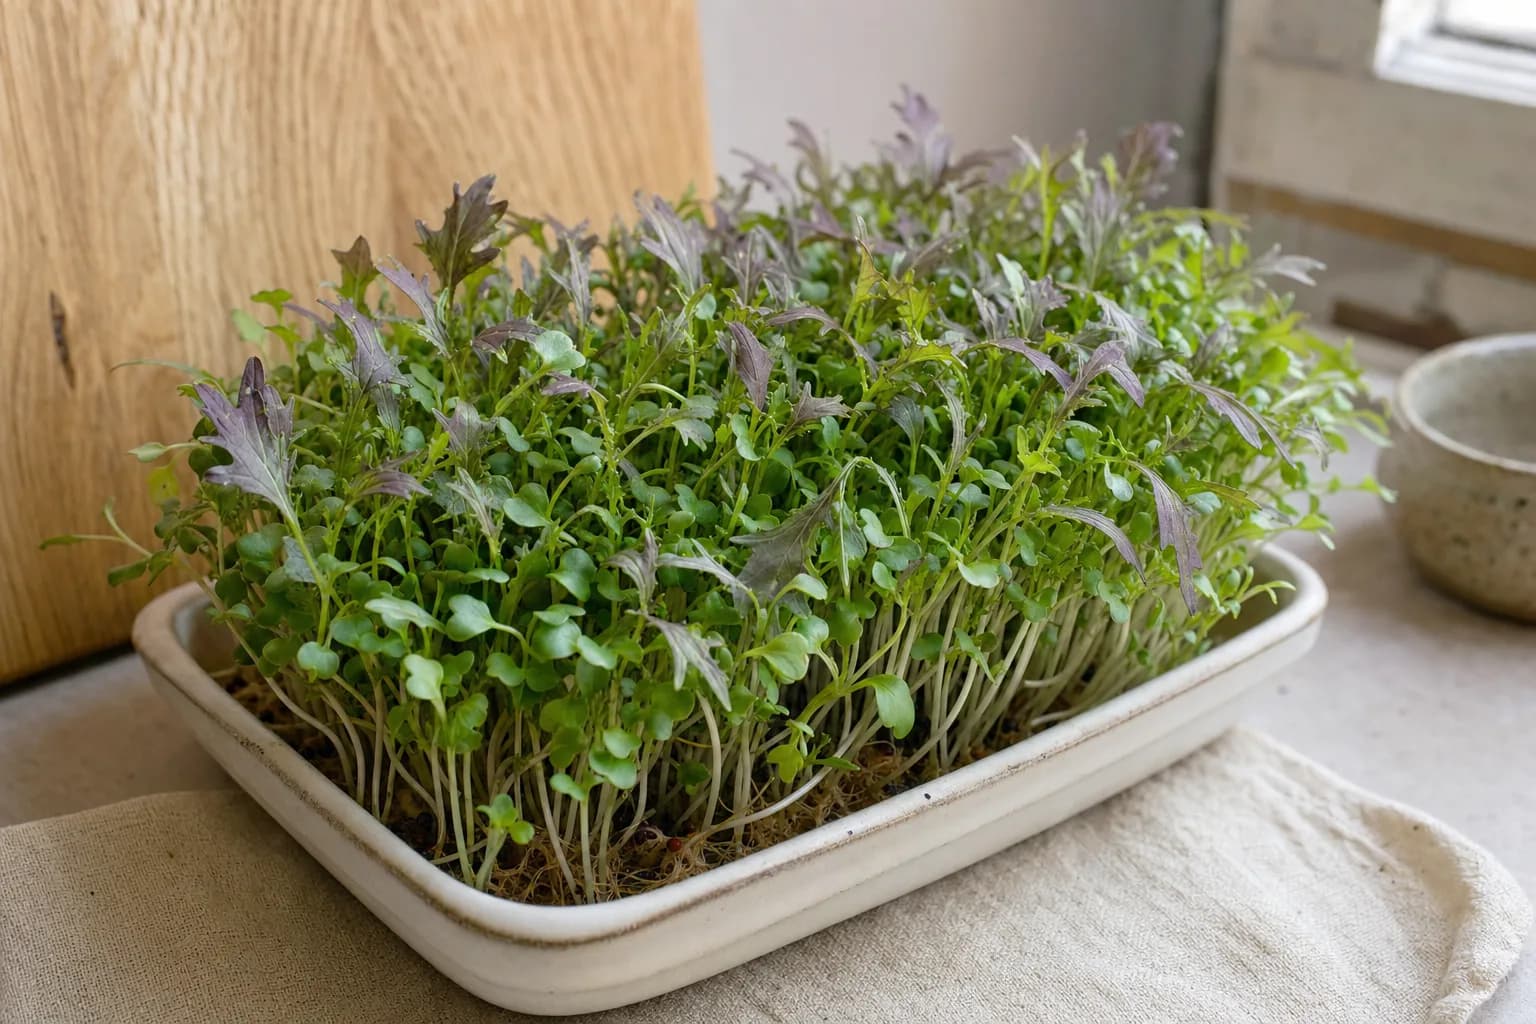
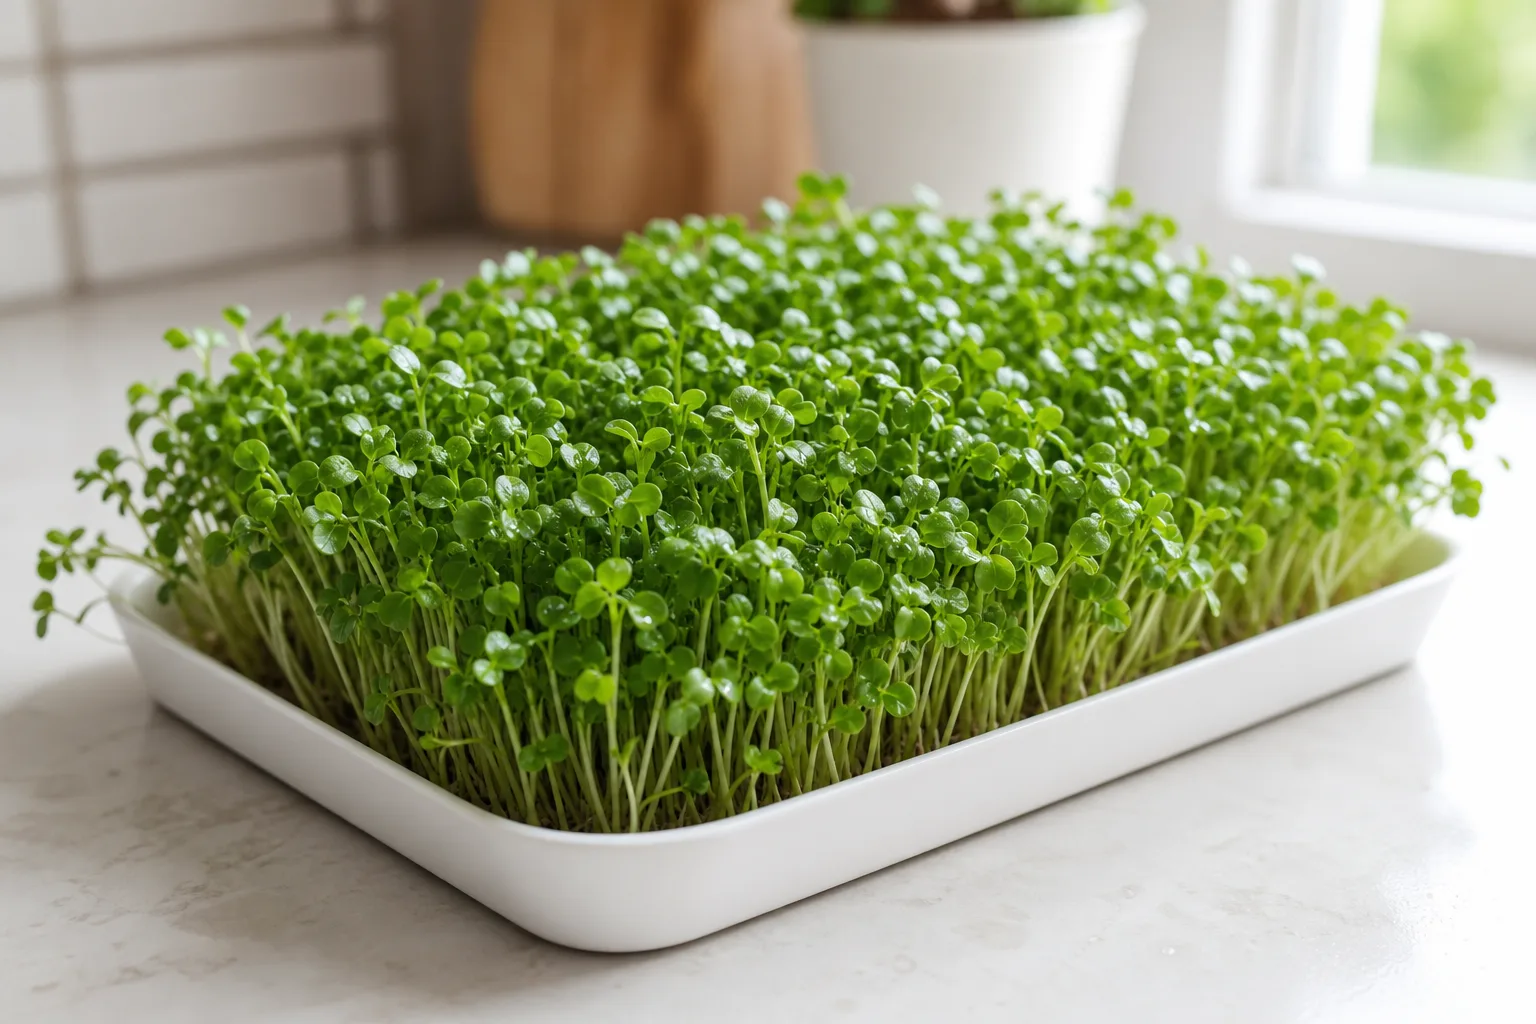
If you have ever wanted a homegrown green that goes from dry seed to your plate in about a week, cress is where I tell people to start. It germinates almost overnight, shrugs off beginner mistakes, and rewards you with a sharp, peppery flavor that wakes up an egg, a sandwich, or a bowl of soup. Garden cress (Lepidium sativum) is one of the oldest cultivated greens in the world, and at the microgreen stage it is genuinely hard to fail with. In this guide I will walk through what makes cress special, the one quirk you need to know about its seeds, and exactly how to grow and use it.
What cress microgreens actually are
Cress belongs to the Brassicaceae family, the same crew that gives us broccoli microgreens, radish microgreens, arugula microgreens, and mustard microgreens. Like all microgreens, cress sits in the window between a sprout and a baby vegetable: you grow it in a thin medium, give it light, and harvest the young shoot with its seed leaves (and sometimes the first true leaves) when it is only one to two weeks old. If you are new to the category entirely, our primer on what are microgreens is a good five-minute backgrounder, and the microgreens vs. sprouts comparison explains why that small difference matters for flavor and food safety.
What sets cress apart is speed and bite. Most cress is ready to cut in roughly seven to ten days, which puts it at the very front of the pack among home crops. The flavor is unmistakable: a clean, mustardy heat with a faint tang, milder than raw radish but far livelier than lettuce. That peppery character comes from glucosinolates, the same family of sulfur compounds that give the whole Brassica clan their signature kick. If you enjoy reading about where flavor comes from, the spicy microgreens guide and our piece on microgreen flavor profiles put cress in context next to its relatives.
The one quirk: do not soak the seeds
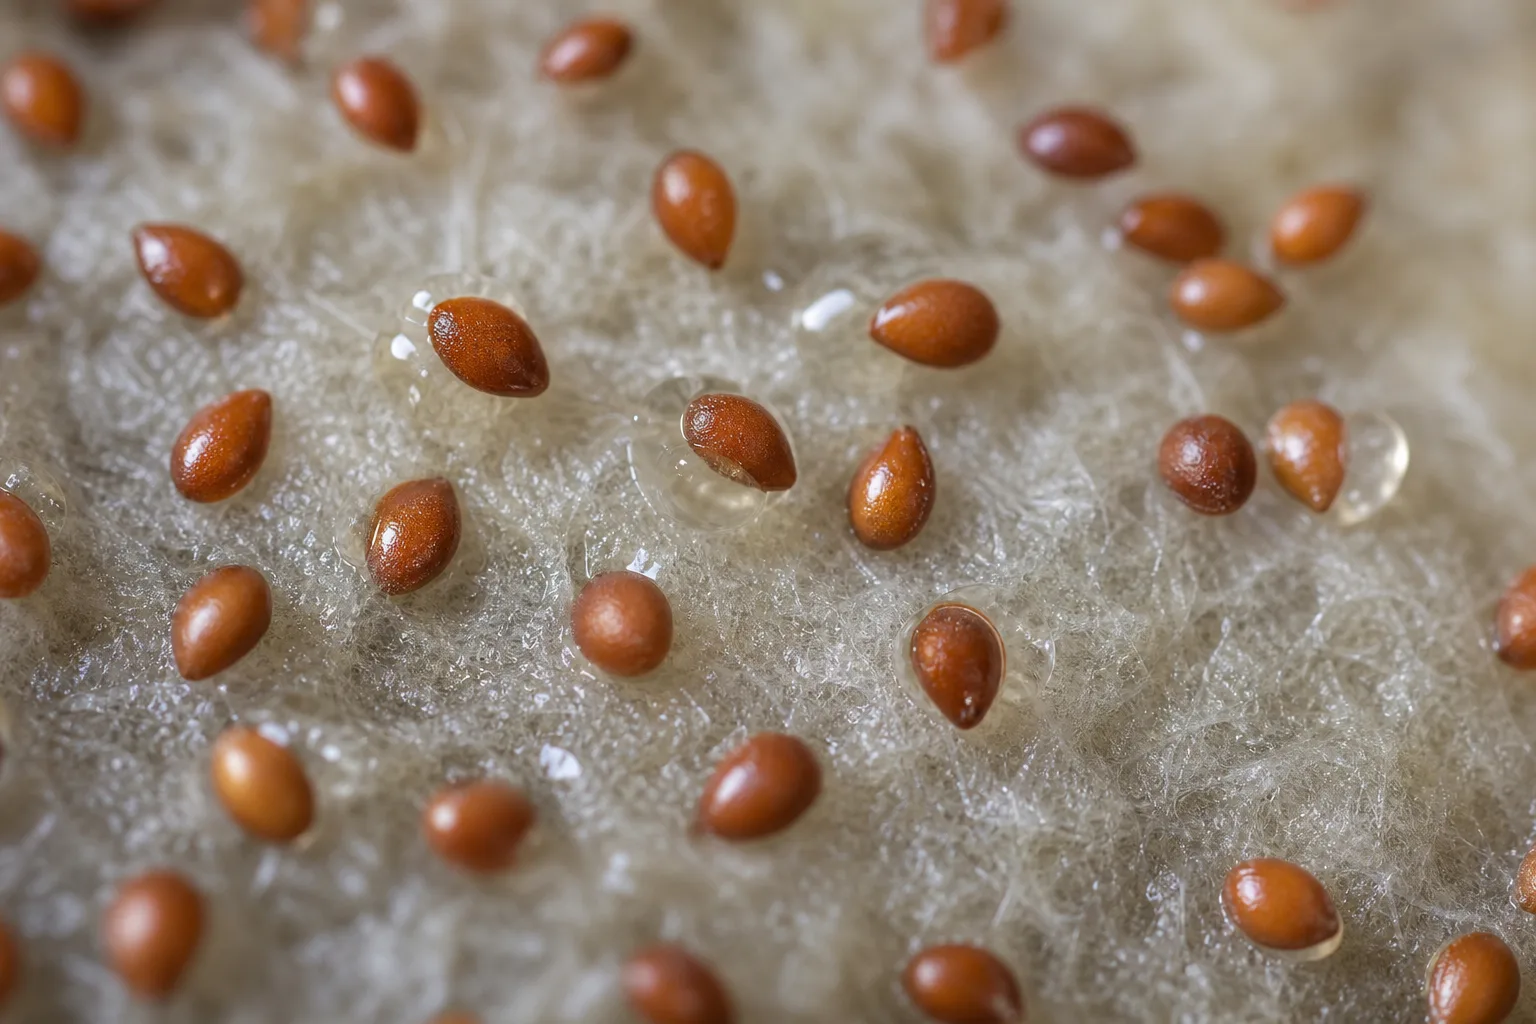
Here is the single most useful thing to know about cress, and the reason it is so beginner-friendly: cress seeds are mucilaginous. When they get wet, each seed develops a clear, gel-like jacket around itself. That gel is the seed doing exactly what nature designed it to do, holding moisture against the seed coat to drive fast germination. It is the same behavior you see in chia and basil seeds.
This matters for one practical reason. Many larger microgreen seeds, like pea shoots or beets, benefit from a 6 to 8 hour pre-soak before sowing. Cress is the opposite. If you soak cress seeds, they clump into a slippery, gelatinous mass that is nearly impossible to spread evenly across a tray. So skip the soak entirely. Sow the dry seeds straight onto your moist medium, then mist them well from above. The gel forms right there in place, the seeds anchor themselves, and germination kicks off within a day or two. This same no-soak rule applies to other small mucilaginous and Brassica seeds, which is part of why these crops land on every list of the easiest microgreens to grow.
How to grow cress at home, step by step
You do not need much. A shallow tray, a thin growing medium (a hemp or coconut mat works beautifully, or a half inch of fine potting mix), water, a spray bottle, and a little light. If you want the full toolkit, our how to grow microgreens at home walkthrough covers the basics, and grow microgreens without soil is worth a look since cress thrives on a clean hydroponic mat.
Here is the rhythm I follow:
- Moisten the medium. Dampen your mat or mix so it is evenly wet but not pooling.
- Sow densely, dry. Scatter the dry seeds thickly and evenly, edge to edge. Do not bury them; cress germinates on the surface. No pre-soak.
- Mist and cover. Mist the seeds, then put them under a blackout dome or an upturned tray for the first 2 to 3 days. Darkness and trapped humidity drive strong, even germination. Keep the surface moist with gentle misting.
- Uncover and light up. Once you see the first sprouts, remove the cover and give them light, a sunny window or a simple LED panel both work. The shoots will green up fast.
- Water from below if you can. After germination, watering the tray base rather than the leaves keeps the canopy dry and discourages mold, the most common rookie problem. Our note on why microgreens keep molding goes deeper on airflow and watering.
- Harvest. Snip just above the medium with clean scissors when the seed leaves are open and bright, usually day 7 to 10.
A couple of fine-tuning notes from the lab. Brassica seeds germinate best in slightly acidic conditions, around pH 6, which is a touch lower than typical tap water at pH 7 to 7.5. Most home growers never bother adjusting this, but if your germination ever looks patchy, nudging the water more acidic is the first lever to pull. And good airflow once the cover comes off does more for plant health than almost anything else.
Cress at a glance
| Factor | Cress microgreen detail |
|---|---|
| Plant family | Brassicaceae (mustard family) |
| Pre-soak seeds? | No, mist only (seeds form gel when wet) |
| Blackout period | 2 to 3 days |
| Days to harvest | About 7 to 10 |
| Flavor | Bright, peppery, lightly tangy |
| Germination pH | Around 6 (slightly acidic) |
| Best watering | From below after germination |
How cress compares to its peppery cousins
Cress sits in a flavor neighborhood with radish, mustard, and arugula, but each has its own personality and timeline. If you are deciding what to grow first, this side-by-side helps:
| Crop | Days to harvest | Heat level | Pre-soak? | Notes |
|---|---|---|---|---|
| Cress | 7 to 10 | Medium pepper | No | Fastest, most forgiving |
| Radish | 6 to 10 | Hot, sharp | No | Big, fast, very spicy |
| Mustard | 8 to 12 | Hot, wasabi-like | No | Strongest bite of the group |
| Arugula | 8 to 12 | Nutty, peppery | No | Milder, more aromatic |
The takeaway: cress gives you reliable peppery flavor on the shortest clock and with the least fuss. If you want to understand why all of these greens lean spicy in the first place, the why do microgreens taste bitter explainer covers the chemistry, and microgreens flavor pairing suggests what to put them with.
How to eat cress microgreens
Cress is a finishing green. Its heat fades with cooking, so add it raw or at the very last second. A few of my go-to uses:
- On eggs. A handful over scrambled or soft-boiled eggs is the classic, and for good reason. See microgreens and eggs for breakfast.
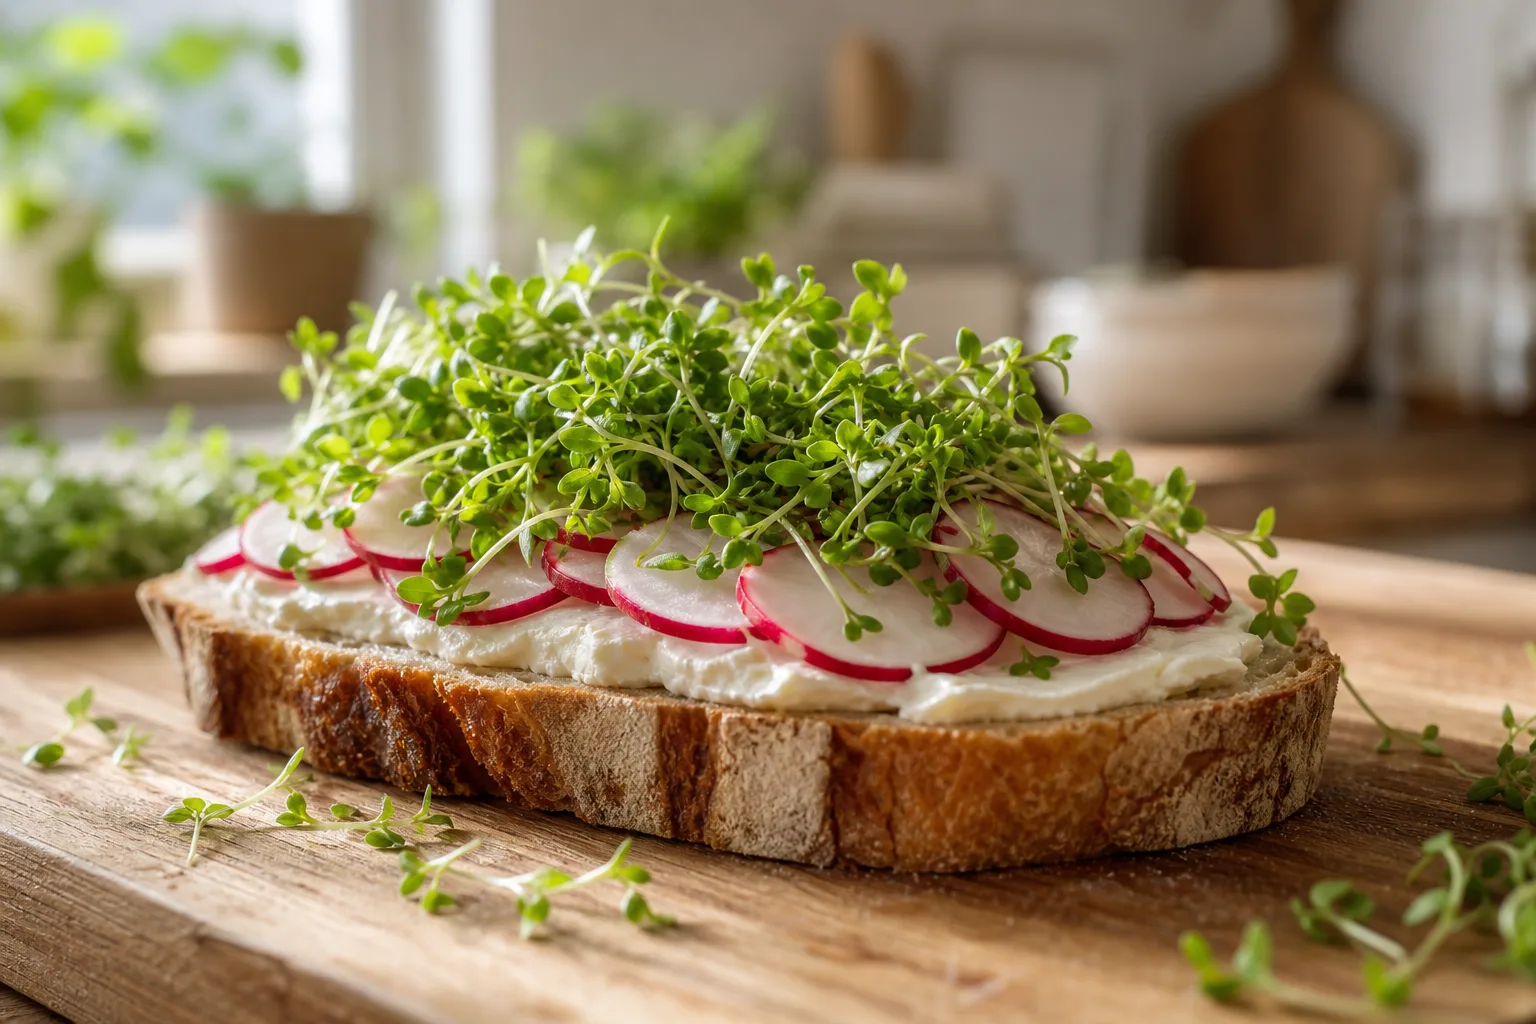
- On toast and sandwiches. Cream cheese, smoked salmon, and cress is a tiny luxury. More ideas in microgreens on toast and microgreens sandwiches and wraps.
- In soups. Float it on top of a warm bowl right before serving for a peppery lift. The microgreens in soup guide has more.
- In salads and bowls. Toss it through greens for a free upgrade in flavor. Our microgreens salad ideas and how to eat microgreens are full of options.
Because cress is so fast and so cheap to grow, it is one of the crops that makes the strongest case for growing your own rather than buying. Store-bought packs are pricey and often past their prime by the time they reach you, a problem we dig into in are store-bought microgreens fresh. Cut your own and the difference in snap and pepper is obvious.
Where Luya fits
Cress is forgiving, but the two things that still trip people up are humidity in the blackout phase and airflow afterward. That is exactly the kind of micro-management our countertop grower, Luya, handles on its own, managing light, water, and climate so each tray comes up even and clean without a dome to babysit. If you are curious about the broader idea of a machine tuning a growing environment in real time, how Luya works walks through it. For a hands-on crop like cress, though, honestly, you can get a great first tray with nothing more than a tray, a mat, and a spray bottle.
The bottom line
Cress earns its reputation as the friendliest microgreen there is. Remember the one rule, never soak the seeds, sow them dry, mist them, cover for a couple of days, then give them light and harvest in about a week. You get a bright peppery green that costs pennies, grows on a windowsill, and makes almost any savory dish taste a little more alive. If this is your first crop, you picked a good one. Once you are hooked, radish and mustard are the natural next step into spicier territory.